Profiles and Deployment Settings
Profiles are a mechanism that provide the ability to set up different deployment settings and configurations for an app. They can be configured in Configuration Builder.
By default, an Airkit application will come with three profiles Development, QA and Production. If needed you can add additional profiles to meet the need of your application testing requirements. For example, you could add a Staging or Break-Fix profile, if your company has specific requirement testing environments deployments.
To create an additional profile, go to Configuration Builder and click on the “+” icon.

Configuration builder adding an additional profile
From here, either create a new profile or create from an existing profile.

Create New Profile

Create New Profile from existing profile
Once a profile has been created, each of the profiles can have different configurations. For example, if there was a requirement to have different URLS that point to an app for each deployment, the Web URLs resource can be changed to point to a specific web resource.
Best Practices: Creating a new profileWhen creating a new profile, all configurations will be blank and must be configured. For first time builders, utilize create from existing profile it will assist you in modifying the critical profile configurations.
To change profiles, click on the dropdown next to the app name.

Pick an environment profile
Handling multiple deployments for a single application using profiles
Deployments are a way to separate an application into multiple isolated environments. Each deployment will require a unique profile per deployment due to some resources being restricted to a single deployment. To create a new deployment, begin by creating a new locked branch. This will ensure that the branch that is to be deployed will not allow any edits.
After creating an application profile, save the app and go to console.airkit.com and select the application. Click on Manage Branches in the inspector.

Find the current working/unlocked branch and select Duplicate Branch in the inspector.

Duplicate Branch from your unlocked working branch
Name the branch something unique and select the checkbox stating that the branch is a production branch. The branch name will typically include a version number and/or date + environment (e.g. QA-1-09/01/2020 , PROD - v1 - 10/10/2020). Then select Create to save the branch.

Once done creating the branch, go back to Apps. Then select the app and go to Deployments from the inspector.
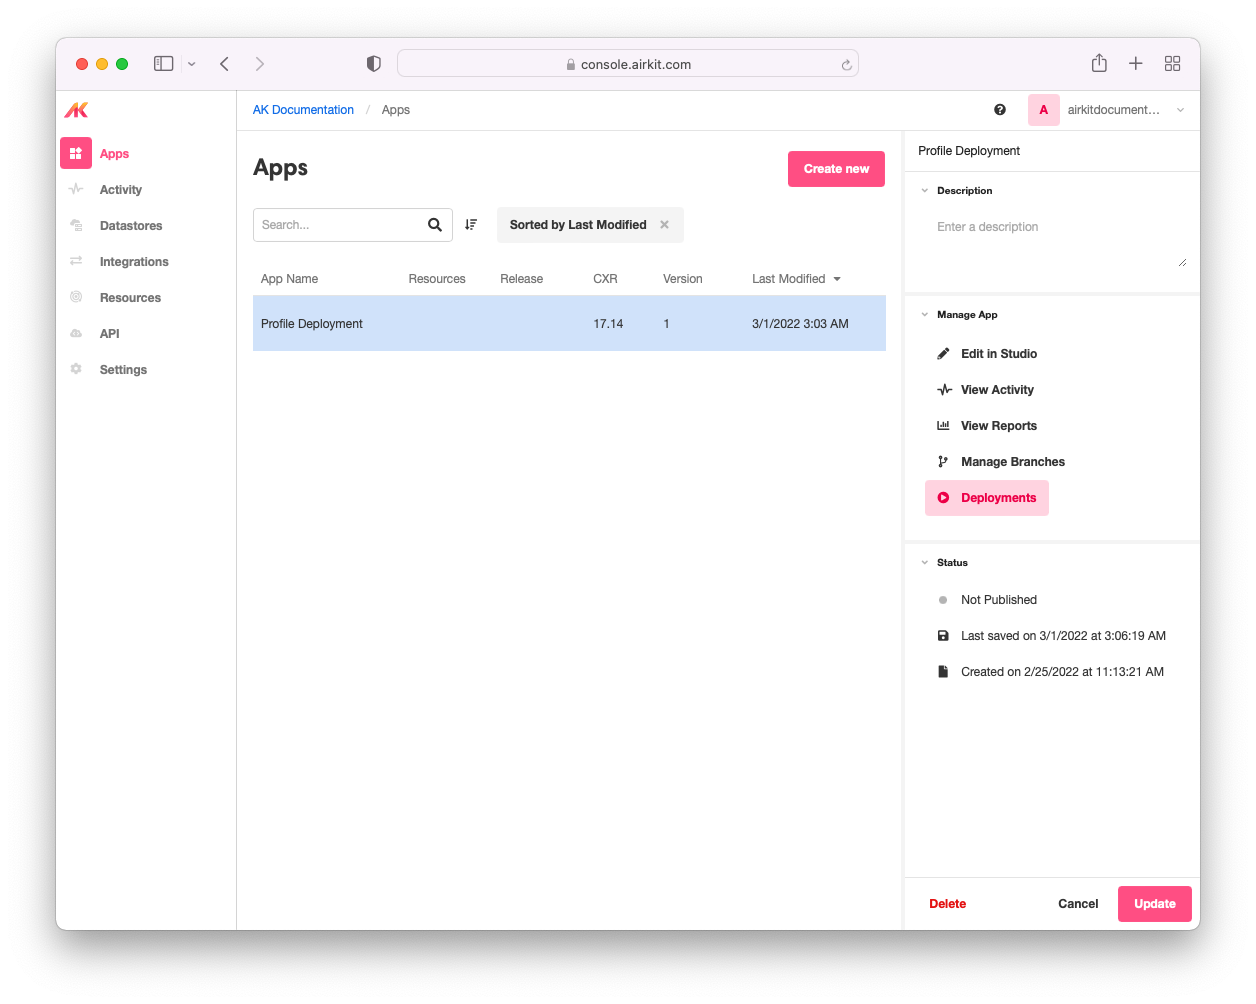
Select Create New to create a new deployment.
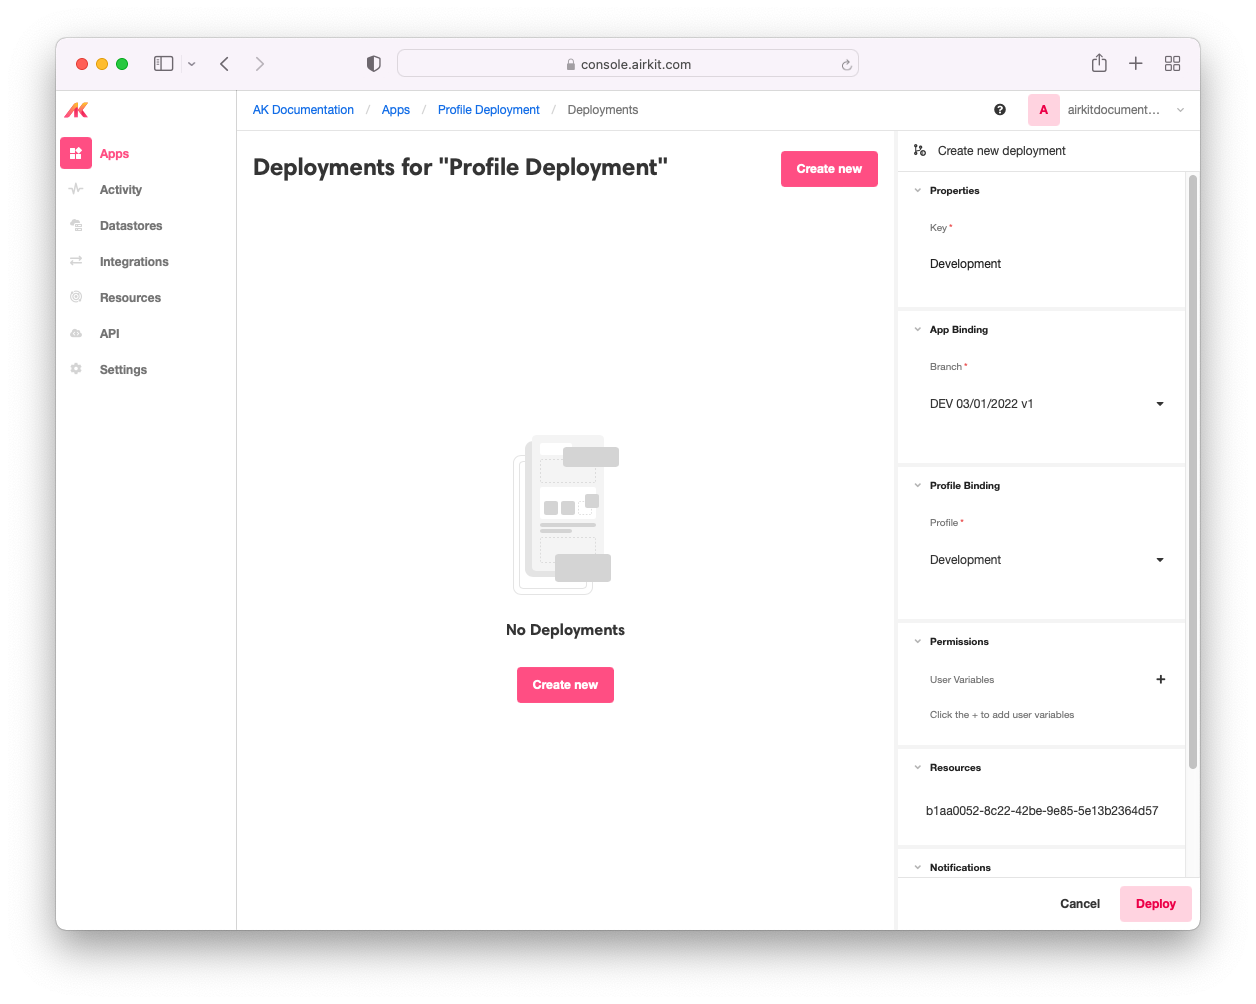
The key attributes for this new deployment are the following: Deployment Name, Branch, and Profile Binding.
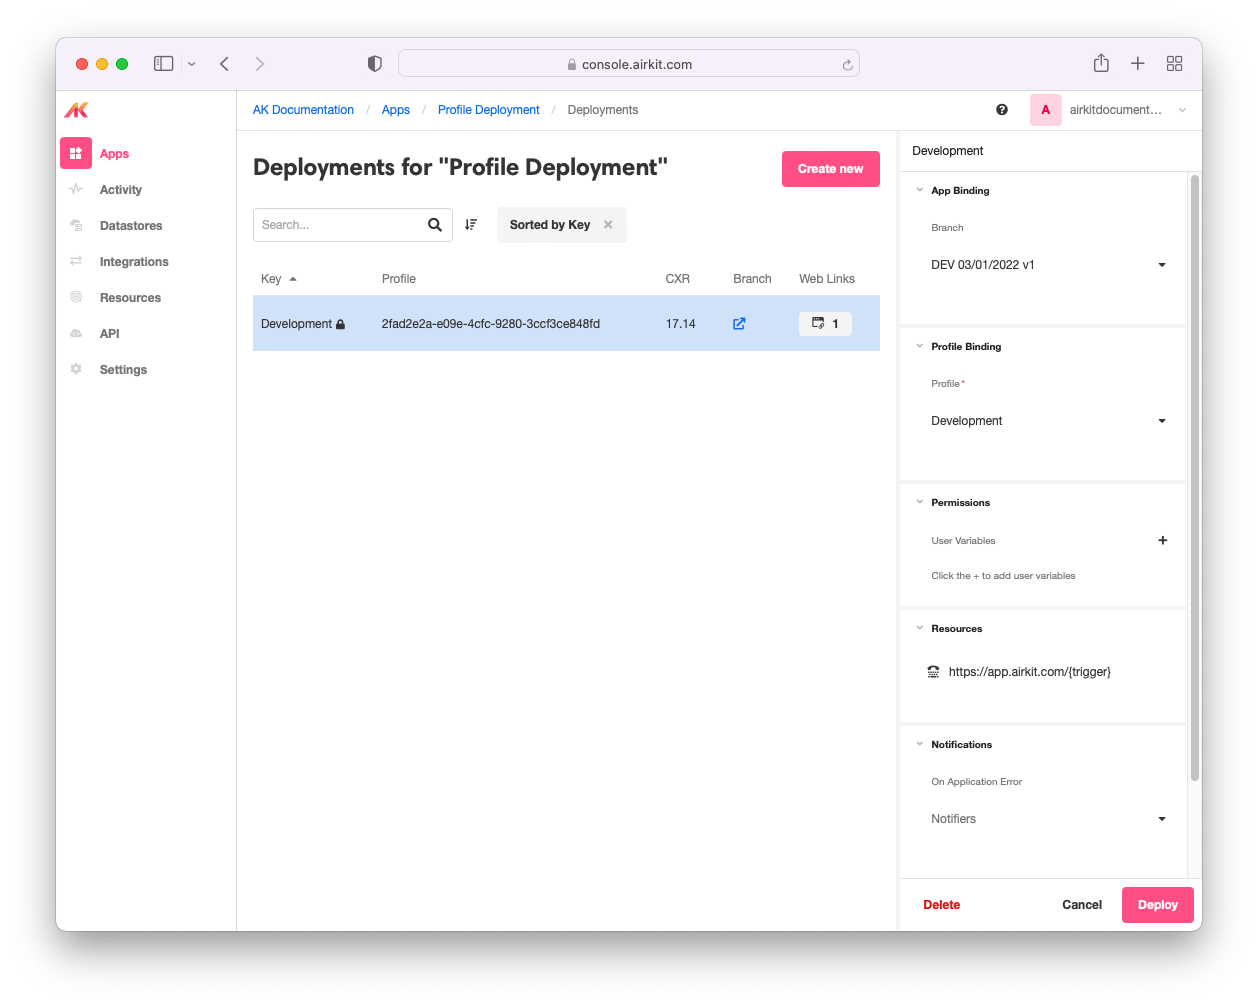
The deployment name must be unique and it is recommended that the name of the deployment includes the environment name. Select the branch you plan to deploy and the corresponding profile binding (eg. Dev Branch should have a Development profile, QA/QA profile, Production/Prod Profile). Lastly, click on deploy and now there is an additional deployment of the application!
Best Practices: Creating and maintaining deploymentsKeep it simple! The number of deployments should mirror the number of profiles associated with your application.
When deploying new branch, make sure the following items line up with the associated branch:
- Deployment Name
- Branch
- Profile
- Resources
Updated 3 months ago