Rescheduling Deflected Calls
This article will go over how to use the Scheduler Web Control to reschedule deflected calls as well as how to change the behavior of an application based on operating hours.
Smoothing demand with scheduled callbacks
Increased demand to get a human agent on a call with a customer can result in long wait times when there aren't enough agents to field the demand that is coming in. One way to remediate this is through call deflection and enabling your customer to schedule a time to have the agent call back.
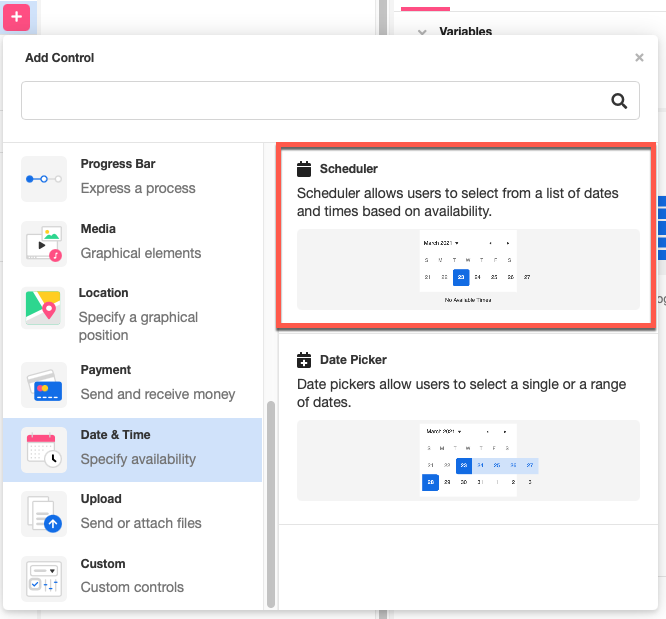
The Scheduler Web Control allows users to select from a list of dates and times, and also control what dates and times are made available through the Calendar Builder.

One method of smoothing demand with scheduled callback is through call deflection to SMS. The Journey would look something like this:
- Customer makes an inbound call and IVR asks if customer would like to stay on hold or schedule a time to call back.
- Customer chooses to schedule a time to call back
- Customer receives an SMS message with a link to an application to schedule their callback time
The application that is sent to the customer includes the Scheduler Web Control, which allows the customer to select an appointment slot to be called back at. Below are steps to integrate the scheduler web control within an application.
Adding the Scheduler Web Control and connecting to an Availability Schedule
- Add the Scheduler Web Control to the web page by clicking on '+' next to the web page.

- Once the scheduler is added to the Stage, you can configure the control properties as well as the scheduler properties. To connect an Availability Schedule to the Scheduler Web Control, go to the Inspector and select an Availability Schedule from the dropdown list. The Availability Schedule selected will determine what time slots show up to the end user. (For more on what Availability Schedules are and how to create one that serves specific needs, check out documentation on Calendar Builder.)

Creating Schedule Object
In order to write back information pertaining to the selected appointment block, create a Schedule Object in AirData to store it. Within AirData there is a built in Schedule Object that can be created without much configuration.
- To add a Schedule Object to AirData, go to Data Builder, click on the '+' icon, and select Add Schedule. This will create a predefined Schedule Object that you can associate with your scheduler. You are also able to add additional properties as well.
.gif)
- Rename the Schedule Object and Save. This example will use the name 'CustomerSchedule'.

Writing to the Schedule Object
Once the Schedule Object is configured, it can be used to store a user's selection from the Scheduler Web Control. To write back the selection to AirData, the scheduler control needs to be connected to the Schedule Object.
- Return to the Web Builder and select the Scheduler Web Control in the Tree. In the Inspector, configure the scheduler to the Schedule Object you created.
.png)
Once configured, the scheduler will automatically write to the Schedule Object whenever an appointment block is selected.
Changing behavior based on operating hours
There are a few different approaches to restrict the ability to send/receive calls or texts outside of operating hours. The first approach is to enforce TCPA restrictions through the use of restrictions on Availability Schedules and Timers. For more information on TCPA, see How to enforce TCPA.
Another approach is through the use of the Calendar Search Data Operation. The Calendar Search Data Operation has the ability to check and see if there are currently any appointment times available in the current time, in the previous time window, or in the upcoming time window. The video below will walk through the scenario of building out an experience where if the user is checking the application at a given time, and will give them the option to schedule an appointment (if user is not within operating hours) or give them the option to call (if user is within operating hours).
Updated 3 months ago