Settings
The Settings Tab is used to modify how your Organization is accessed and secured. It consists of several sub-tabs:
- Users
- Roles
- Invites
- Organization
- Logs & App Notifiers
- Encryption Keys
- My Account
Note that not every role has the needed permissions to access every sub-tab; for more on the permissions given to each type of user, see User Roles.
Users
The Users Tab provides a summary of all users that have access to the Airkit platform through your Organization and allows you to manage the roles and status of each user.
In addition to the email address of each user, the Stage also displays:
- Activity Status - Whether or not the user is actively allowed access to the Org.
- Email Verified - Whether or not the user has verified their email address.
- Roles - The role of the user, which determines the privileges the users is granted within the Org. For more, see User Roles.
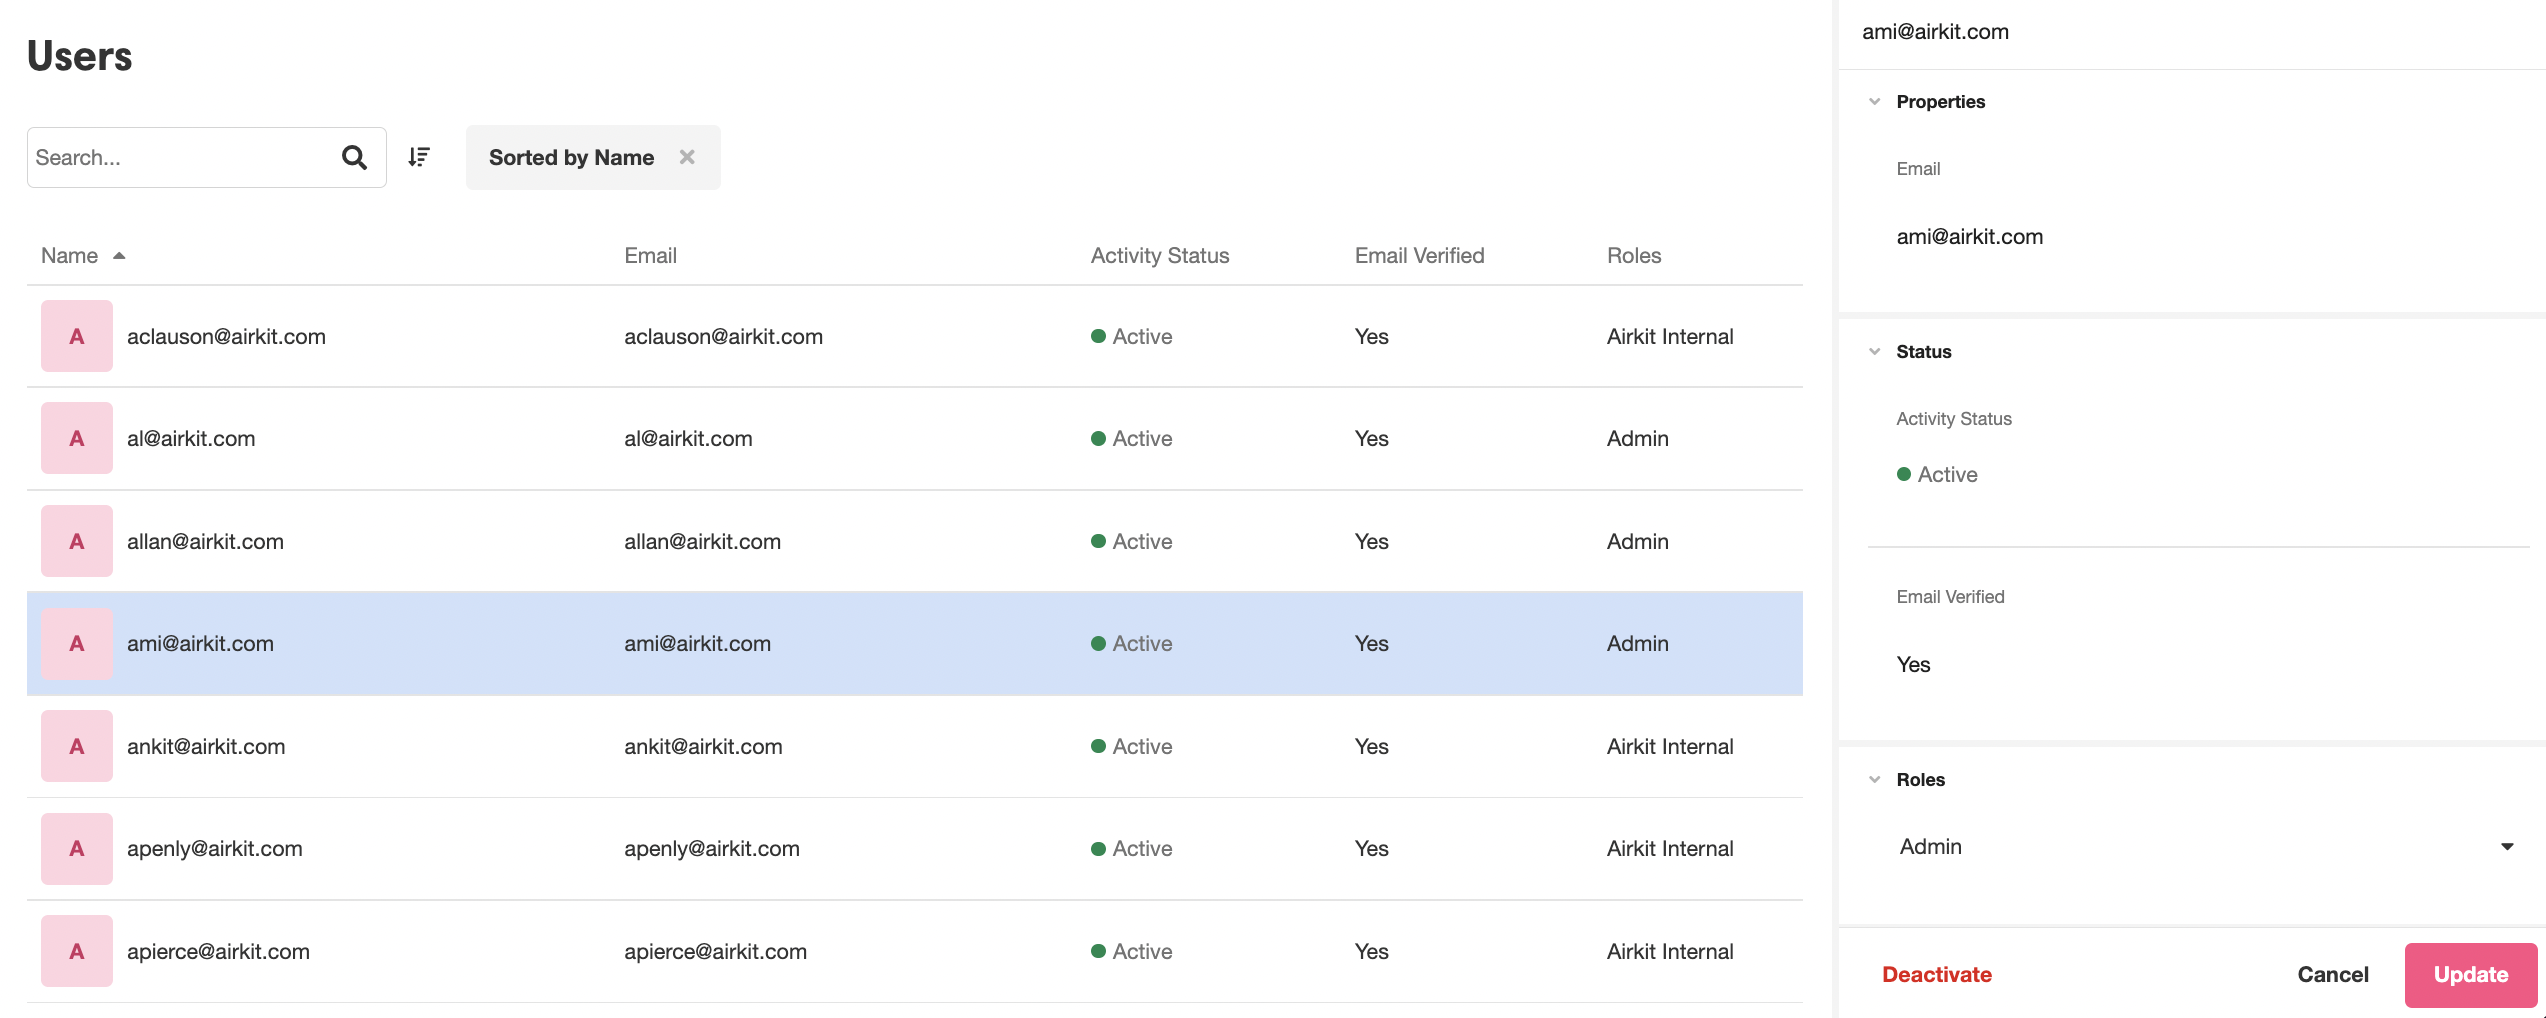
To manage an individual user, click on the user to bring up their information in the Inspector. Here, you can change their role by selecting a new role from the dropdown menu under Roles. You can also deactivate the user by clicking on the Deactivate button to the bottom left of the Inspector. Deactivating a user removes their permission to access your Org.
There is no Create new button in this tab. Creating new users is done by sending invites from the Invites Tab, see below.
Roles
Enterprise FeatureThis feature requires an ENTERPRISE license. If you would like to enable this feature for your Airkit Organization, please contact your Airkit representative or contact [email protected].
The Roles Tab is where you can create and manage Custom Roles. Custom Roles allow you to grant access to data and editing permissions precisely and only to the people that require access to them. Once a Custom Role has been created, it can be assigned to users just like any out-of-the-box role.
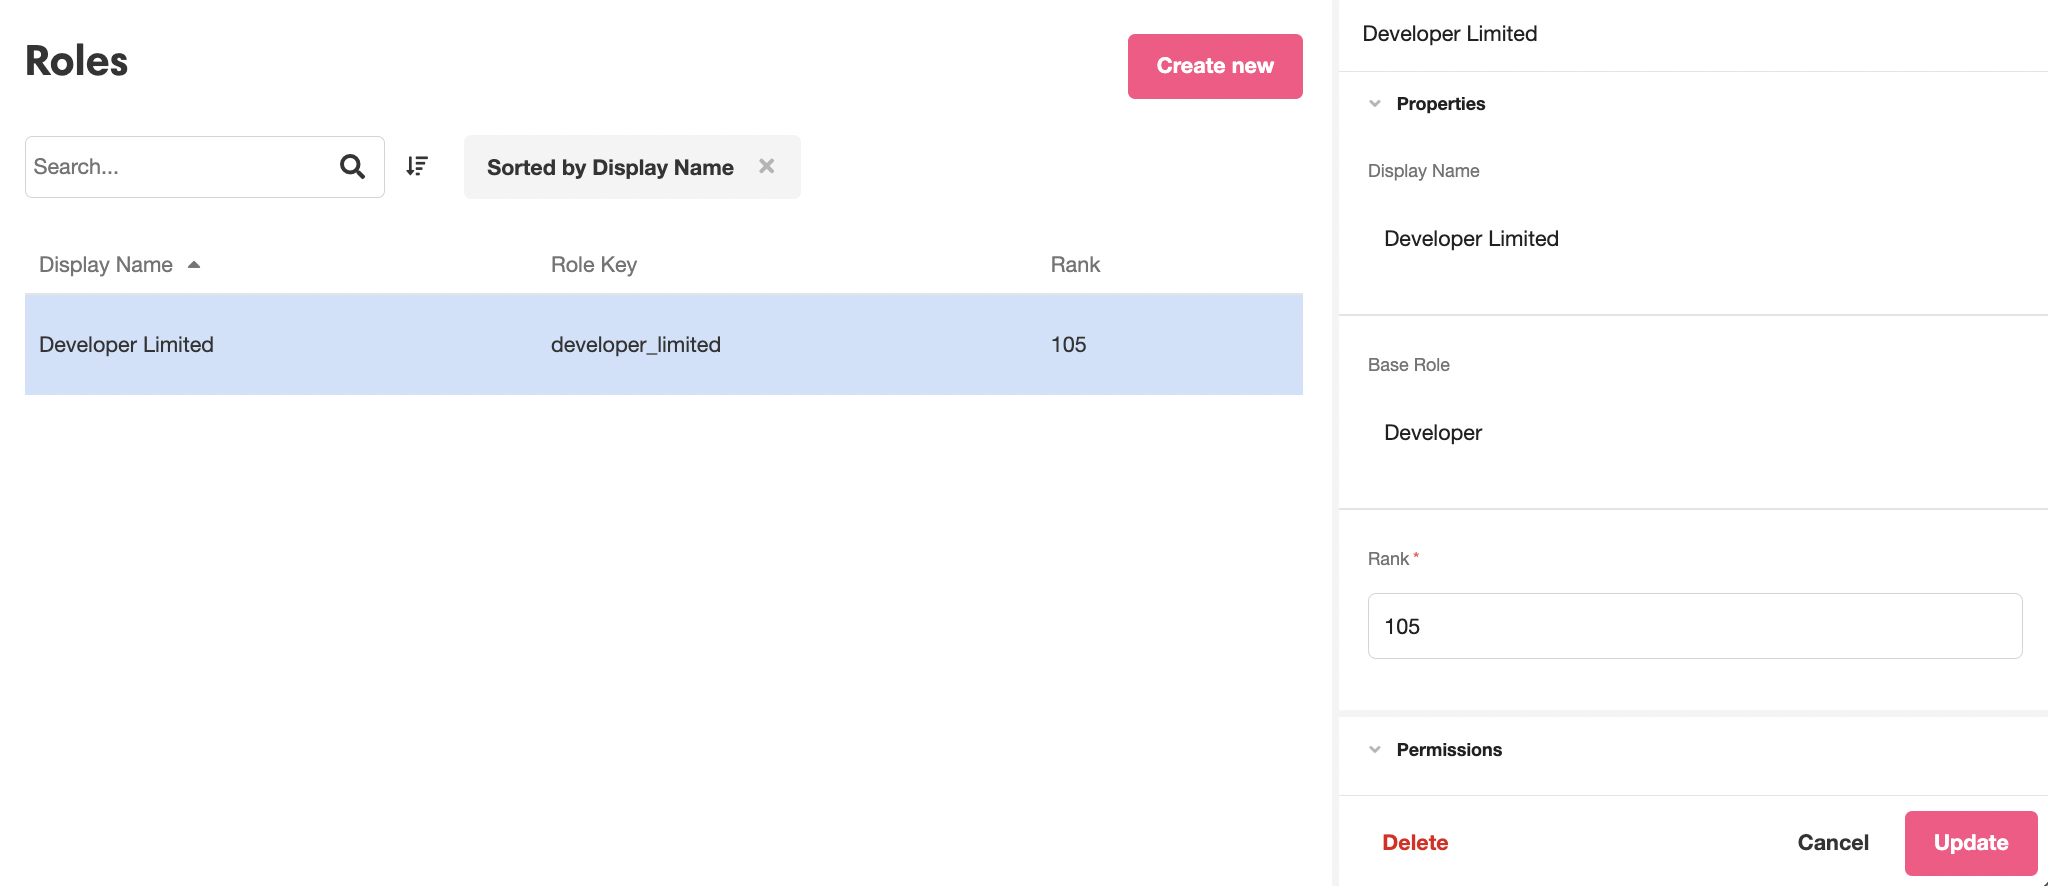
For a deeper dive into Custom Roles, see Working with Custom Roles.
Invites
The Invites Tab is used to send and manage the invitations for new users to join your Org.
The Stage displays a summary of each sent invitation, including:
- Email - the email that the invitation was sent to
- Status- whether an invitation has already been Accepted or if it was only Sent
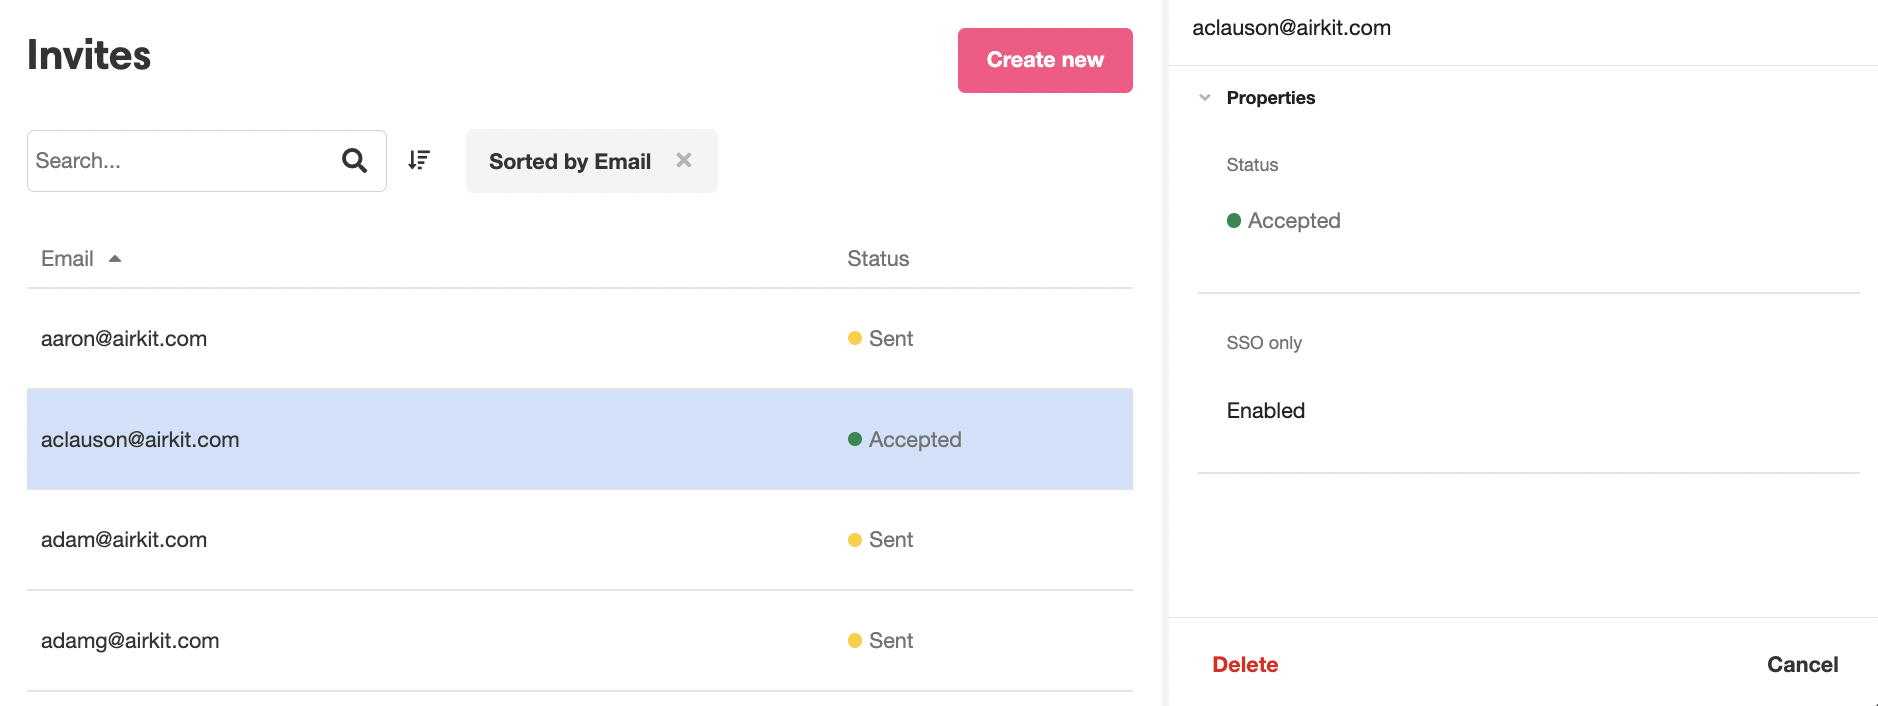
Clicking on an individual invitation will provide a little more information, such as whether the identity of the user will be obligate confirmed via SSO. This can be done in one of two ways:
- Google SSO - requires Builder have Gmail address.
- SAML - requires manual SAML configuration. See SAML SSO for an Organization to learn more.
However, even after an invitation has been accepted, most user information will not be found here in Invites, but under Users*, see above.
For more on using this section, check out Adding Users to Airkit.
Organization
The Organization Tab is where you'll view and modify the details of how your Org is accessed by the users building in your Organization.
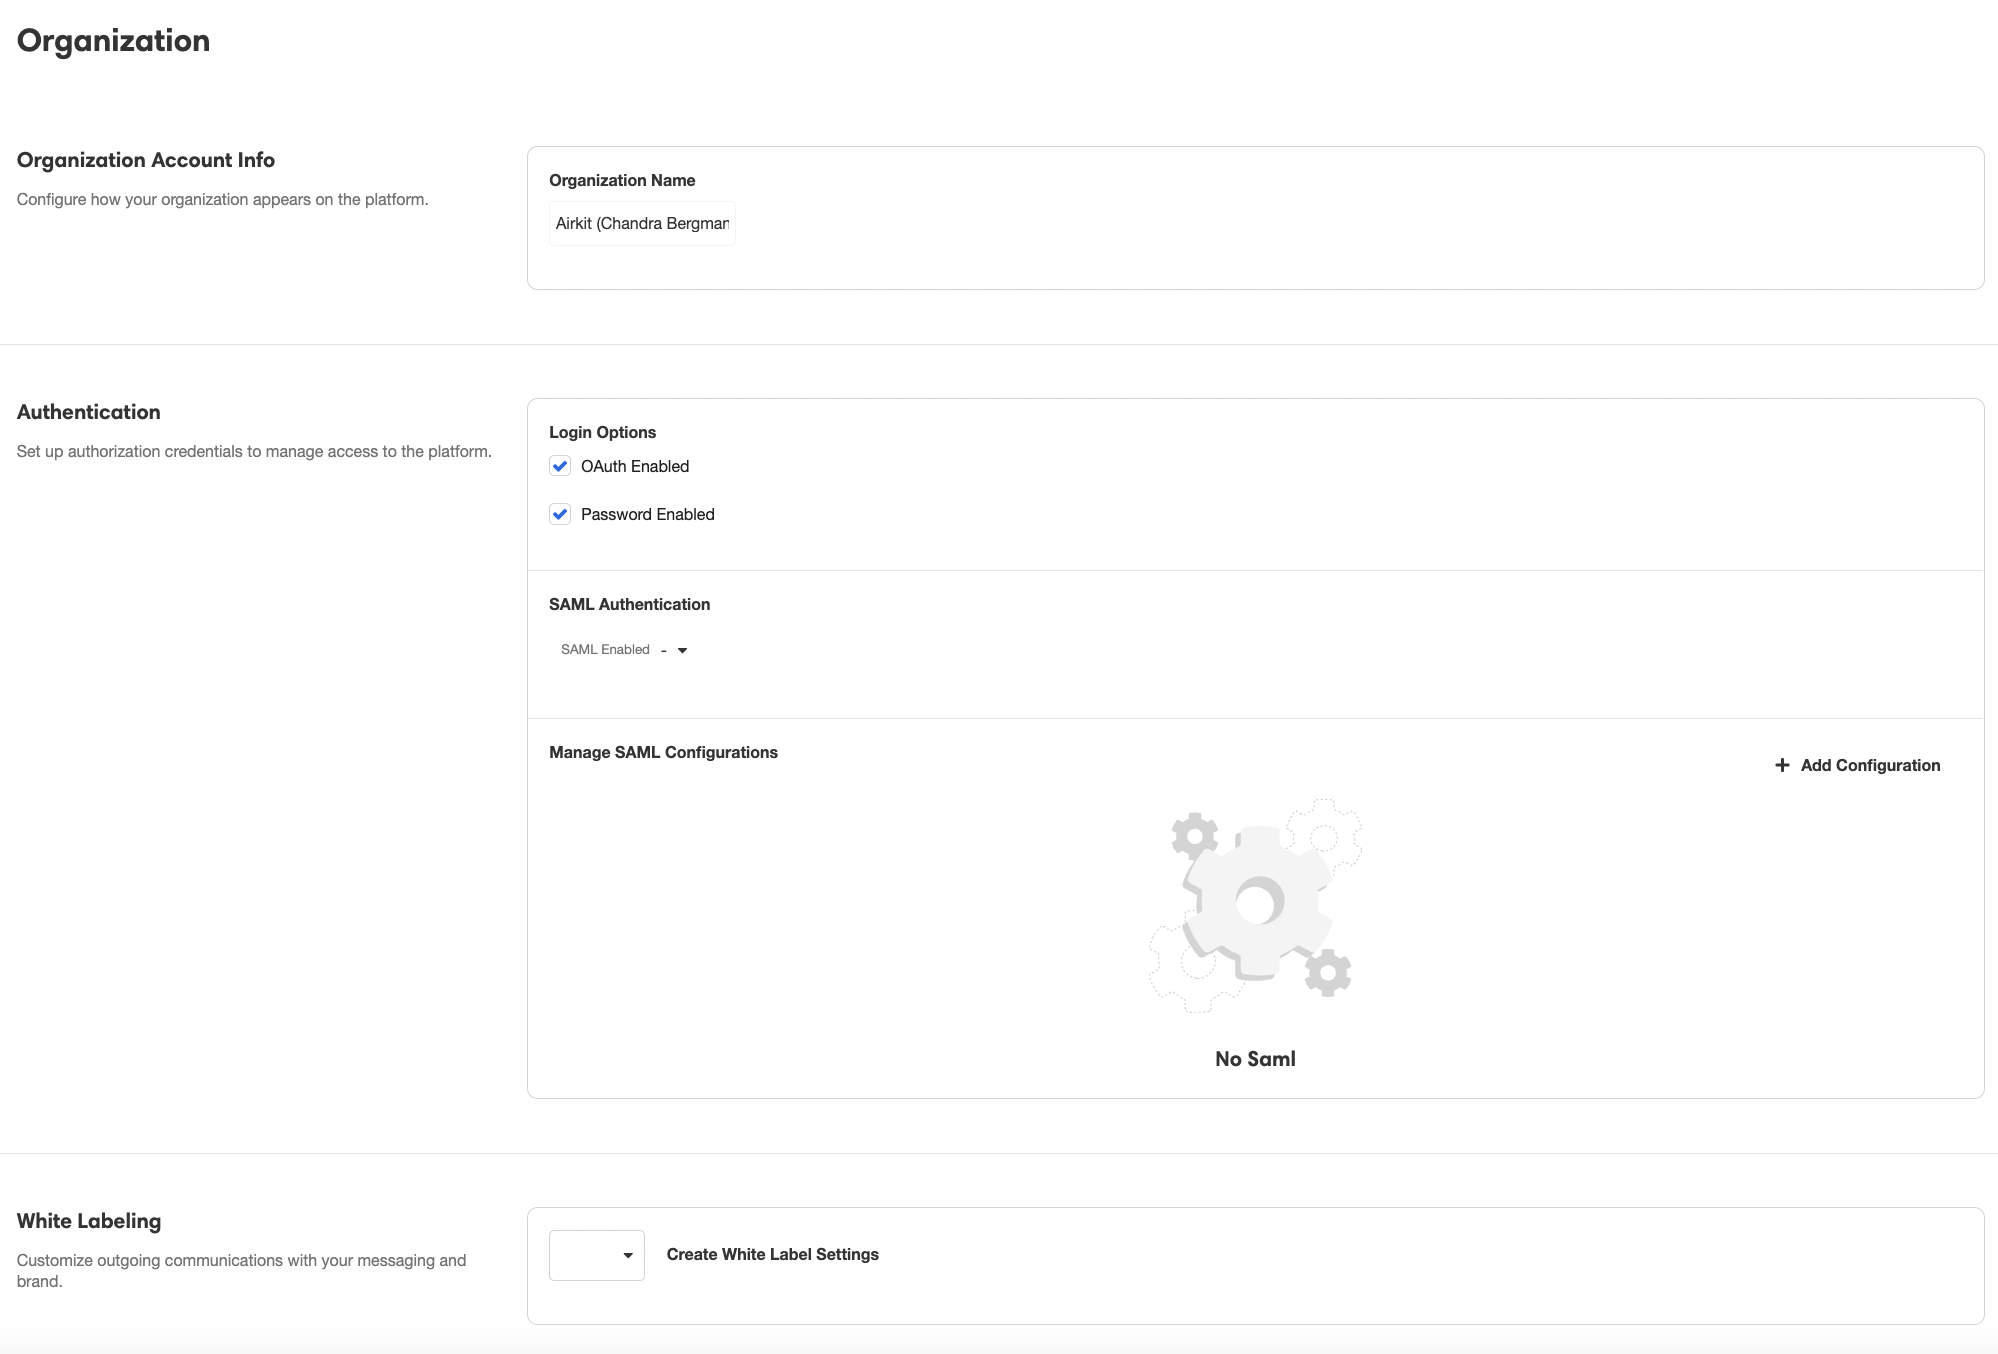
The components of Org management here are:
- Organization Account Info - manage the name of your Org.
- Authentication - customize the process of authenticating users of your Org. See SAML SSO for an Organization for more information.
- White Labeling - customize the invitations your Org will send to potential new users.
Business and Enterprise FeatureWhite Labeling the invitations your Org sends to potential new users and requires an ENTERPRISE license, and customizing the Authentication process requires either an ENTERPRISE or BUSINESS license. If you would like to enable either feature for your Airkit Organization, please contact your Airkit representative or contact [email protected].
Logs & App Notifiers
Use the Logs & App Notifiers Tab to manage Organization-level Notifications and Logs, both of which are used to send important information gathered from Airkit applications to external platforms. Logs are streamed to AWS S3 Buckets. Notifiers can send alerts via Slack, email, or a custom Webhook when an app produces an error.
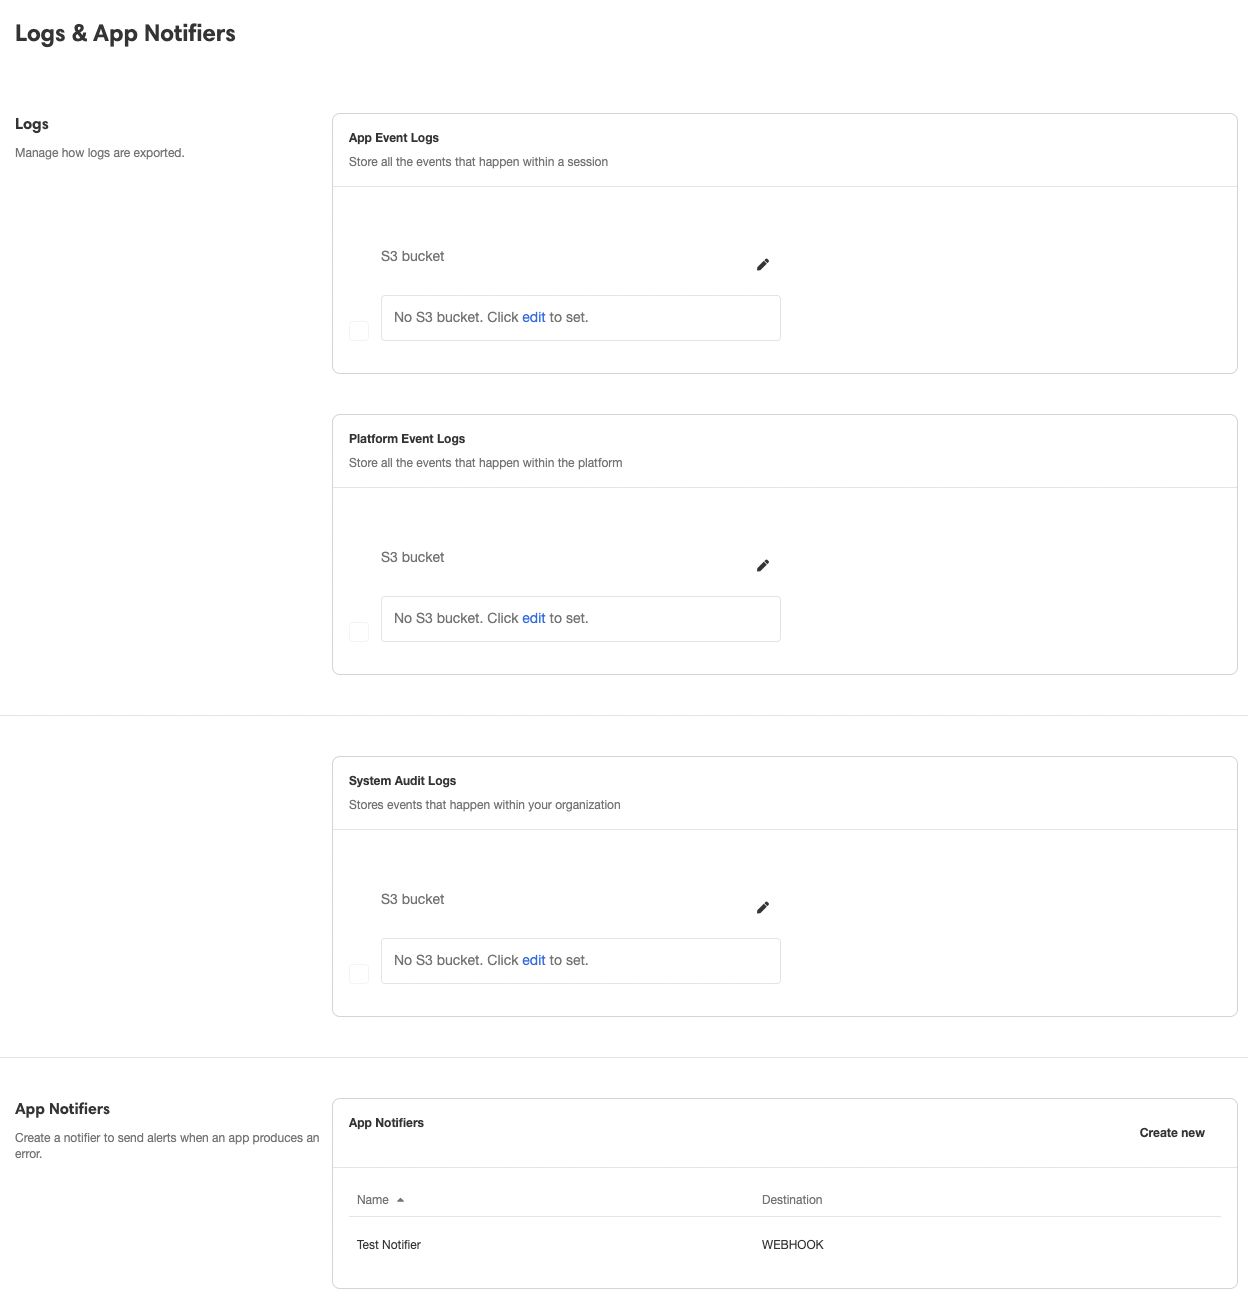
For more information on Logs see App Events to AWS S3 Buckets and Audit Logs to AWS S3 Buckets. For more information on Notifiers, see Integrating Error Notifications to Slack.
Encryption Keys
Enterprise FeatureThis feature requires an ENTERPRISE license. If you would like to enable this feature for your Airkit Organization, please contact your Airkit representative or contact [email protected].
Use the Encryption Keys Tab to create and manage the encryption keys used to secure sensitive information. Your Organization comes out of the box with three encryption keys, one of each production environment, but you can also create new encryption keys by clicking on the Create New button.
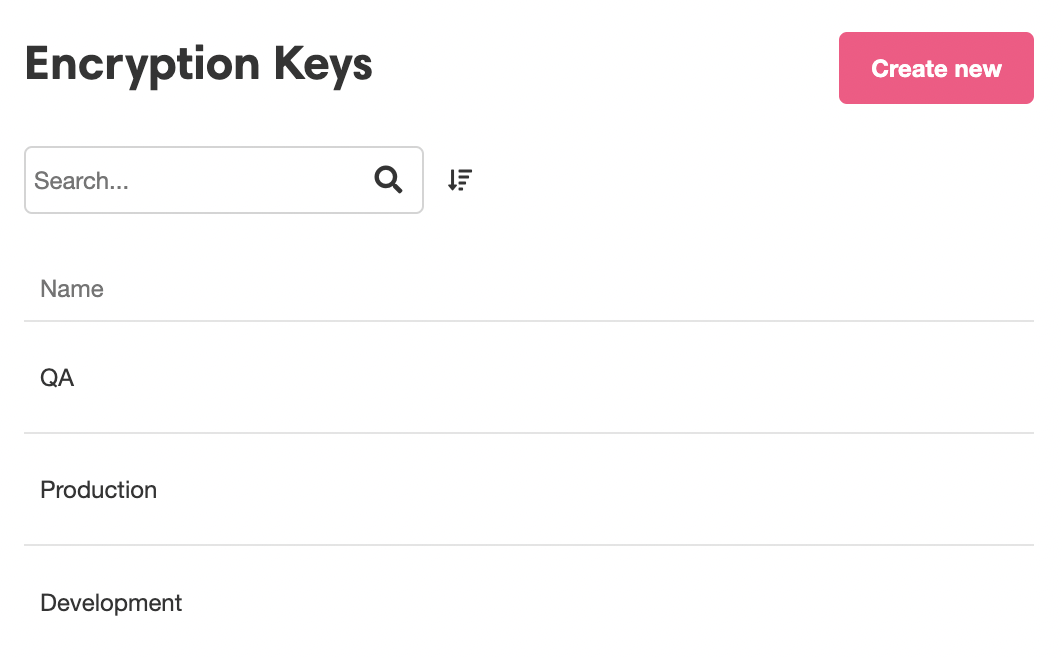
For more on how to create and use encryption keys, check out Encrypting Data.
My Account
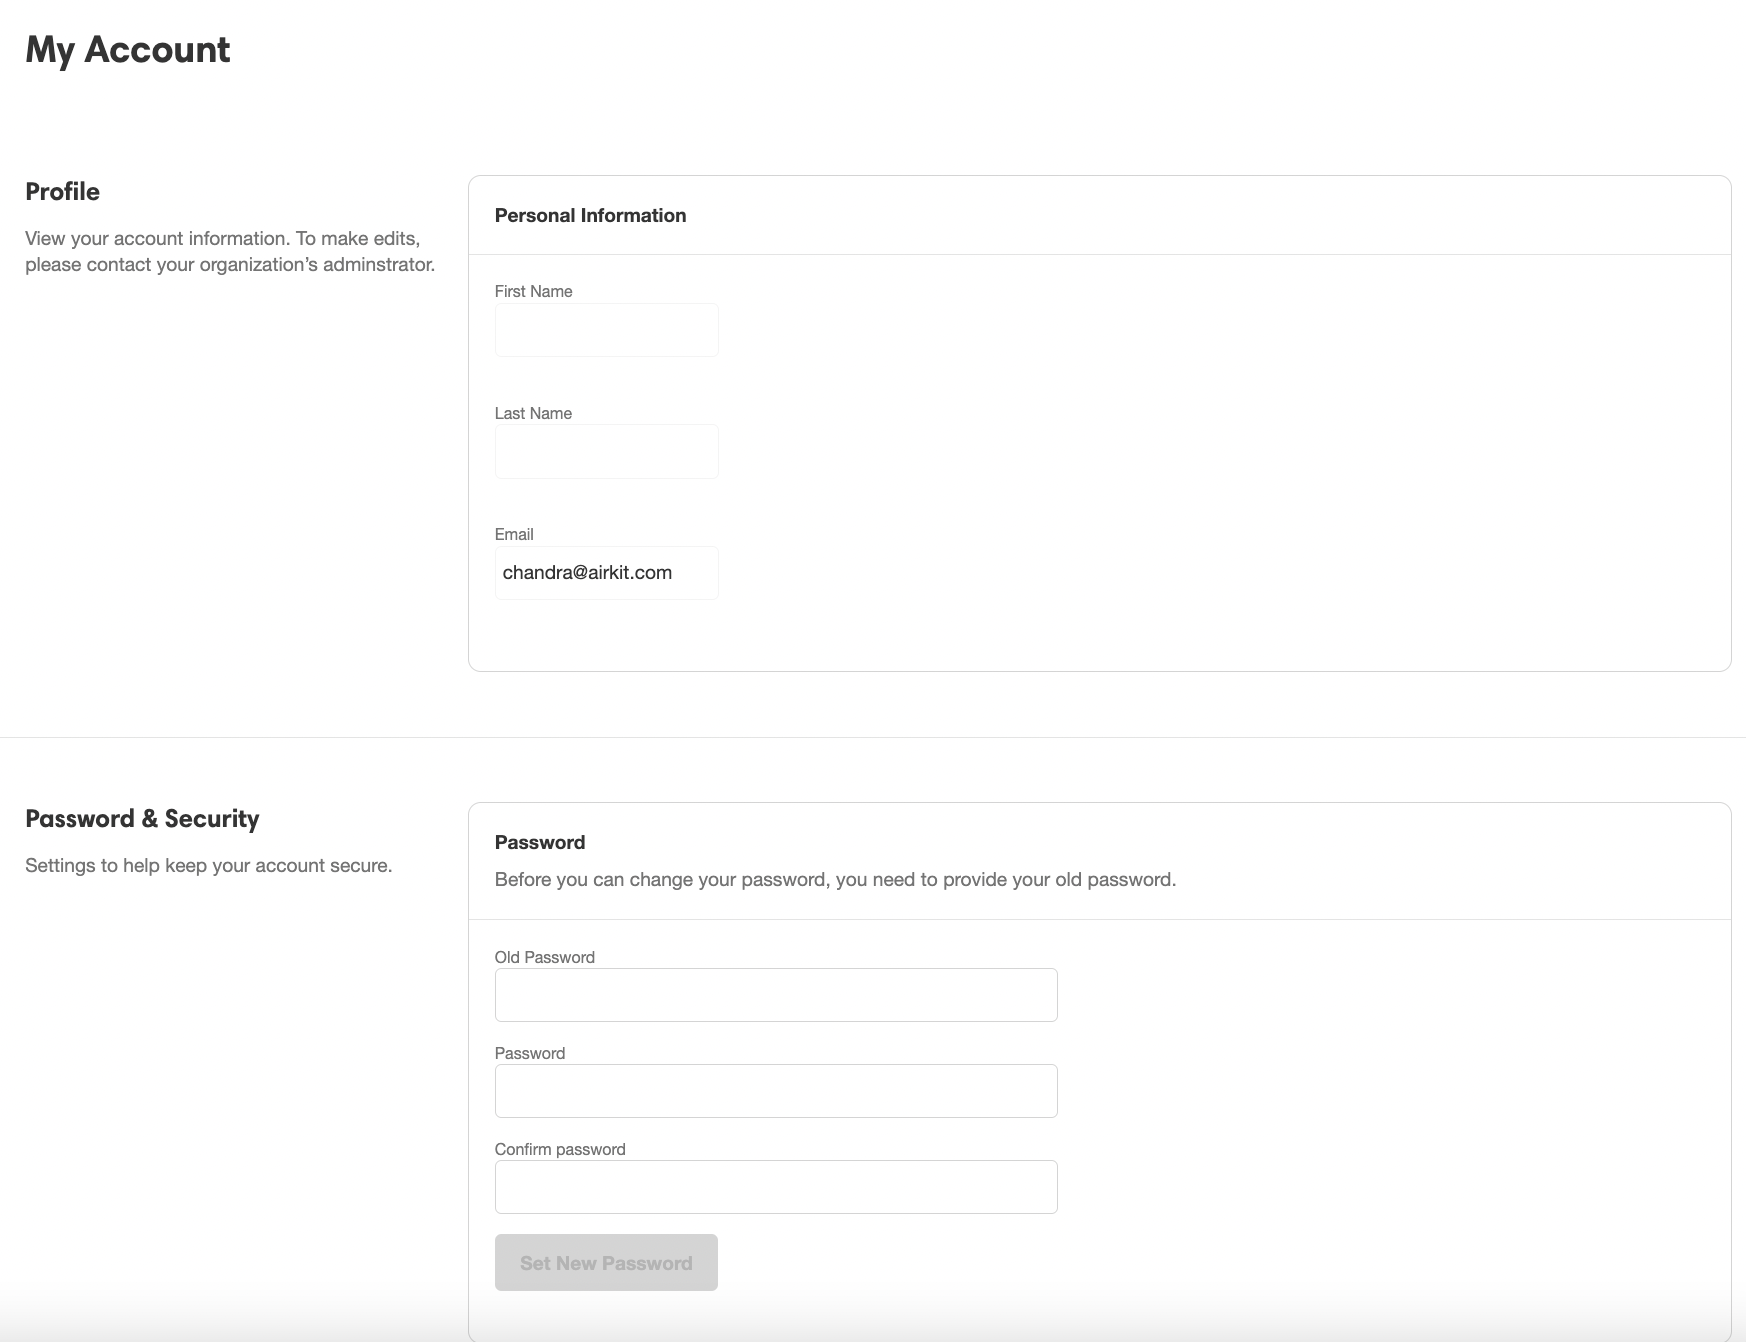
Use the My Account Tab to mange your personal account information, such as:
- Profile - Manage your personal information, such as your name and which email address you want tied to your account.
- Password and Security - Change the password you use to log in.
Billing
Use the Billing Tab to manage the Billing Plan associated with your Organization. This includes changing your Billing Plan, as well as configuring a payment method. You will need to configure a payment method in order to publish any applications in your Org, even if you are using the Free Plan.
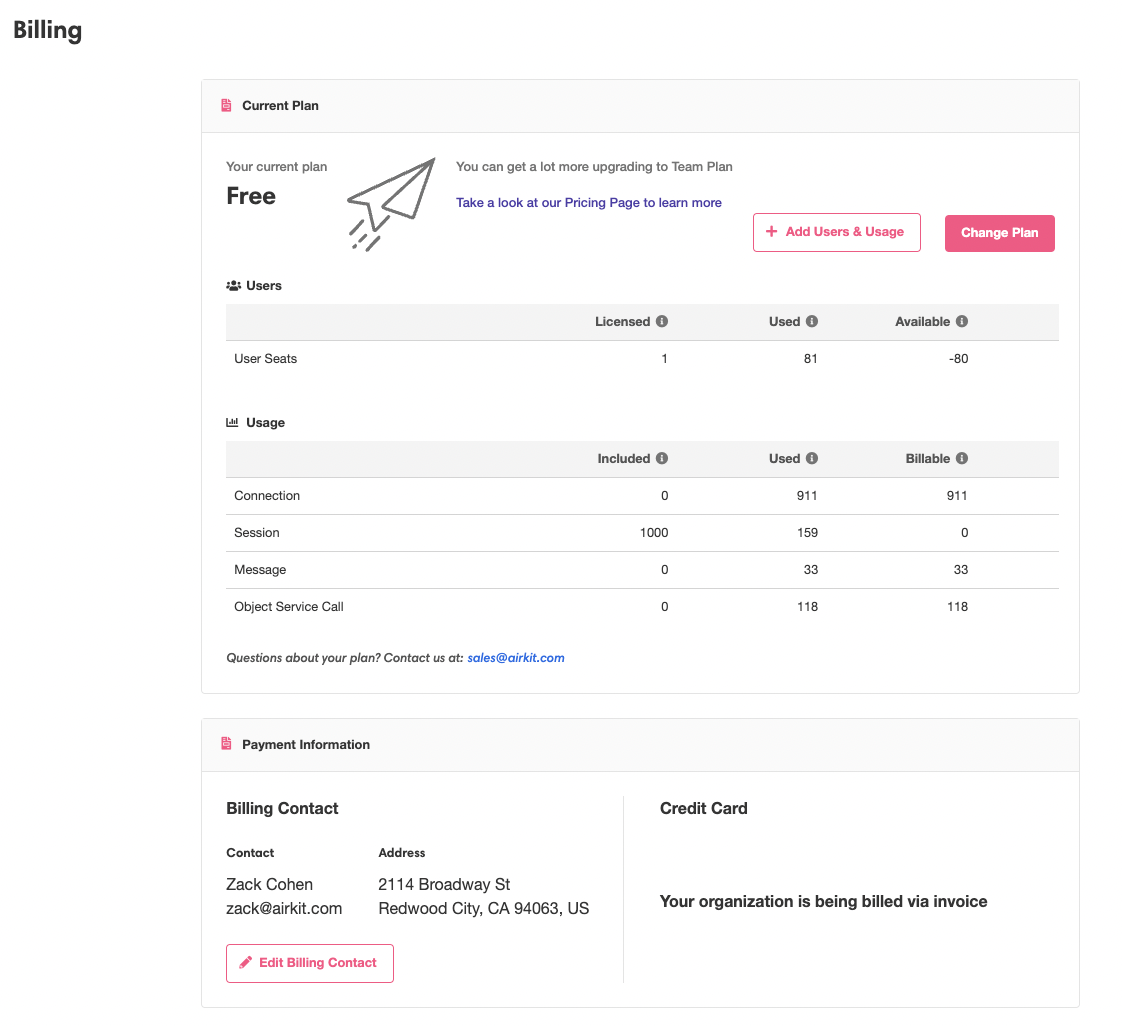
For more about the different Billing Plans, see https://www.airkit.com/pricing/.
Updated 4 months ago