Multi-Page Form
This tutorial covers best practices on how to build a Multi-Page Form.
Building Multi-Page Forms is a very common practice when you need to capture several pieces of information from a user. Accommodating the input fields into separate Web Pages and, inside the Web Pages, into specific Containers, helps with the organization of the Form at the time that presents the user with an easy-to-follow flow.
Unlike Simple Forms, where only a few fields are collected in the same Web Page, here we’ll dive deeper into Variable scopes and how to pass data from Web Page to Web Page.
The Multi Page-Form we will be creating is a web app that captures information and stores it internally in AirData.
Data is requested to the user through a flow of different Web Pages leading them to a Review Web Page from where they can check the entered information. On submitting the form, a Data Flow is triggered to save the information into AirData.
These are the Studio parts we will be working with:
- AirData Builder: Creating the App Object in AirData
- Web Flows Builder: Creating the Form UI
- Connections Builder:
- Creating the Data Flow to Insert Data
- Connecting the Data Flow to the UI
- App Preview: Previewing the App
Creating a Web Flow
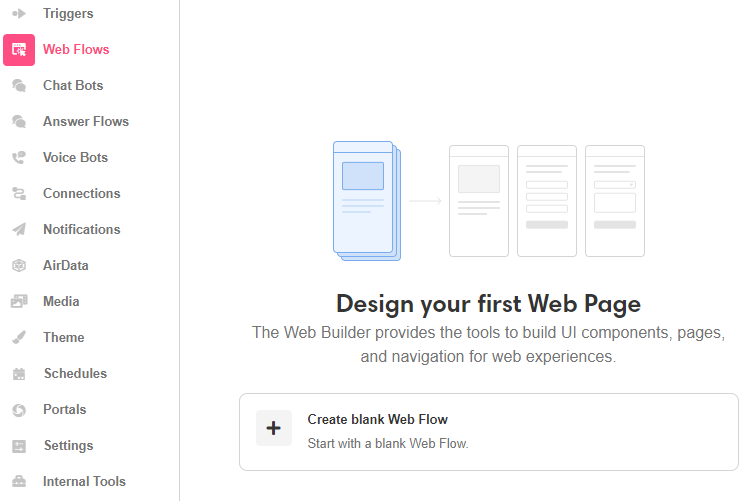
When creating an app, you will first land on Web Flows Builder in the Studio. This is where you'll design and build the front-end experiences of your app.
To do so, click on Create blank Web Flow:

Save your work frequently, so you don't have to worry about losing progress by accident! Click the Save button on the upper left of the Studio, or use the usual keyboard shortcuts: CMD + S or CTRL + S.
Updated 4 months ago