Setting up Email Notifiers
In this document, we'll walk through the process of creating an Email Notifier in the Console. Once an Email Notifier is created in this way, it can be used in any number of deployments to send email alerts upon the occurrence of an Application Error and/or a Custom Log Event Error. For more on the different kinds of errors, see Logging Errors. For more on tying Notifiers to a deployment, see Publish and Manage Deployments.
How to create an Email Notifier

- Scroll down to the Notifiers section and click on the associated Create new button.

- Clicking on this button will open the Inspector, which will contain the tools to define the details of the new notifier being created. In the following example, the notifier is called "error_email_notification":

- Under Destination, select Email:

- Once Email is selected under Destination, a new input box labeled Email will appear beneath it. Enter the email address that you want to send error notifications to. (You will need to check this email address to see related notifications, so make sure you enter an email address that you can easily access.)

- Click on the Create button on the bottom right.

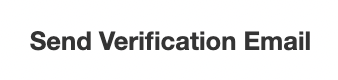
- To finalize the notifier, click on the Send Verification Email Button at the bottom of the Inspector.
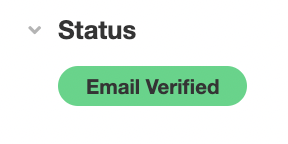
- If properly set up, a verification email should appear in the inbox of the designated email account. Follow the instructions in the verification email and refresh the Console. Upon Inspecting the notifier, you should see the status of the notifier changed to Email Verified:
You have now created an Email Notifier! All apps within your Organization will have access to this notifier. It can be used by any app to send errors of either kind.
Updated 4 months ago