SDK Quickstart
Here, we walk through the simplest possible way to insert an Airkit application into an existing web page using the SDK.
Prepare the Application
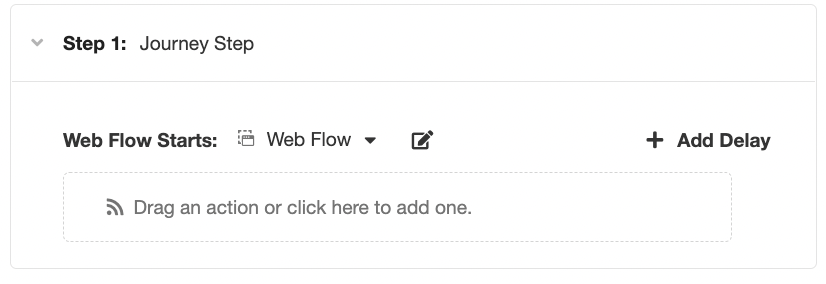
- Create your application as usual. You do not have to drag and drop a Trigger in to the Triggers section of the Journey Builder, but you do need to make sure that the first Step is associated with a Web Flow:

This is the Web Flow that will be initially displayed in your existing web page.
- Toggle over to the Triggers Builder and click on the '+' icon next to the App APIs branch of the Tree. Select Create SDK API from the menu that appears:

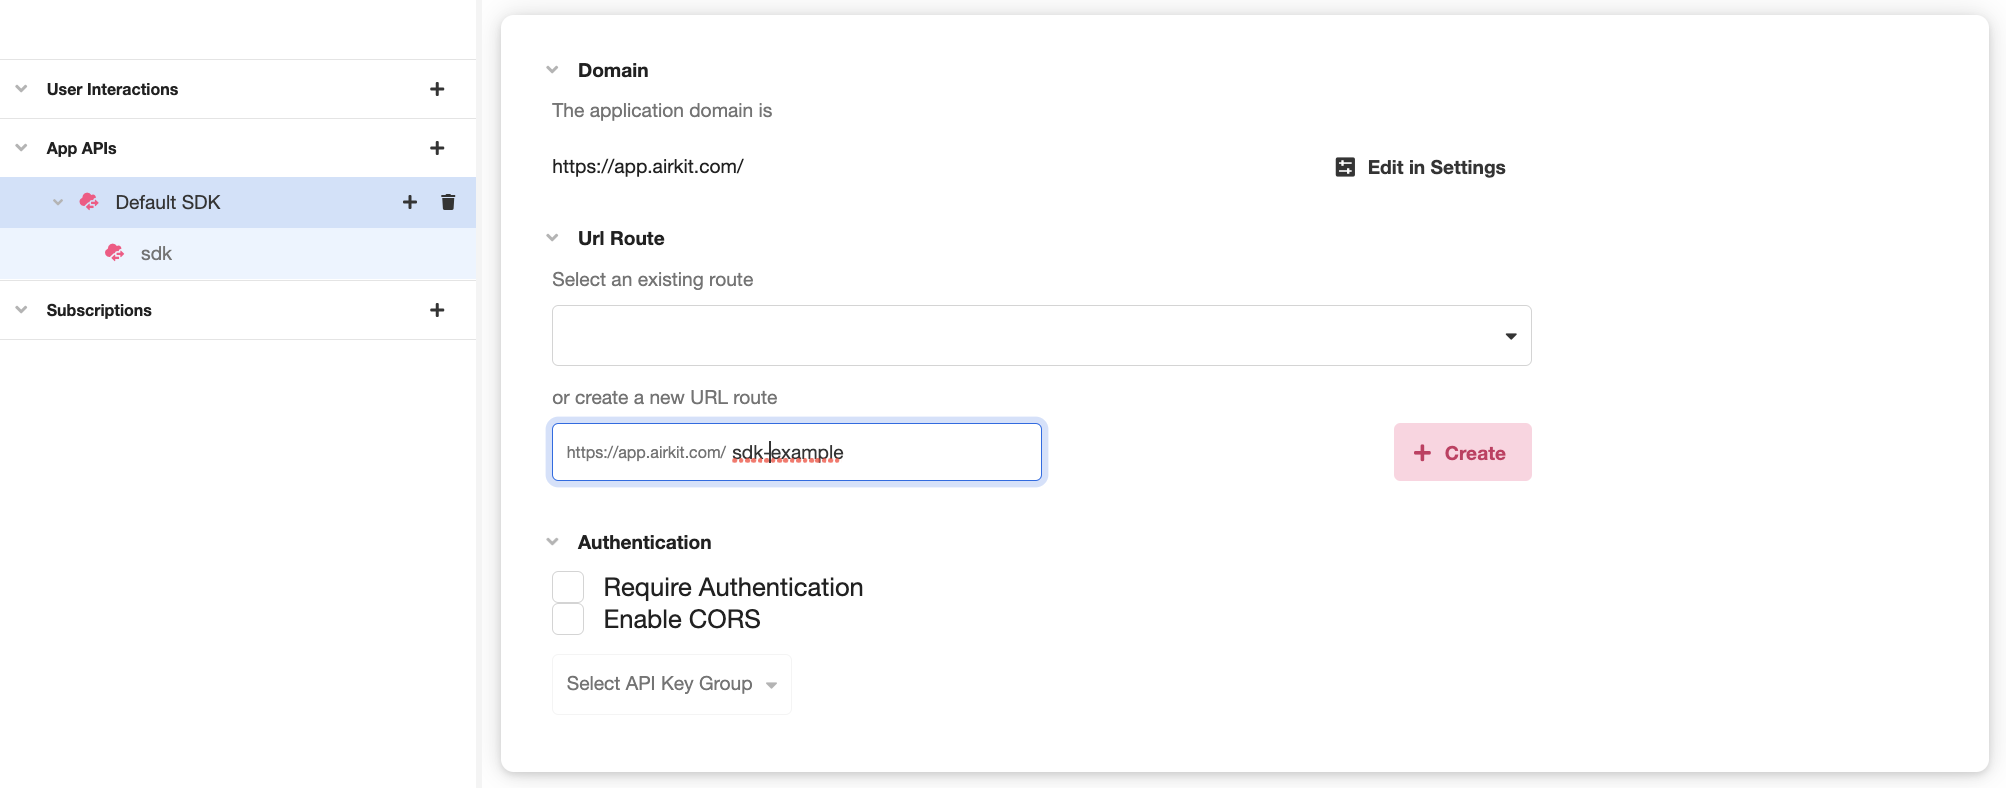
- Upon creating an SDK API, you will be prompted to define its URL Route. Create a new one by adding subdirectory to the root domain, and then clicking the Create button:

Once created, your new URL Route will be selected automatically from the dropdown list of existing routes:

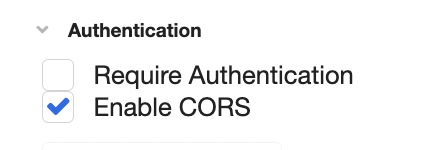
- Under Authentication, make sure Enable CORS is checked:

- SDK APIs are automatically come out of the box with a configured SDK endpoint, which is accessible as
{{URL_ROUTE}}/sdk, whereURL_ROUTEis the URL Route defined in Step 3. There is no need to modify this endpoint, but you should save its full URL for future reference as theSDK_API_URL. - Toggle over Settings. Under Integrations, you should see that your API resource is properly configured:

- Under Target Host Names, add the root URL of the web page you intend to add your application to:

- Save and publish your application.
Configuring your Website
- Add following block of HTML to your existing web page after replacing
SDK_API_URLwith the endpoint configured earlier in the Triggers Builder:
<html>
  <head>
    <meta name="viewport" content="width=device-width, initial-scale=1">
    <meta charset="utf-8" />
    <title>Airkit web SDK</title>
  </head>
  <body>
    <div id="airkit-sdk"></div>
    <script src="https://client.airkit.com/websdk/1.0/airkit_sdk.js"></script>
    <script>
      const sdk = new window.AirkitWebSDK({ renderMode: "inline" })
      sdk.render({ url: SDK_API_URL })
    </script>
  </body>
</html>
Note that the endpoint must be given as a string:
<html>
  <head>
    <meta name="viewport" content="width=device-width, initial-scale=1">
    <meta charset="utf-8" />
    <title>Airkit web SDK</title>
  </head>
  <body>
    <div id="airkit-sdk"></div>
    <script src="https://client.airkit.com/websdk/1.0/airkit_sdk.js"></script>
    <script>
      const sdk = new window.AirkitWebSDK({ renderMode: "inline" })
      sdk.render({ url: "https://app.airkit.com/sdk-example/sdk"})
    </script>
  </body>
</html>- Ship your changes and view your existing web page. Your Airkit application should appear within it.
Updated 4 months ago