Action Chains
Action Chains define how apps respond to triggered Events. They are constructed out of individual Actions.
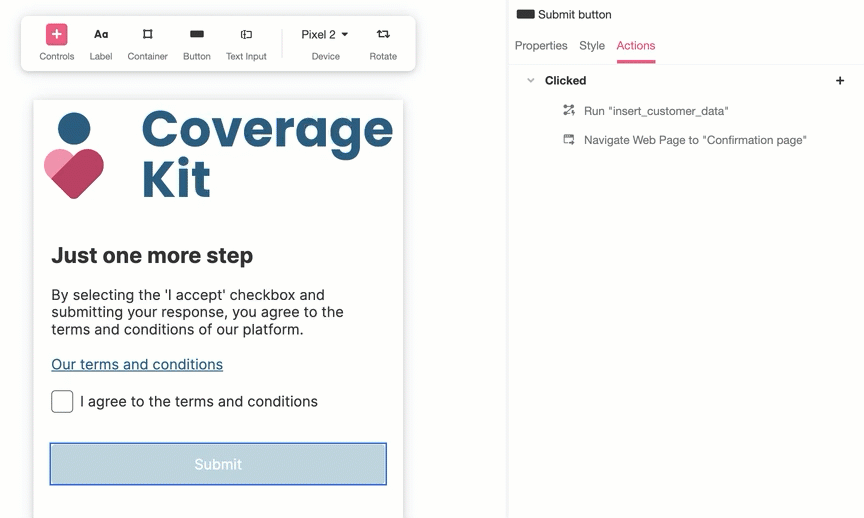
Action Chains are assembled in the Actions tab of the Inspector. The Actions Inspector Tab will available only upon inspecting an element associated with an Event.
Add Action
Clicking on the '+' icon the right of an Event in the Inspector will open the Action Menu as a popup. The left side of the Action Menu are the categories of available Actions.
Select different categories to see the different available Actions associated; categories will appear on the right side of the Action Menu. Select an Action from the right side of the Action Menu to add it to the bottom of your Action Tree.
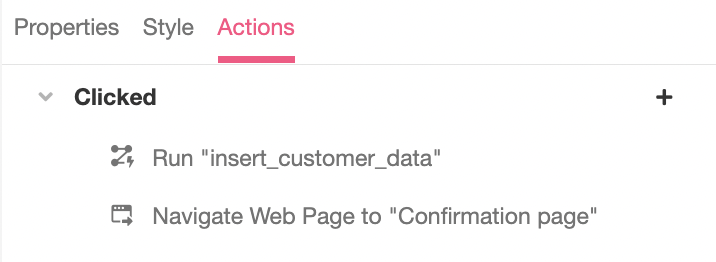
Action Tree
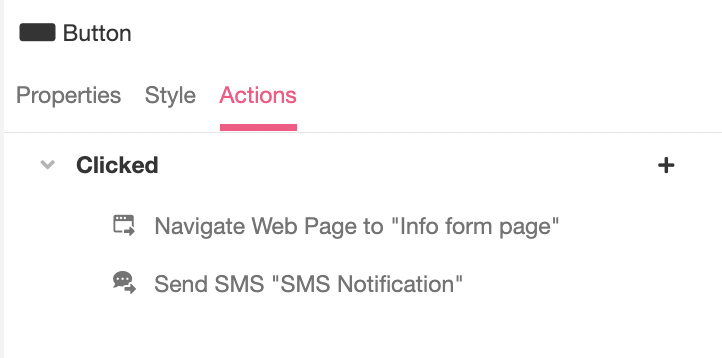
The Action Tree is displays all the Actions that will be performed when a particular Event is triggered. This series of Actions is called an Action Chain. The Actions in the Action Chain will be performed from top to bottom in the order they are listed. For instance, in the following example, upon clicking the relevant button, the user will navigate to another Web Page, and then be sent an SMS Notification:
The Action Tree can contain any number of Actions. Actions can be deleted by clicking the trash can icon to the right of the action. Actions can be re-ordered by clicking and dragging the handle at the left side of the Action.
If an Action throws an error, no downstream Actions will be taken.Be mindful the order of Actions within an Action Chain. Actions are performed in the order they are listed, but if one of the Actions fails and throws an error, the Action Chain will break and none of the downstream Actions will be taken.
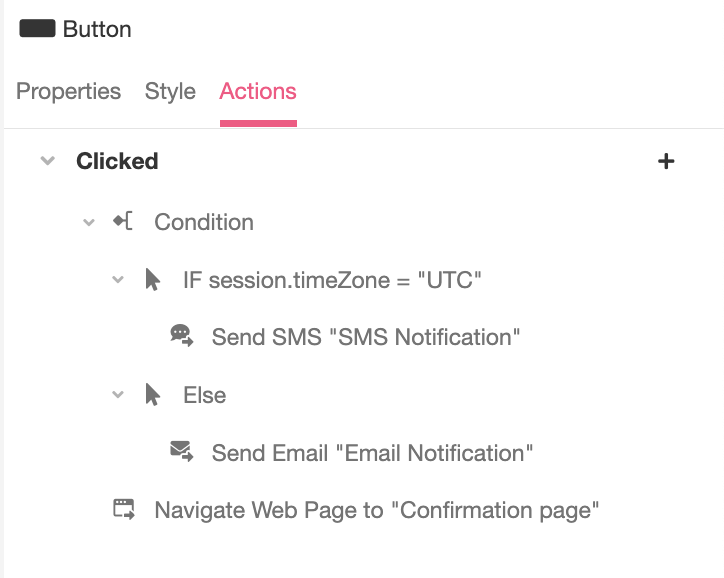
The Action Tree also makes it possible to define Actions that will only be taken conditionally. Actions nested under the the Condition Action in the Action Tree will be taken only when the condition above them is met, and Actions can be dragged into and out of the umbrella of certain conditions as easily as they can be reordered.
The following example show how a simple conditional might appear in the Action Tree. In this example, an SMS Notification is sent only if the variable session.timeZone is a certain value; otherwise an Email Notification will be sent instead. Regardless of which type of Notification is sent, the user will navigate to another Web Page afterwards. Note how the Actions are nested to indicate under what conditions they'll be done:
For more on working with conditionals within the Action Inspector Tab, check out The Condition Action.
Action Editor
Clicking on an Action in the Action Tree will open the Action Editor. This is where you'll be able to edit the configurations of the selected Action.
The editable configurations, and thus the layout of the Action Editor, will vary from Action to Action. For a more detailed dive into how each Action type can be edited, check out the reference documentation for each individual Action here.
Updated 4 months ago