Salesforce Relays
Enterprise FeatureImplementing Conversation Chat Bots requires an ENTERPRISE license. If you would like to enable this feature for your Airkit Organization, please contact your Airkit representative or contact [email protected].
Routing Flows of the Relay type direct Conversations to external chat management systems. One such external chat management system is Salesforce. Here, we provide detailed, step-by-step instructions on how to configure a Salesforce Relay so that it can be used to direct Conversation Chat Bots to Salesforce. For more on Conversation Chat Bots, see Conversation Chat Bots Overview.
To configure a Salesforce Relay, you must first configure your Salesforce Organization. Once everything is configured on the Salesforce side, you can use the relevant identifiers provided by Salesforce to configure the Routing Flow in Airkit.
Configuring Salesforce
Create Organization
Organizations are automatically created as part of Developer Accounts in Salesforce. If you do not have access to a Salesforce Developer Account, you can sign up at https://developer.salesforce.com/signup.
Get Salesforce Organization Identifier
Once you have access to your Salesforce Developer Account, you'll be able to access your Organization Identifier.
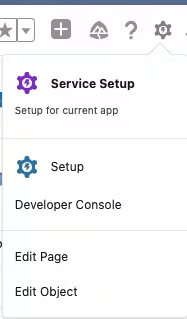
- Click on the ' Setup' icon that appears in the upper-right corner and select Setup:
- Navigate to Company Settings > Company Information:
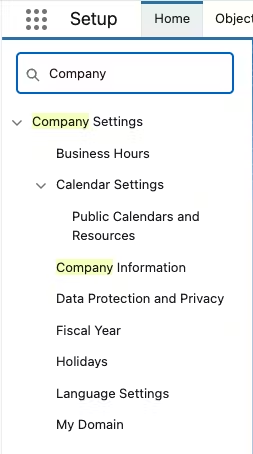
- You should see a list of account information. Save the value of the "Salesforce.com Organization ID". This will correspond to the Organization id field when creating the Routing Flow in Airkit.
Set Up Chat with a Guided Setup Flow
In order to use Salesforce as a chat management system, you need to define how Salesforce should handle chat.
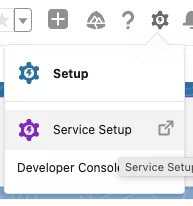
- Click on the ' Setup' icon that appears in the upper-right corner and select Service Setup:
- Click on the 'Recommended Setup' panel and select 'View All':
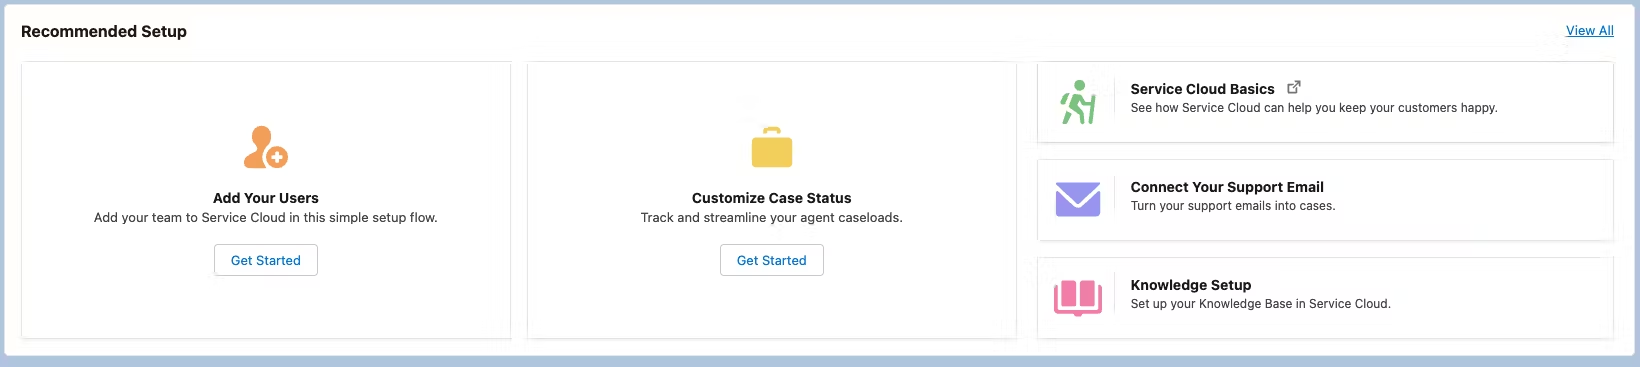
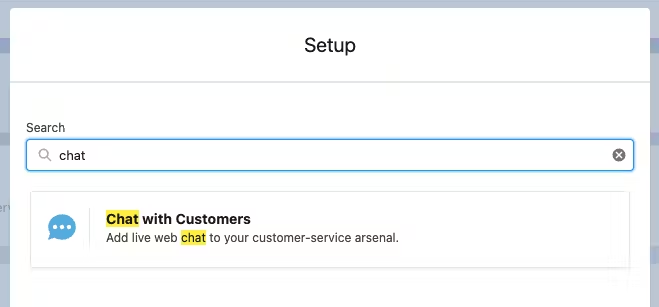
- Search for and select the 'Chat with Customers' flow:
- Follow the instructions provided by Salesforce.
Get Chat Button Identifier
Configuring a Salesforce Relay in Airkit requires the Chat Button Identifier.
- Click on the ' Setup' icon that appears in the upper-right corner and select Service Setup.
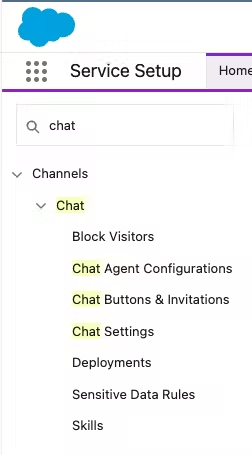
- Navigate to Channels > Chat > Chat Buttons & Invitations
-
Click on the created Queue in the Guided Setup Flow
-
Under 'Chat Button Code' panel, save the value passed to the 'startChat' method. This will correspond to the Button id field when creating the Routing Flow in Airkit.
Get Chat Deployment Identifier
Configuring a Salesforce Relay in Airkit requires the Chat Deployment Identifier.
- Click on the ' Setup' icon that appears in the upper-right corner and select Service Setup.
- Navigate to Channels > Chat > Deployments:

-
Select the relevant deployment.
-
Under the 'Deployment code' panel, you will see the
liveagent.initmethod. It should be formatted asliveagent.init(value1, value2, value3). Save the value ofvalue2. This will correspond to the Deployment id field when creating the Routing Flow in Airkit.
Get Chat API Hostname
Configuring a Salesforce Relay in Airkit requires the Chat API Hostname.
- Click on the ' Setup' icon that appears in the upper-right corner and select Service Setup.
- Navigate to Channels > Chat > Chat Settings:

-
Click on the created Queue in the Guided Setup Flow.
-
Under the 'API Information' panel, save the hostname given by the Chat API Endpoint field. This will correspond to the API hostname field when creating the Routing Flow in Airkit.
Configuring a Routing Flow that connects to Salesforce
Before a Routing Flow can be configured, a Conversation Hub must be created to tie it to. If a Conversation Hub has not yet been created, see Configuring Conversation Chat Bots for more on how to create Conversation Hubs.
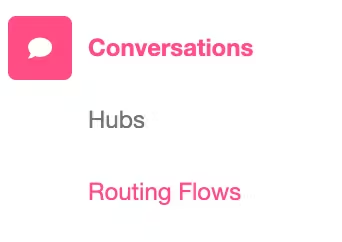
Routing Flows are configured in the Console, under Conversations > Routing Flows:
Once there, click on the 'Create New' button, and fill out the following fields in the Console Inspector:
- Under Conversation Hub, select the Conversation Hub you want to associate the Salesforce Relay with.
- Under Type, select Relay.
- Under Relay Settings > Relay Type, select Salesforce.
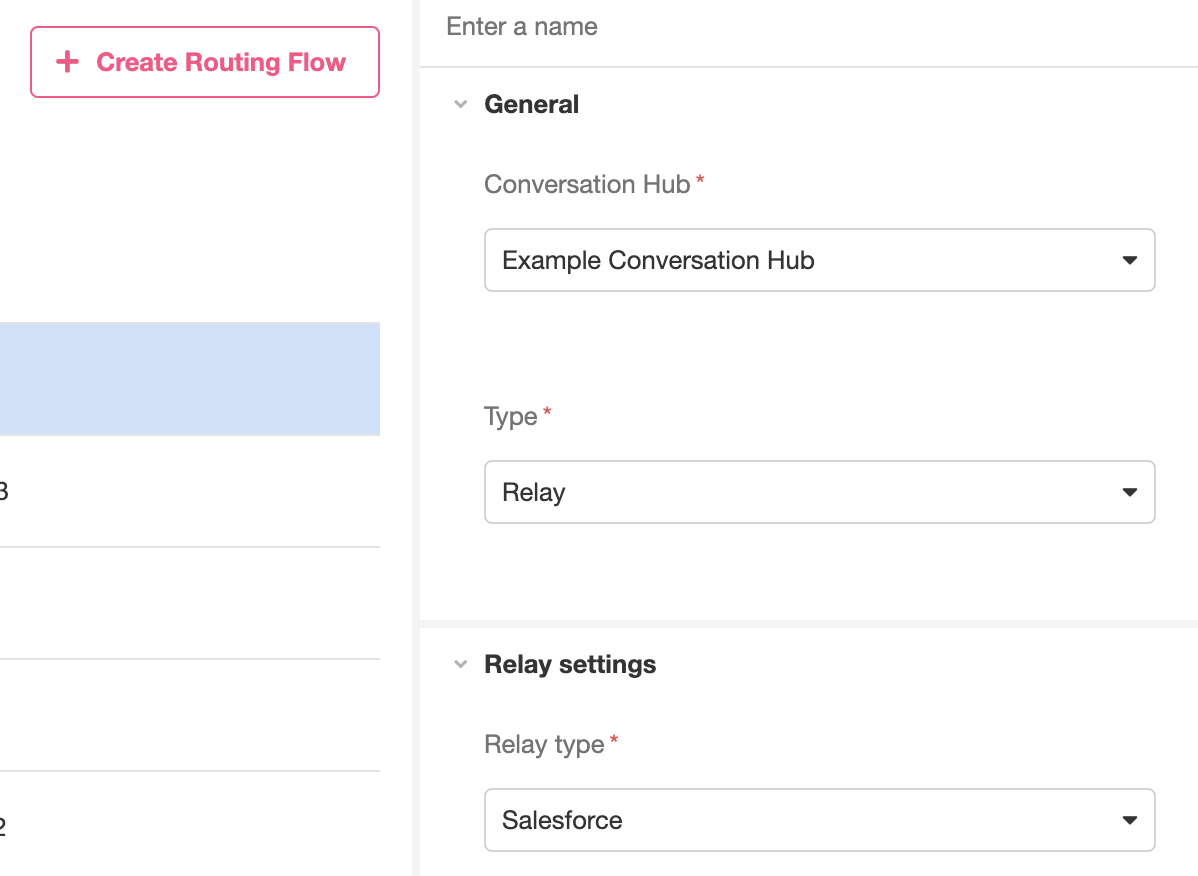
This will provide the fields to enter the information previously collected from Salesforce, where:
- Button id → Chat Button Identifier
- Deployment id → Chat Deployment Identifier
- Organization id → Organization Identifier
- API hostname → Chat API Hostname
Once you have entered this information, click the 'Create' button on the bottom right of the screen. This will create a Routing Flow that will Relay Conversations to your Salesforce account.
Updated 4 months ago