Styles, Themes, and Templates
This tutorial will walk you through an introduction to styling and themes by using an KitCloud template as a base.
KitCloud Templates provide you with a complete application flow, allowing you to start from a pre-built app and make customizations as you see it fit.
Check out this tutorial if you want to learn more about:
- Working with and customizing KitCloud templates
- Creating custom UI components
- Styling
- Uploading and working with custom assets, such as pictures or fonts
- Adding headers
Here are the parts of the Airkit platform that you will be working with:
- App Preview: Preview the application flow from the perspective of a user.
- AirData Builder: View data collected from users.
- Web Flows Builder: Create and modify the UI.
- Media Library: Manage assets, including pictures and custom fonts, for use within the application.
- Theme Builder: Make stylistic changes that apply throughout your entire application.
Working with a Template
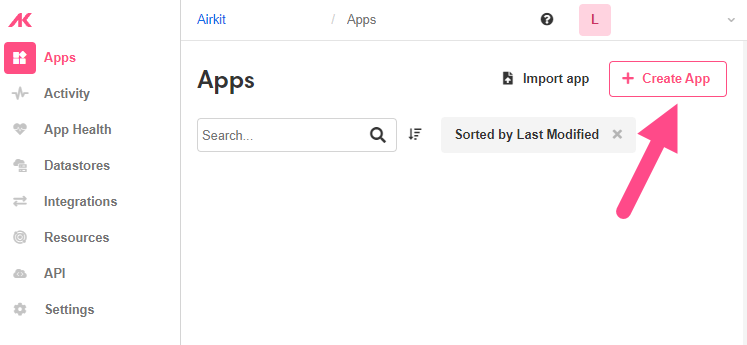
- From the Console, click on Create App.
-
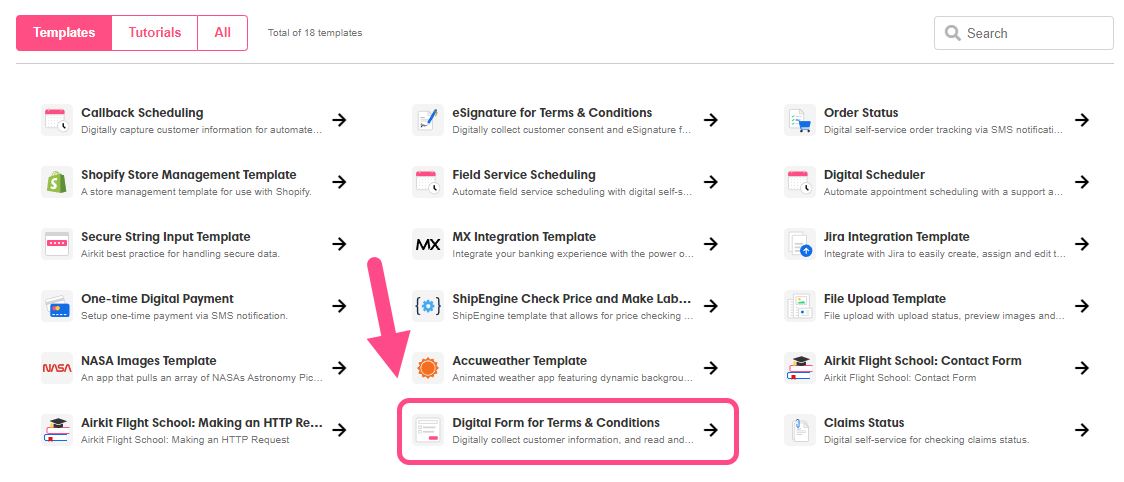
Select the Digital Form for Terms and Conditions template.
-
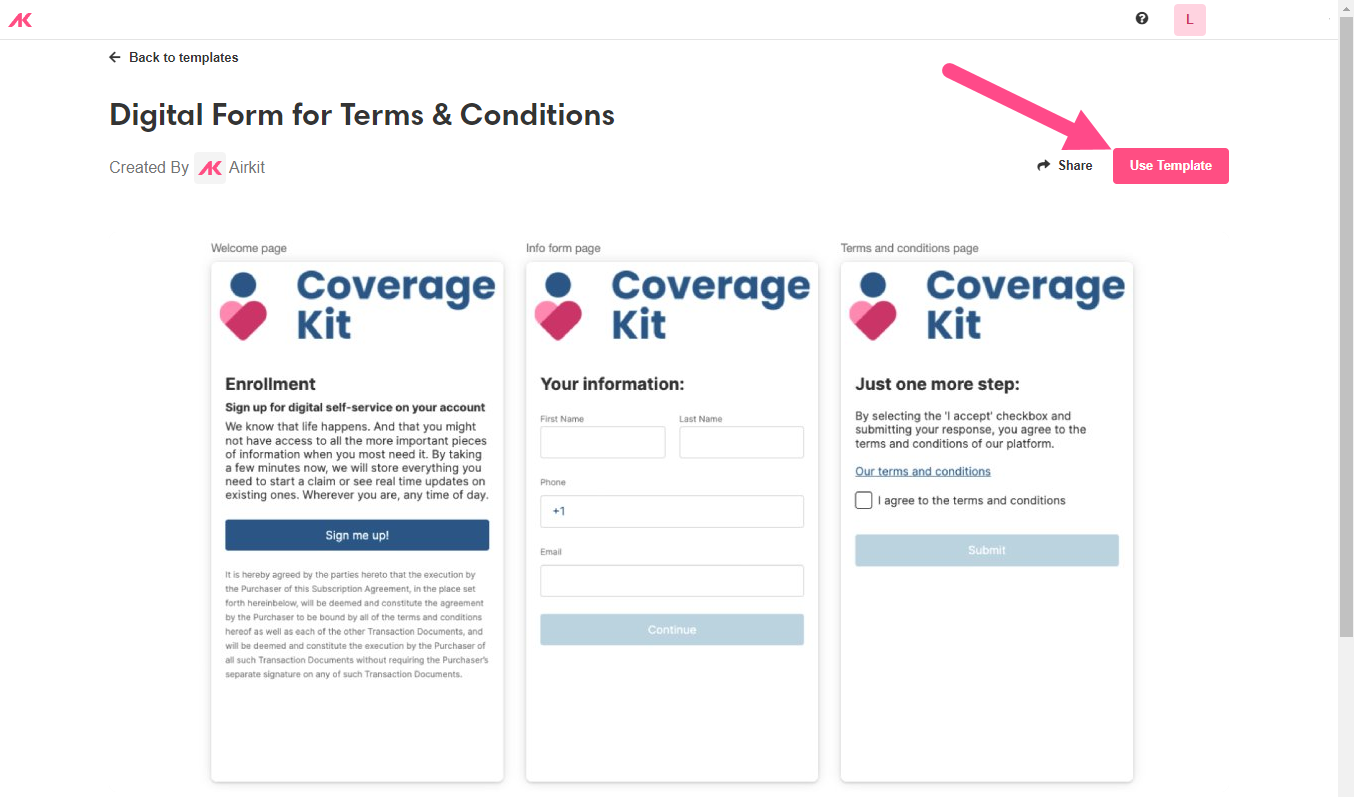
Click on Use Template.
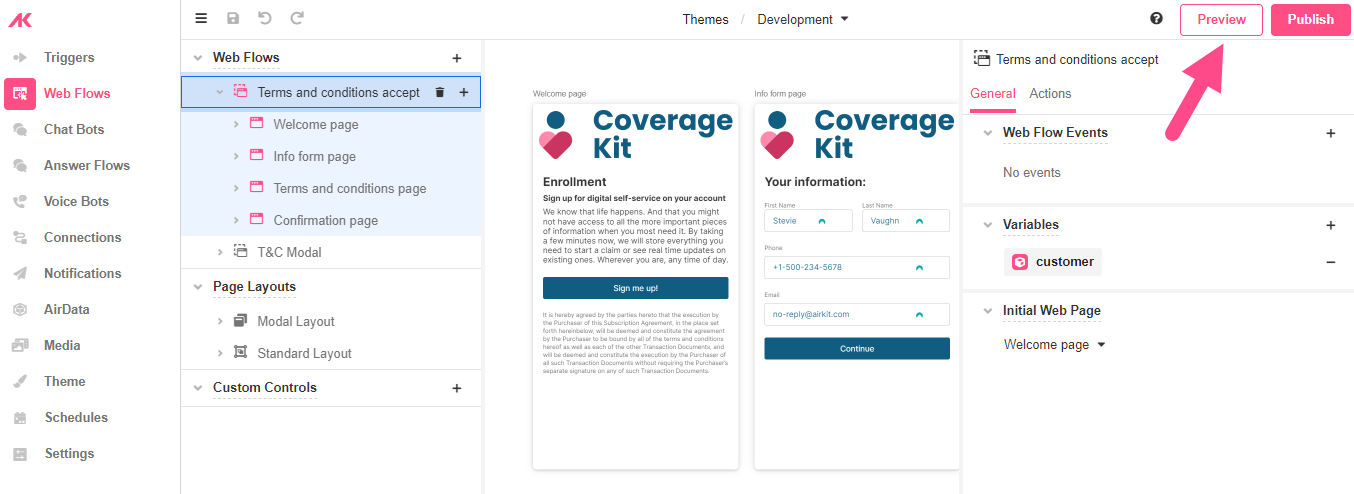
The template will open up in Studio.
- Click on Preview at the top right corner in order to take a look at the preset application flow.
Previewing the app
Clicking on the Preview button opens the App Preview App Preview Window. This allows you to go through an emulated application Session from a user's perspective. You can also choose the device you want to emulate a Session on, by selecting it on the dropdown list located on the top of the Preview page.
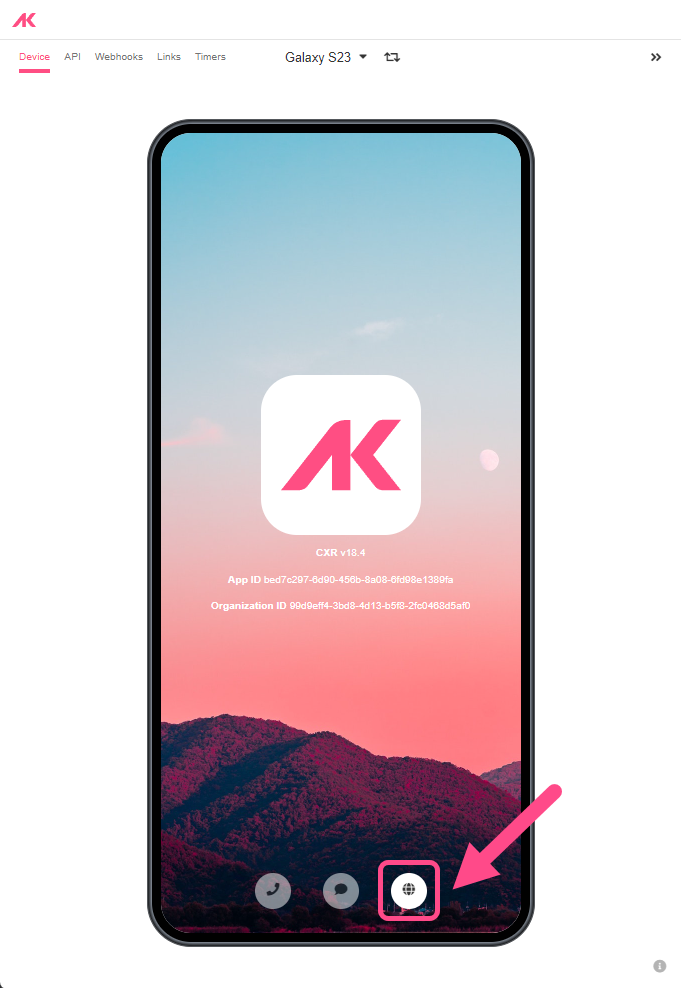
- Since this is a web app, click on the web icon to start.
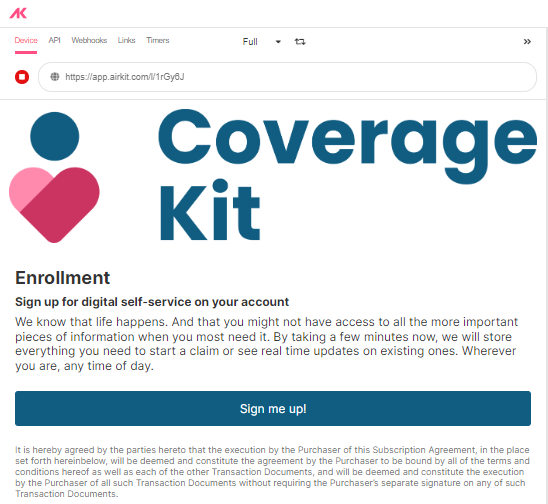
- You’ll land on the first Web Page, so click on Sign me up! to move forward.
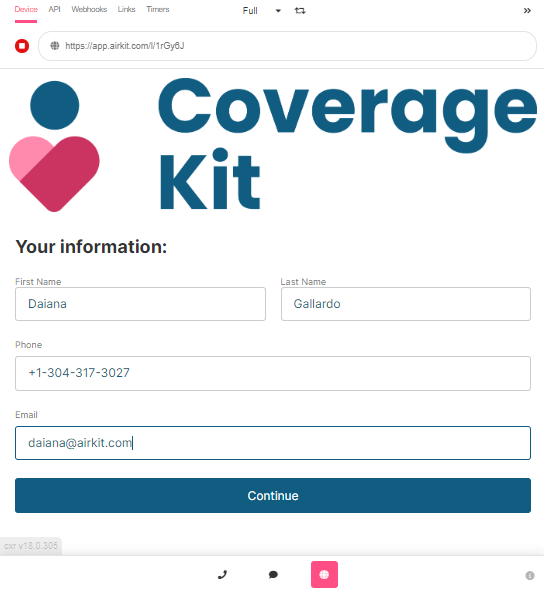
- Enter some dummy information and click on Continue.
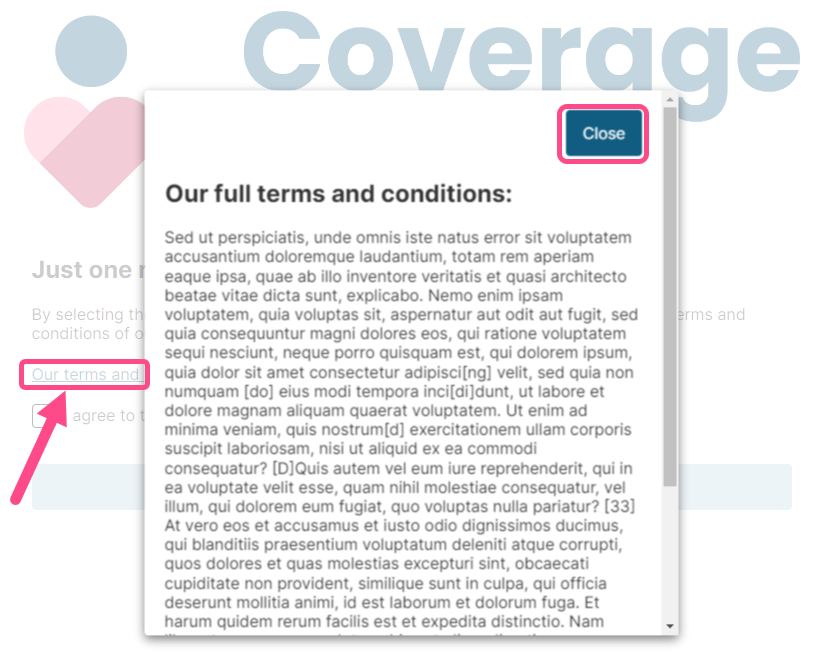
You’ll be then directed to the Terms and conditions page, where you will have access to the Terms and Conditions.
- Click on the link for the Modal to pop up. You'll see a paragraph of Lorem Ipsum text. This is intended to serve as a placeholder for your own terms and conditions.
- Close the Modal to go back to the Web Page.
- Select the box to agree to the T&C and click on Submit.
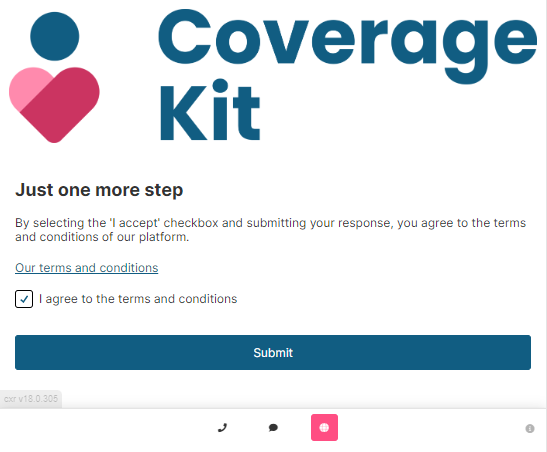
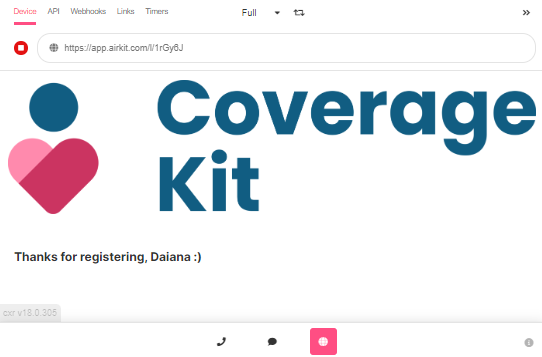
- You’ll get a personalized thank you message.
Now, let’s go back to Studio to see how the information entered in App Preview was saved.
- Go to AirData Builder and find the information in the
terms_tableApp Object:

What is an AirData App Object?
AirData
AirData is a database tied to an Airkit app's profile, allowing records to be stored for collection or retrieval, even after a user has closed the app or ended their Session. Information within AirData is structured according to AirData App Objects.
App Objects ensure sure there is a schema available to structure the information collected by the Web Page fields when building the UI. If you don’t want to keep the captured information in an AirData table, you can create a Custom Data Type instead. Custom Data Types do not store information long-term, but still make it possible to structure data in accordance to the expectations of external system of record, which you can send information to via the HTTP Request Data Operation. For more information on Data Operations and Data Flows, we recommend going through the contents of Building A Contact Form.
Editing the Modal
Once a KitCloud template has been used to create an application, it can be edited in the same way that any other application can.
We're going to change the terms and conditions from Lorem Ipsum text to our own custom message.
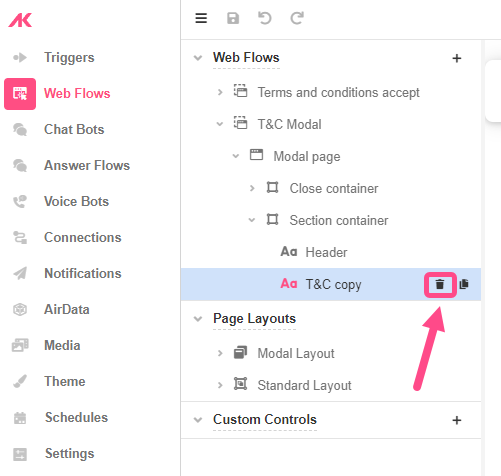
- Go to Web Flows Builder and select the T&C copy Label Control.
- In the Properties tab of the Inspector, the text can be changed from General > Text.
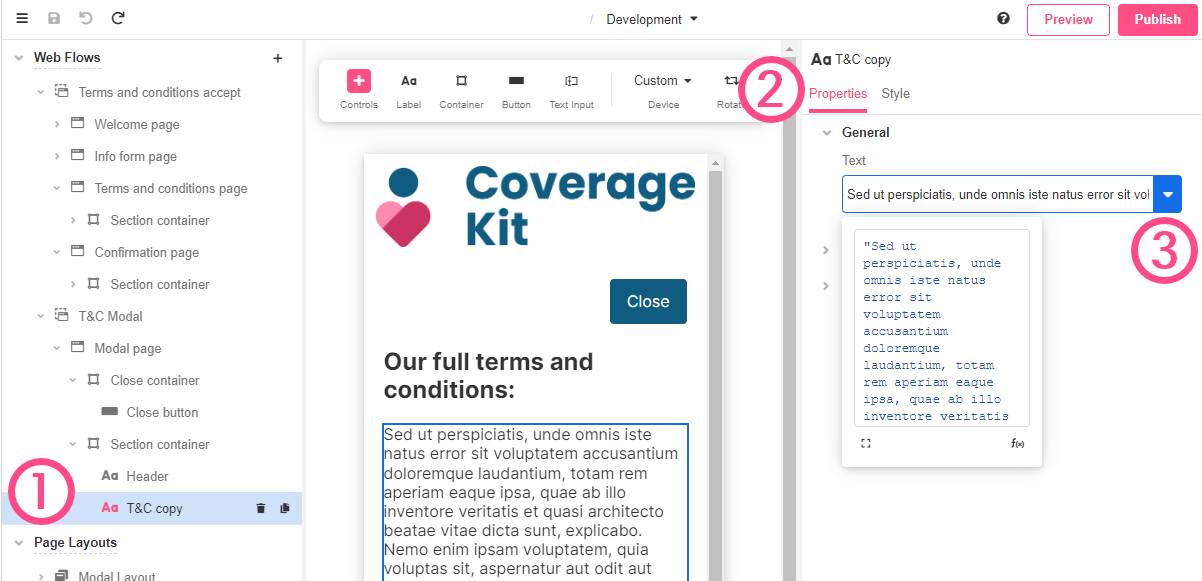
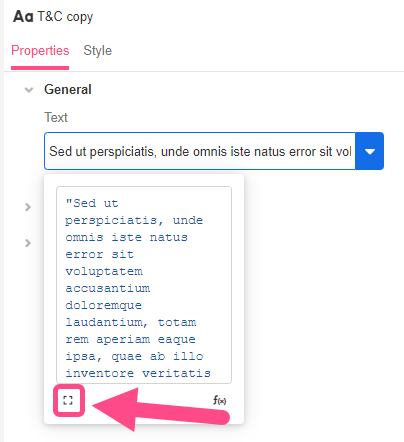
- You can expand the Expression Editor and type a more appropriate text. Bear in mind that the Expression Editor expects an Airscript expression, therefore the introduced text must be between quotes to designate it a string.
What is Airscript?
Airscript
Airscript is a programing language specialized for data manipulation: it's by strategically combining Airscript with input from app users that you control the order, flow, and nature of the interactions between your Airkit apps and the outside world. To get started experimenting with Airscript, see Airscript Quickstart.
- We can also take advantage of the Markdown Web Control to replace the Text Web Control with something more enriched. Delete the Text Web Control called T&C copy by using the bin icon next to its name in the Tree.
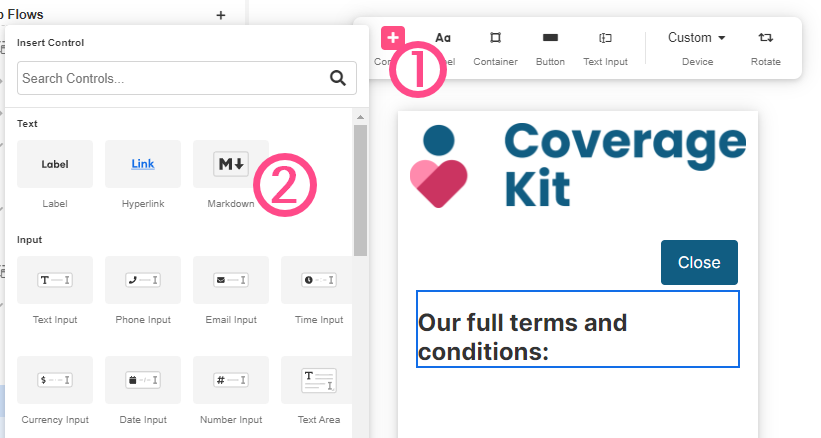
- Create a new Markdown Control by clicking the '+' Controls button in the toolbar and then selecting the Markdown Web Control from the options that appear.
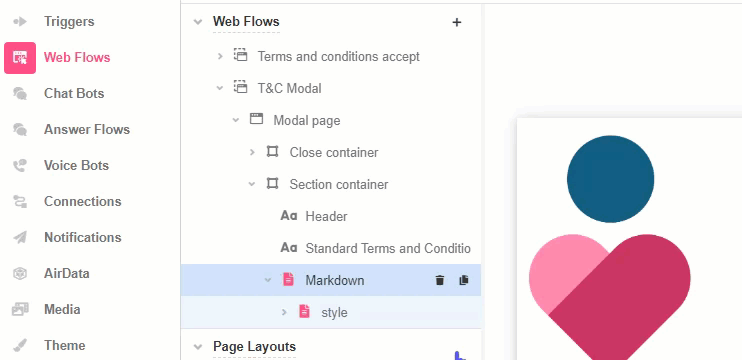
- Rename the Markdown Control " T&C copy" by double clicking on it where it appears in the Tree:
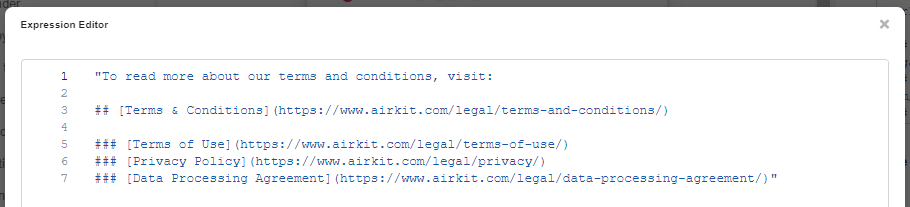
- In the Properties tab of the Inspector, enter the following Airscript into the text box under General> Text:
"To read more about our terms and conditions, visit:

## [Terms & Conditions](https://www.airkit.com/legal/terms-and-conditions/)

### [Terms of Use](https://www.airkit.com/legal/terms-of-use/)
### [Privacy Policy](https://www.airkit.com/legal/privacy/)
### [Data Processing Agreement](https://www.airkit.com/legal/data-processing-agreement/)"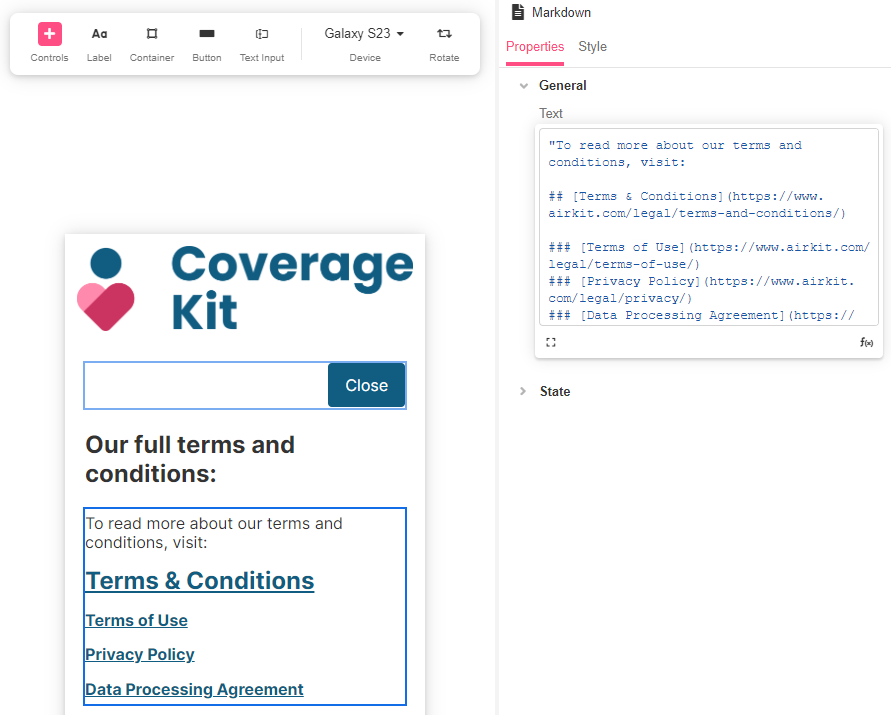
Notice how we formatted each title as Header 2 and Header Header 3 by using Markdown notation. We also assigned a Hyperlink to each of them.
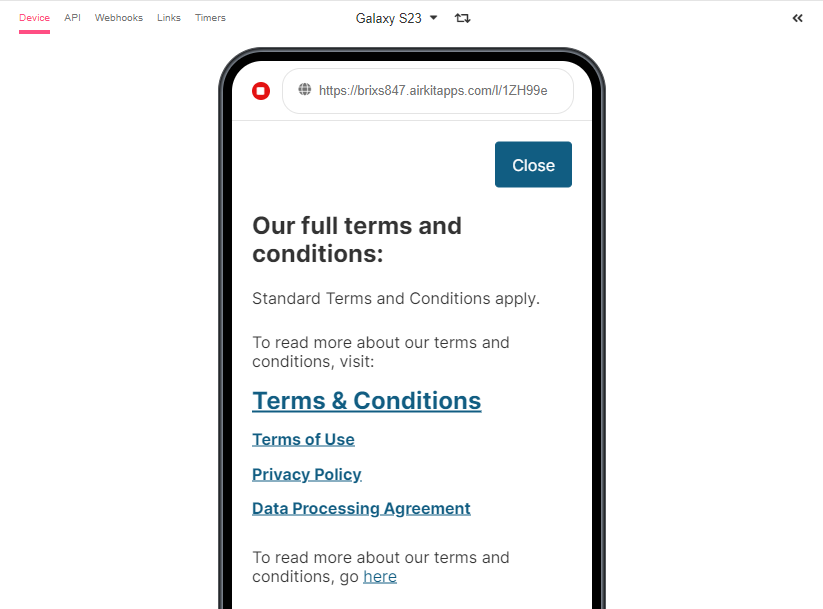
- Save the app and go to Preview again to go through the flow one more time and see the changes in the Modal:

Updated 4 months ago