Building A Contact Form
We recommend building a simple Contact Form as your first application. Building a simple Contact Form provides a digestible introduction to the Airkit component parts.
We're going to design an app that captures users' contact info and then stores that information back to AirData.
What is AirData?
AirData
AirData is a datastore tied to an Airkit app's profile, allowing records to be stored for collection or retrieval, even after a user has closed the app or ended their Journey. Information within AirData is structured according to AirData App Objects, such as the Contact Object described later in this tutorial. For more information on how data is structured in AirData, see documentation on AirData App Objects.
Once stored in AirData, information can be used or analyzed in a variety of ways, both outside and within Airkit apps. AirData Querying Capabilities dives deeper into how to access information stored in AirData.
These are the Studio parts you will be working with:
- Web Flows Builder: Creating the Contact Form UI
- AirData Builder: Creating the App Object in AirData
- Connections Builder:
- Creating the Data Flow to Insert Data
- Connecting the Data Flow to the UI
- App Preview: Previewing the App
Creating a Web Flow
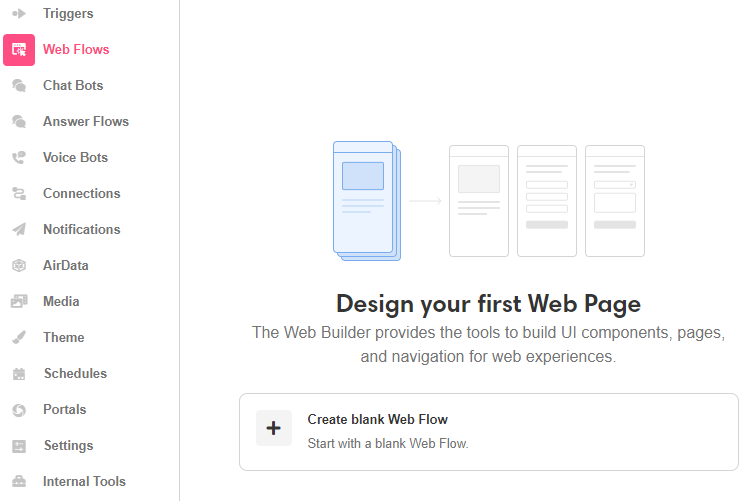
When creating an app, you will first land on Web Flows Builder in the Studio. This is where you'll design and build the front-end experiences of your app.
To do so, click on Create blank Web Flow:
What is a Web Flow?
Web Flows
Web Flows are containers for Web Pages. A user's Journey will frequently consist of multiple Web Pages, which will be sorted into Web Flows. Each Web Flow is typically built around a particular purpose, such as collecting a user's contact information.
Because the application being made in this tutorial is, by design, very simple, it consists of only a single Web Flow. However, Airkit applications can consist of any number of Web Flows, and when building out long, complicated Journeys, properly designated Web Flows are an important component of keeping app components organized.
The article Web Flows goes into more depth on what Web Flows are and how they are used.
Save your work frequently, so you don't have to worry about losing progress by accident! Click the Save button on the upper left of the Studio, or use the usual keyboard shortcuts: CMD + S or CTRL + S.

Updated 4 months ago