Custom Integrations (Petfinder App)
Part I - Setting up the integration
This tutorial covers how to build an app that facilitates pet adoption through a custom integration with the open-source API, Petfinder. Check out this tutorial if you want to learn more about:
- Creating custom integrations
- Querying external APIs
- Working with data pulled from external sources
- Displaying repeating elements
Here are the parts of the Airkit platform that you will be working with:
- Console: Configuring your integration
- Settings: Tying the integration to the Journey
- Web Flows Builder: Creating the UI
- Connections Builder: Querying the API and reformatting the data
- Media Library: Uploading pictures to display in the UI
- Variable Tree: Manage local variables
For a demonstration how this application will work once we're finished, check out this video:

You will also be creating a free account with https://www.petfinder.com/ as part of the process of integrating with their Petfinder API.
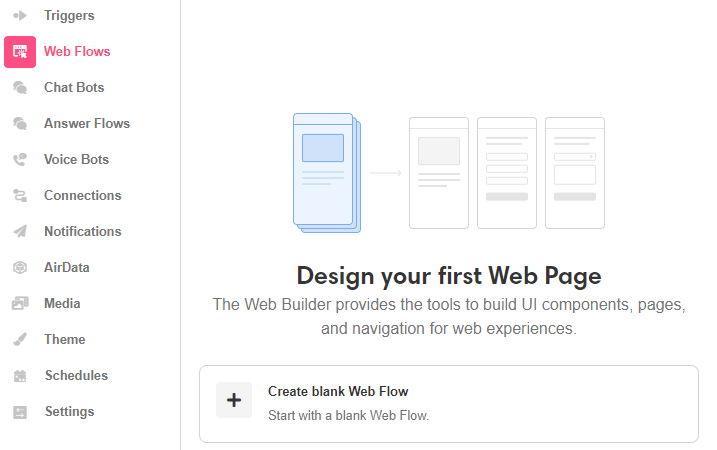
Creating a Web Flow
When creating an app, you will first land on Web Flows Builder in the Studio. This is where you'll design and build the front-end experiences of your app.
To do so, click on Create blank Web Flow:
Setting up the Petfinder API
To integrate with the Petfinder API, you need to register an application and obtain the API key and Secret. To get an API key, you need to create a Petfinder account.
- Create an account at https://www.petfinder.com/user/login/
- Once logged in, go to www.petfinder.com/developers and complete the form with your app details.
- Finally, click on Get a key.
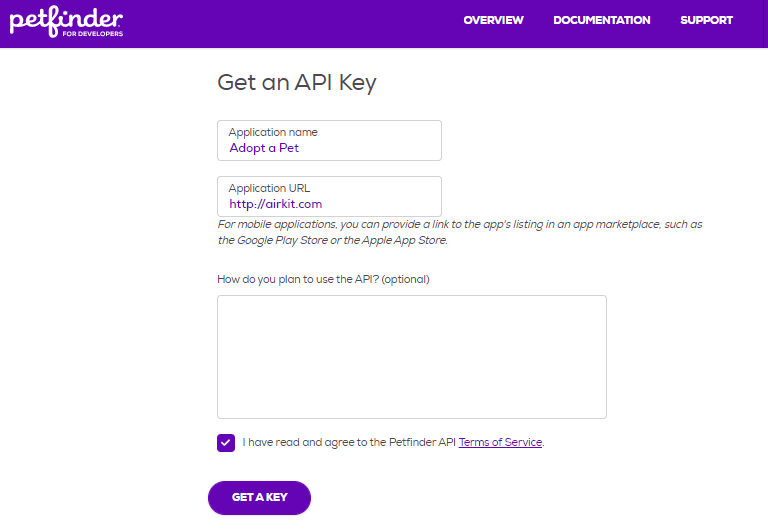
Now your API Key and Secret are ready to be used to integrate your Petfinder account with your app.

Creating the Custom Integration
Now that you have the API Key and Secret, go back to the Console to establish your custom integration. We recommend doing so while keeping Petfinder's reference documentation open, to keep the configuration details handy.
Why does the integration process require leaving the Studio and making changes in the Console?
Keeping track of integration credentials is done at the Org-level rather than within individual applications. Once a resource has been established, it can be used in all applications within the Organization.
This saves time in the long run: integrations only need to be established once, and the inherent standardization of the connections makes it easier to use external tools as a single source of truth within multiple Airkit apps.
-
Click on Integrations on the left side menu. Select Custom Integrations and click on Create Custom Integration

-
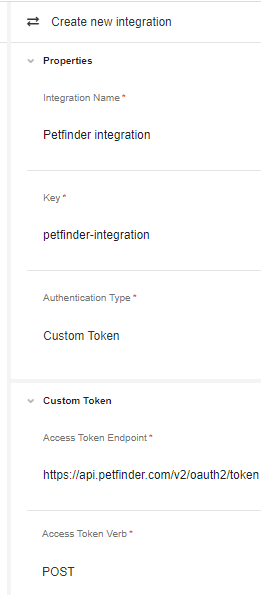
A few fields will display for you to complete as follows:
- Designate your integration with an intuitive name, such as "Petfinder integration".
- Enter “petfinder-integration” under Key. This will be used to identify the integration.
- Select Custom Token as the Authentication Type.
- Under Access Token Endpoint, enter the following URL from Petfinder's API reference docs: https://api.petfinder.com/v2/oauth2/token
- Select POST under the Access Token Verb.
-
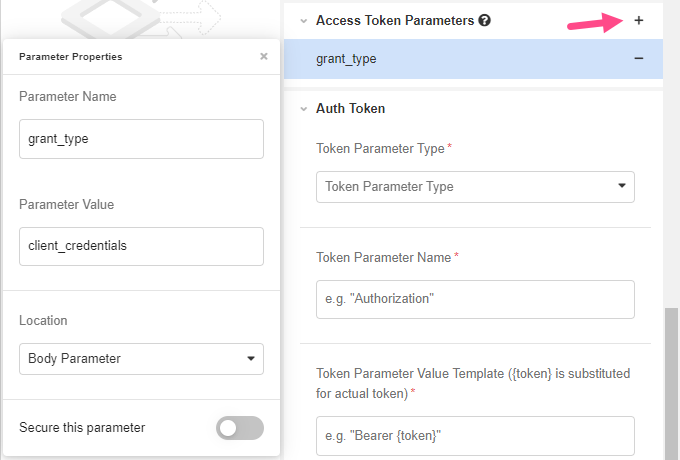
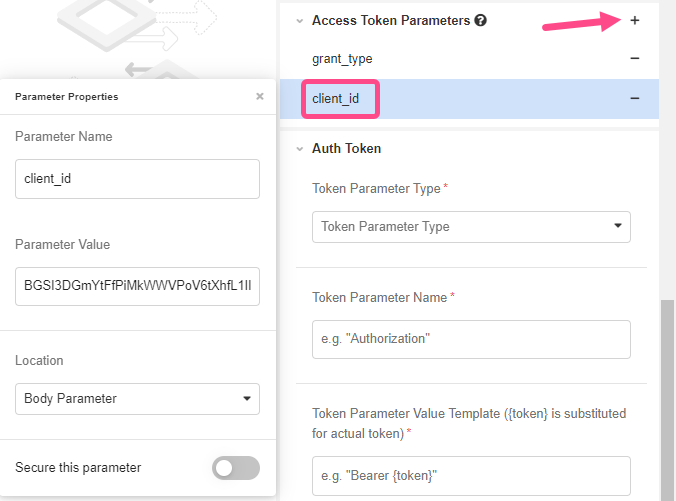
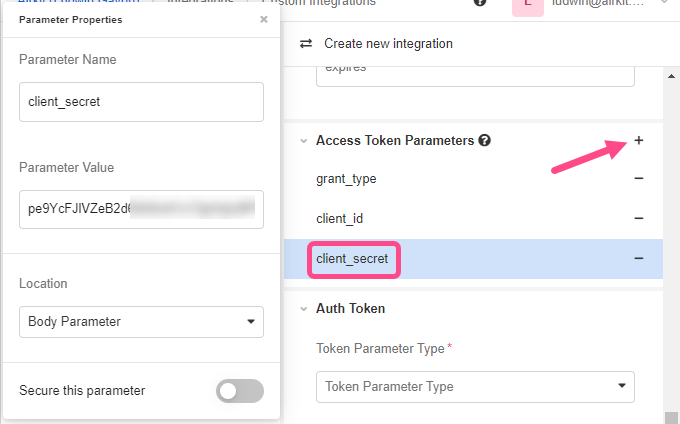
Under Access Token Parameters, click on the ‘+’ icon to define the following integration parameters:
grant_type:
client_id(Set the Parameter Value to the API Key associated with your Petfinder Account):
client_secret(Set the Parameter Value to the Secret Key associated with your Petfinder Account):
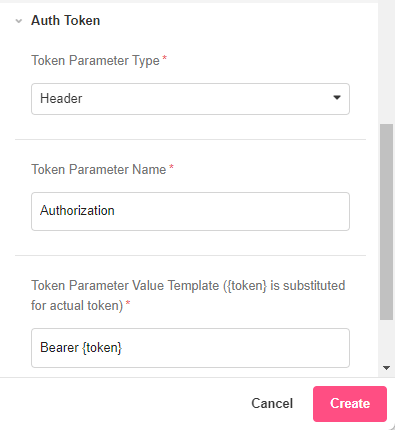
- Once the Parameters are set, complete these last three fields:
- Choose Header as the Token Parameter Type.
- Name the Token Parameter "Authorization”.
- Enter "Bearer
{token}" as the Parameter Value and click the Create button.
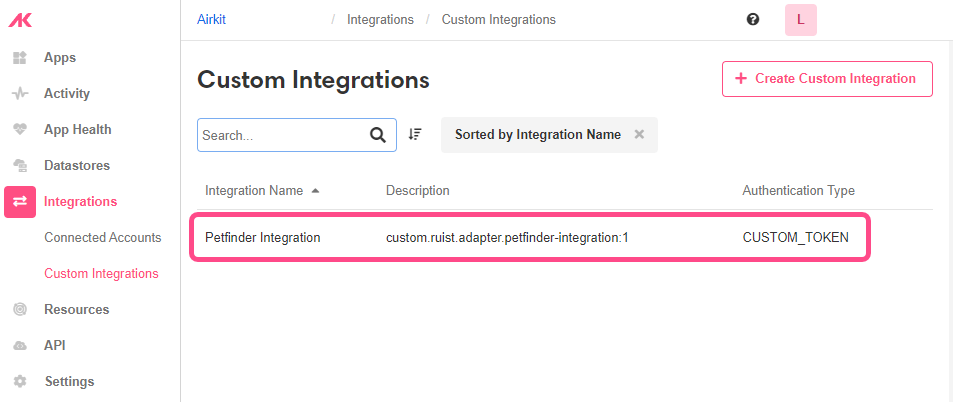
Now you can see Petfinder listed among your custom integrations.
Creating a Connected Account
After setting up the custom integration, you need to connect the integration to Airkit. This will surface the integration to your application and make it usable in apps.
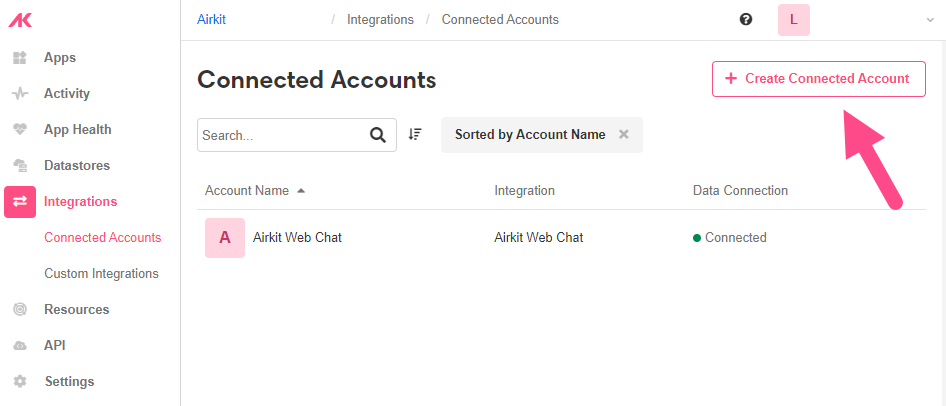
- Go Integrations > Connected Accounts and click on Create Connected Account.
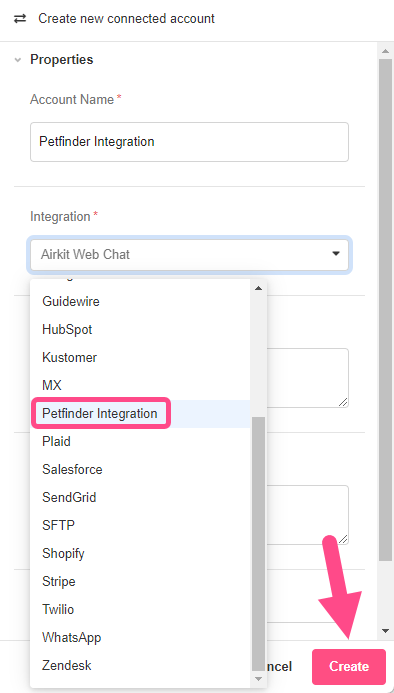
- Define an intuitive account name (such as "Petfinder Integration") and select the Petfinder integration from the integration’s dropdown. Click on Create to connect the integration.
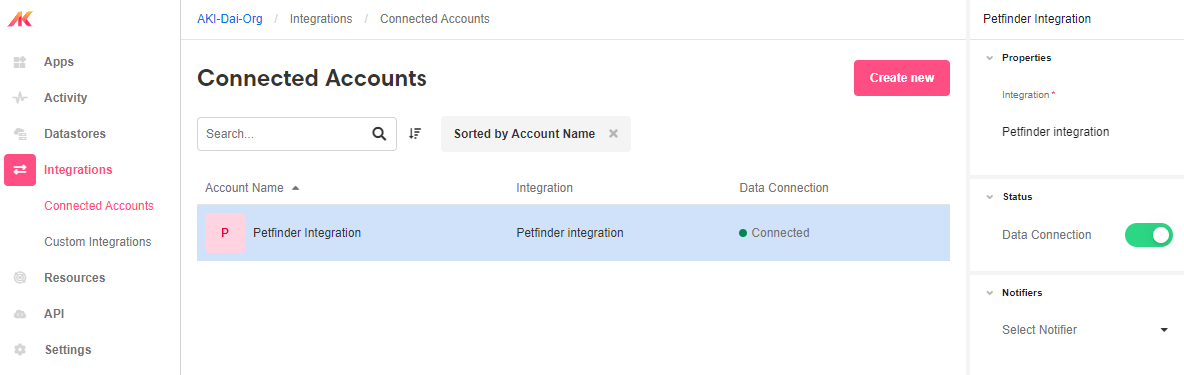
The new integration will show up in the list among your other connected accounts.
Connecting the Petfinder Integration to the Application
Once an integration with Petfinder has been established at the Org-level, re-open your pet adoption app in the Studio and toggle over to Settings.
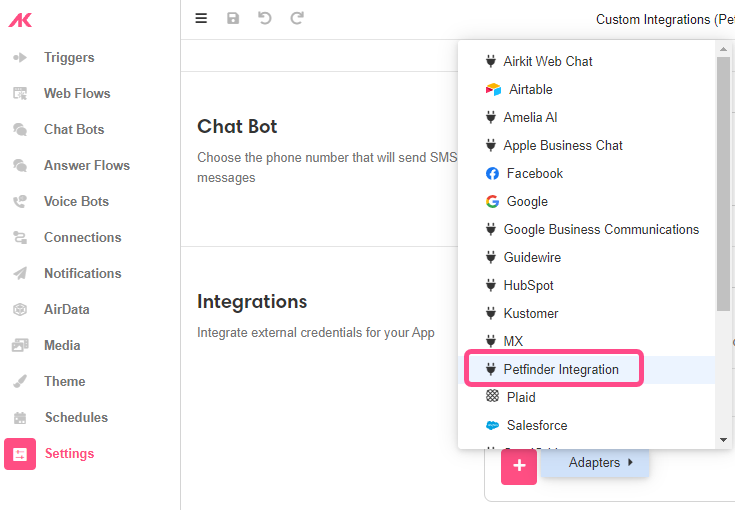
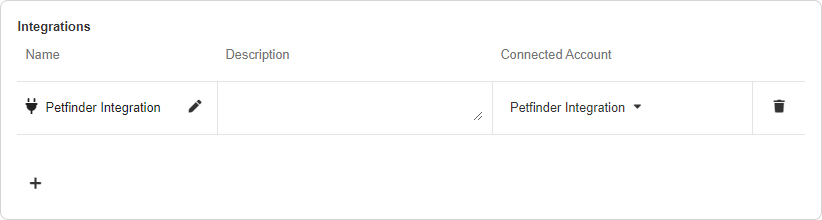
- Once in Settings, locate the Integrations section.
- Click on the ‘+’ icon and select the Petfinder Integration as the adapter.
- Under Connected Account, select the Petfinder Integration.
You've now integrated your pet adoption app with the Petfinder API! Save your progress, and get ready to incorporate some HTTP requests to the Petfinder API into your application flow.

Updated 3 months ago