Connecting Email Addresses
In order to automate the process of sending emails from your Airkit apps, you'll need to configure an email address that can be used to send outgoing emails. This can be done in two ways:
- Setting up one verified address to send emails from
- Setting up domain-level verification
This document discusses how to do both.
How are emails handled in Airkit?Emails get routed through Amazon SES and do not sit on Airkit servers. Mailboxes are also not hosted by Airkit and receiving emails are the responsibility of the mailbox owner. For more information see App Security FAQ.
Setting up one verified address
To connect an email address to your Airkit Organization, go to Console. Under the Resources section, select New. A new resource will appear for configuration in the Inspector:
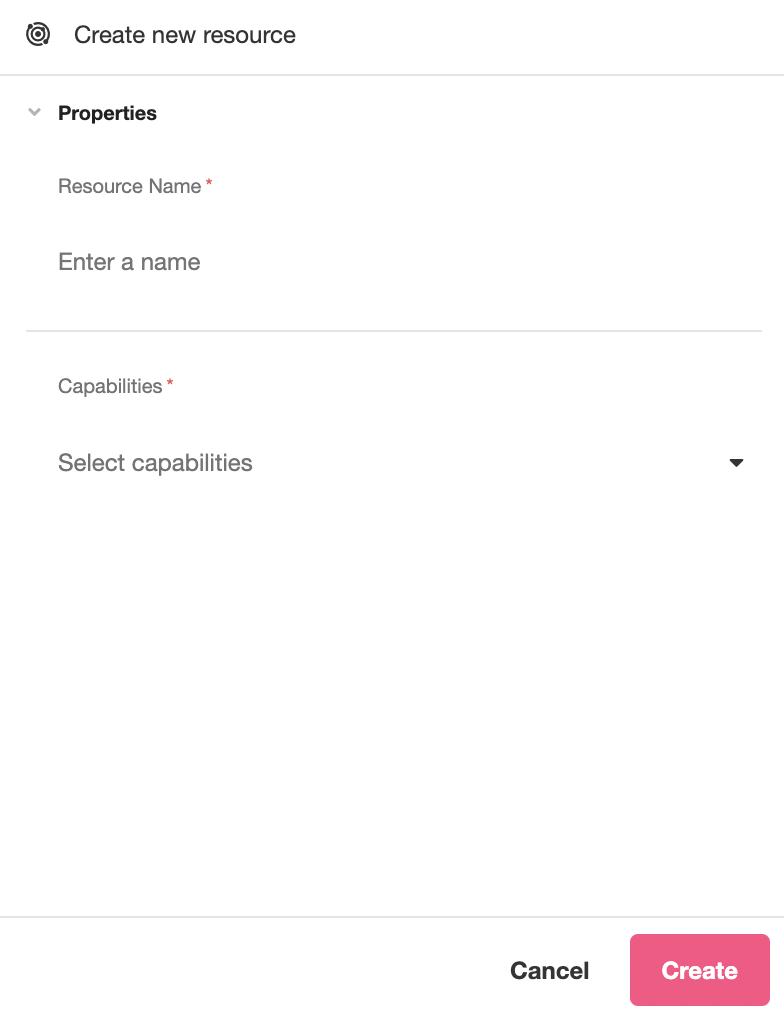
Under Capabilities, select Email Address. An Email Address section will become available; in it, enter the email address you mean to tie to your application(s).
Make sure you have access to the account associated with the email address you enter here. You will be required to take action in response to a confirmation email sent to this address before your applications will have permission to send emails from it.
Click on the Create Button to the bottom right. This will trigger an authorization email from AWS, which will look something like this:

Follow the instructions given by the authorization email. Should you do this correctly, you should be able to Inspect the newly-created resource and see the status under Email Attributes -> Verification Status change from "Pending" to "Success":

Once the email address has been verified, it's ready to be tied to applications and used to send emails.
Associating email addresses with an application
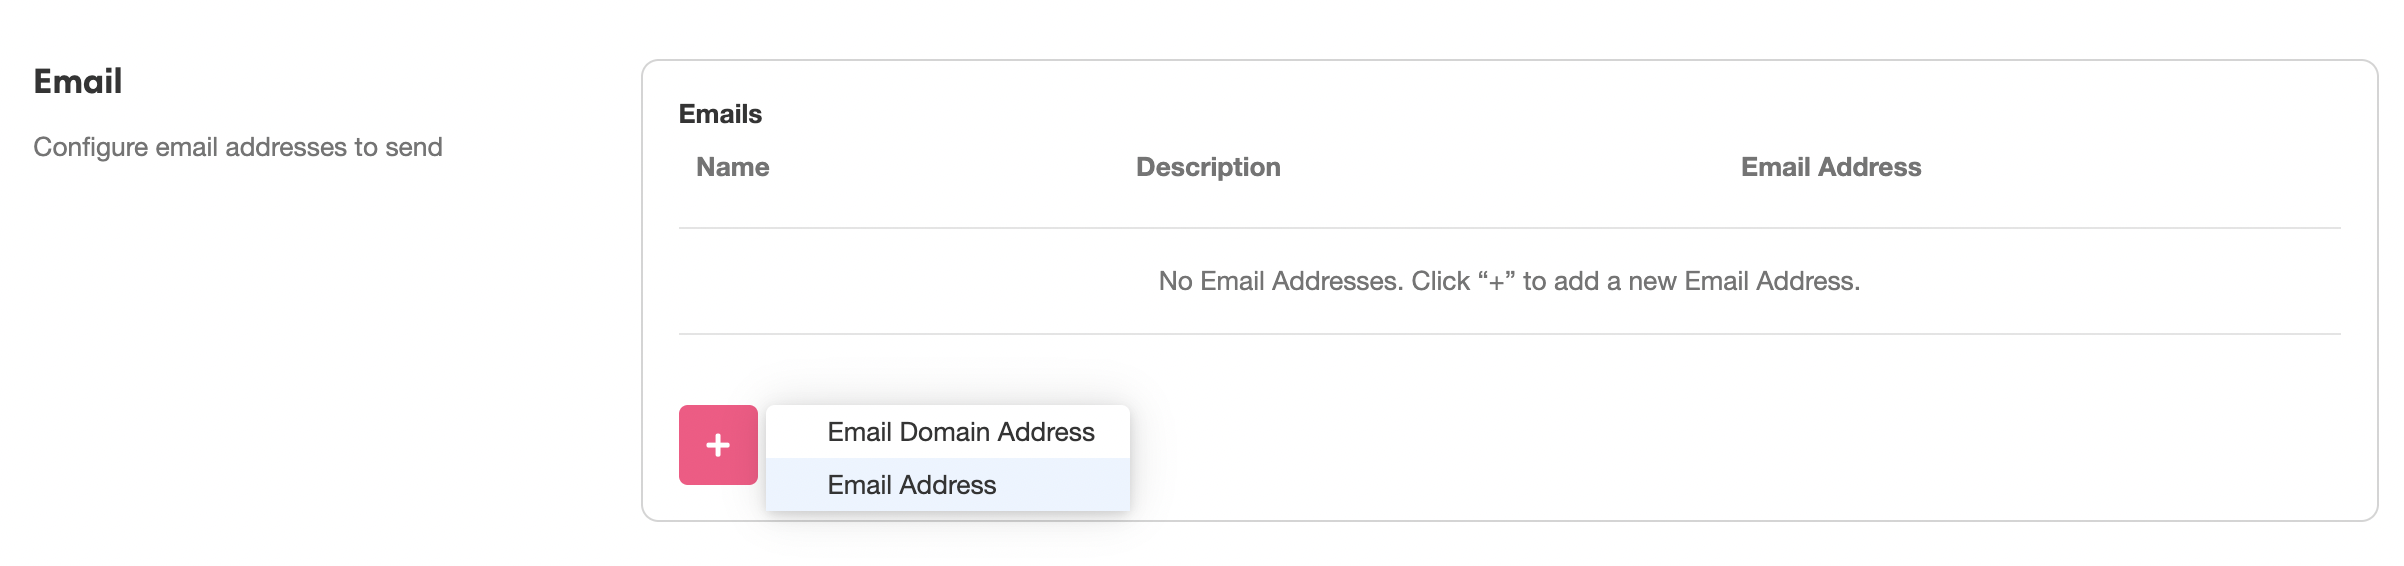
Open your application in the Studio and toggle over to Settings Scroll down to the Emails section. Click on the '+' icon to the bottom left, and select Email Address from the menu that appears:
This will generate an email address instance:
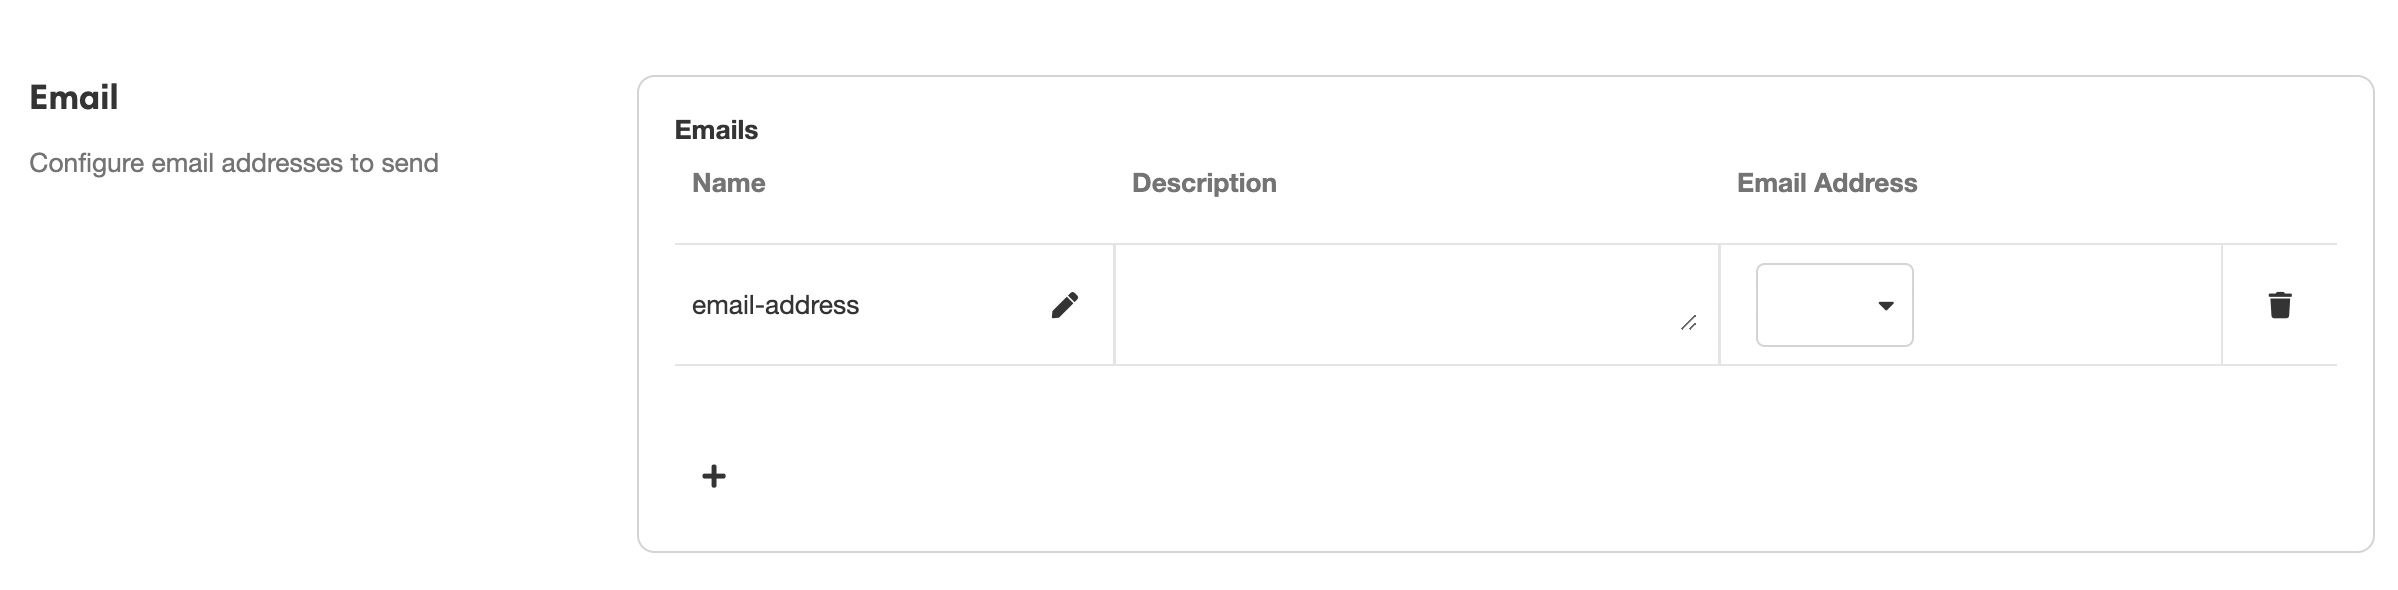
Under Email Address, select the email address you want to use to send outgoing emails associated with this application. You also have the option of changing the Name of the instance and giving it a detailed Description.
Save your application once the email address instance is fully configured. Your application will now be able to send outgoing emails from the configured address.
This can be done in two ways:
- Emails can be sent to the Actor via Email Notifications.
- Emails can be sent to anyone via the Send Email Data Operation.
Modifying Email Address Display Name
By default, emails sent from Email Address resources display in the recipient's inbox according the prefix of the email. For instance, an email sent from the email resource [email protected] would appear in the recipient's inbox as follows:

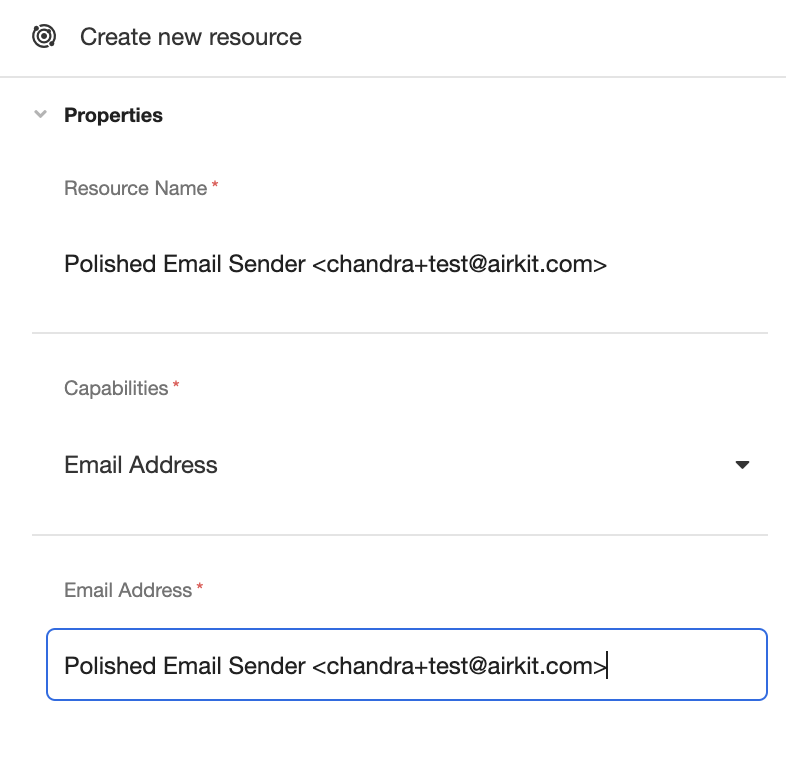
However, it is often best practice to send professional emails so that the displayed sender appears more polished. This can be achieved by configuring the email address as follows, where display_name indicates how the sender will appear in the recipients inbox, and email indicates the email address that the email will be sent from:
display_name <email>For instance, say we want emails sent from [email protected] to display as being sent from "Polished Email Sender". We would define the email address as follows:
Emails sent using the resources would appear in the recipient's inbox as follows:

Setting up Your Domain to Ensure Smooth Delivery (DMARC)
It is ALWAYS a good idea to set up domain-level verification. This prevents emails from being caught in anti-spam filtering tools. In order to do this, a few DNS records must be added to the domain that will be used to send outgoing emails. Although the act of adding these records typically only takes a few minutes, it is a privileged request in many organizations and may require some lead time. Make sure to verify domains early.
To verify a domain, in Console:
- Console > Resources > select New
- Under Capabilities, select the "Email Domain".
- Enter the domain in the provided box, then click the Create button
- Under Email Attributes click the "Open verification instructions" button.
Example DNS Setup Instructions for Verifying Domain

In order to set up verification of the domain, a TXT record will be required. To enable DKIM for email verification, additional CNAME records will be required. Once the DNS has been updated, the domain verification will be automatically verified within Airkit, although this process might work within minutes, it could take up to 72 hours depending on DNS settings.
Associating email domain addresses with an application
Open your application in the Studio and toggle over to Settings Scroll down to the Emails section. Click on the '+' icon to the bottom left, and select Email Domain Address from the menu that appears:

This will present a box for an address and a dropdown for qualified domains. Under Email Address, select the email domain and enter the email prefix you want to use to send outgoing emails. You also have the option of changing the Name of the instance and giving it a detailed Description.
Save your application once the email address instance is fully configured. Your application will now be able to send outgoing emails from the configured domain address.
This can be done in two ways:
- Emails can be sent to the Actor via Email Notifications.
- Emails can be sent to anyone via the Send Email Data Operation.
Configuring multiple email addresses/email domain addresses
It is possible to associate multiple email addresses with a single application. In such cases, when sending Email Notifications, they will automatically be sent from the top listed email address, the first one to be configured. For instance, say an app is associated with two addresses, "first-email" and "second-email", like so:
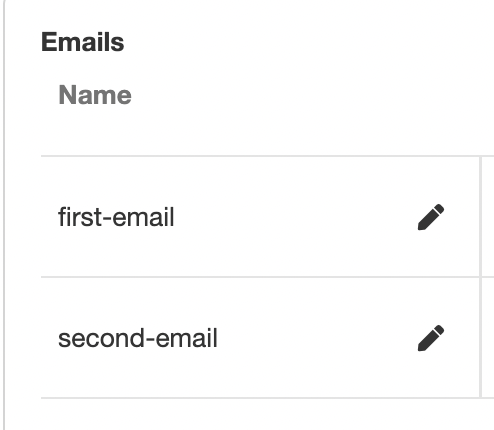
All Email Notifications will be automatically sent from the email addressed designated by "first-email".
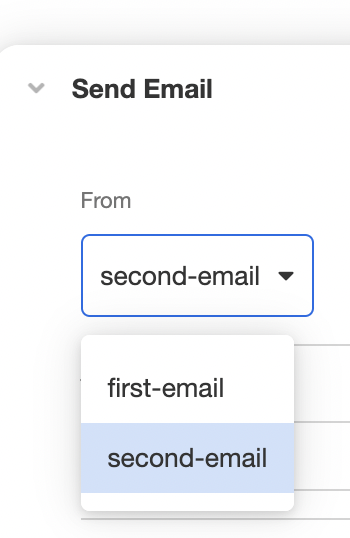
On the other hand, when sending emails from the Send Email Data Operation, you'll need to select by name which instance you want to use to send the email:
Testing Sending Email
Once an email address has been tied to an application, we recommend using an external email testing tool such as https://www.mail-tester.com to confirm the ability to send email on behalf of the verified address. This will also allow you to view a report on the DMARC (anti-spam) configurations of the account. Setting up DMARC properly will ensure more delivered emails.

It's possible to send emails without publishing an application: emails will send as part of App Previewing an application, or when testing the Send Email Data Operation. For more on how send emails from your Airkit apps, see Email Notification Basics and Sending Emails by Data Operation.
Once an app is in production, is there a way to check on the status of the sent emails?The status of outgoing emails sent from all Apps within an Organization can be found in the Console, in the Email tab when examining an application under App Health. This provides insight into important information such as which and how many emails bounced, which and how many emails were marked as spam, and which and how many emails were delivered successfully. For more information, see Console.
Updated 4 months ago