SMS Notification Basics
SMS Notifications send outgoing text messages that do not require an SMS reply.
Unlike Chat Bots, SMS Notifications cannot parse replies or incoming messages, but they can still be used to prompt responses from the recipient. For example, SMS Notifications might contain web links to click on or cues to prepare for a previously-scheduled meeting. Most commonly, SMS Notifications are used to send reminders or follow-up messages spurring users to continue a half-finished Journey.
Once an app is in production, is there a way to check on the status of the sent text messages?The status of outgoing text messages sent from all Apps within an Organization can be found in the Console, in the SMS tab when examining an application under App Health. This provides insight into important information such as which and how many text messages were successfully delivered. For more information, see Console.
Creating an SMS Notification
SMS Notifications are created in the Notifications Builder.
New Notifications can be created by clicking on the '+' icon to the right of the Notifications section of the Tree, which provides the options to choose the type of Notification to create. Select SMS Notification:

A single SMS Notification might consist of multiple texts, each one of which might be one of three types: Text, Link, or Link to Journey. This allows links to be sent be sent as separate SMS messages which, unlike links included within a larger text message, will automatically and consistently preview the destination web page.
Text
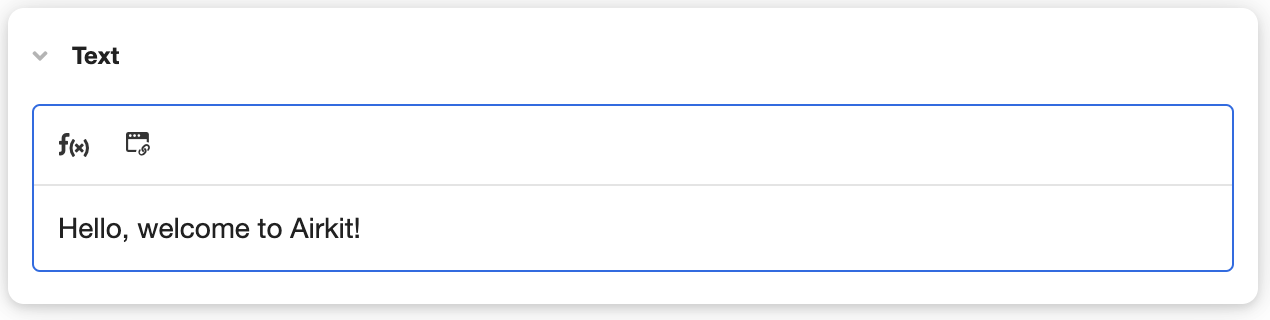
Text type texts can take the form of any string. This is what will be sent via SMS. The most simple texts are hardcoded strings, which are defined in the Stage.
For instance, the following example shows how the simple SMS Notification "Hello, welcome to Airkit!" will appear in the Stage:
Text type texts can also be made more intricate with the edition of variables, custom Airscript expressions, and Journey Links.
Adding Variables and Custom Expressions
Clicking on the Airscript icon ( ) to the upper left of the text box will insert an Airscript expression into the text. Edit inserted Airscript expressions by clicking on them, which will prompt the following pop-up to appear:
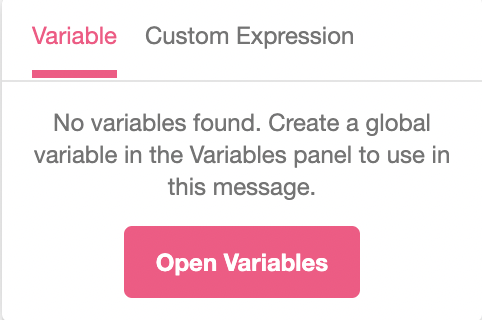
Variable
The Variable tab allows the selection a variable to insert into the text. Incorporating the values of variables into texts allows for the creation of customized Notifications.
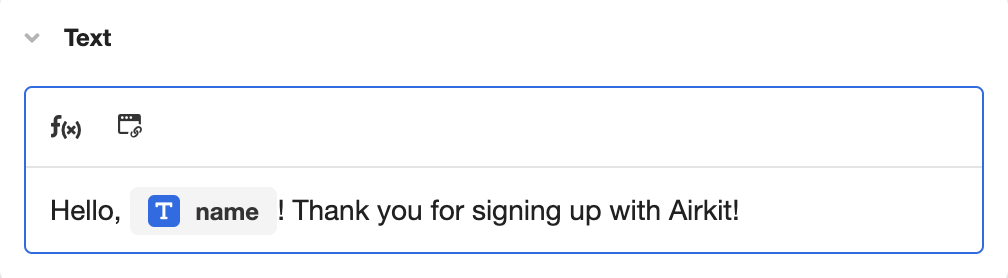
For instance, say the name of each user is saved as a global variable accessible under name. Referencing this variable within a text message makes it possible to send a personalized text message:
The Notifications Builder has access to all Global-, Profile-, and Theme-level variables. For more on Global-, Profile-, and Theme-level variables, see Variable Scopes.
Custom Expression
The Custom Expression tab provides an expression editor capable of parsing custom Airscript expressions.
For instance, the following example gives the input "Hello, Airkit" into the Airscript function UPPERCASE. This Notification will consequently send the text "HELLO, AIRKIT", with all letters capitalized:
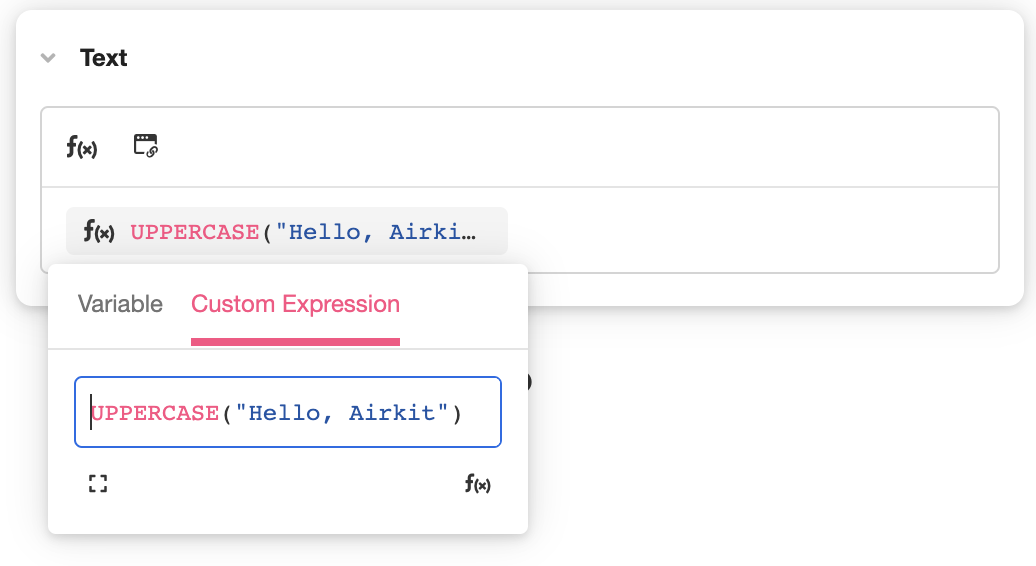
The above example shows an Airscript expression that consists only of an Airscript function and hardcoded input. In most practical applications, however, Airscript expressions will need to reference variables in order to generate custom text messages. To this end, the Notifications Builder has access to all Global-, Profile-, and Theme-level variables.
For more on Airscript, see Airscript Quickstart. For more on Global-, Profile-, and Theme-level variables, see Variable Scopes.
Adding Links to Journeys
Clicking on the link icon on the upper right of the text box will insert a Journey Link directly into the Text. Journey Links direct users back to the web portion of their Journey. For a more detailed discussion of how this works, see Linking to Sessions.
When Journey Links are sent in this way, it is not guaranteed that they will display a preview of the relevant web page. To ensure consistency previewing, a Journey Link needs to be sent via the Link to Journey type text.
Link
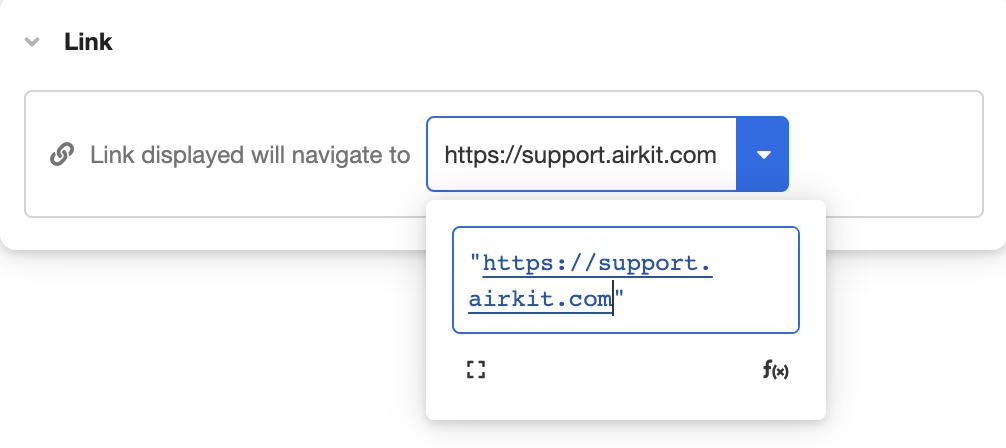
Link type texts contain a single link to a web page. Unlike links that might be sent as part of a larger text message, links sent in this way will automatically and consistently preview the web page being linked to.
The link URL is defined in the Stage. It can be edited by clicking on the text directly, or by clicking on the arrow icon to the right of the URL:
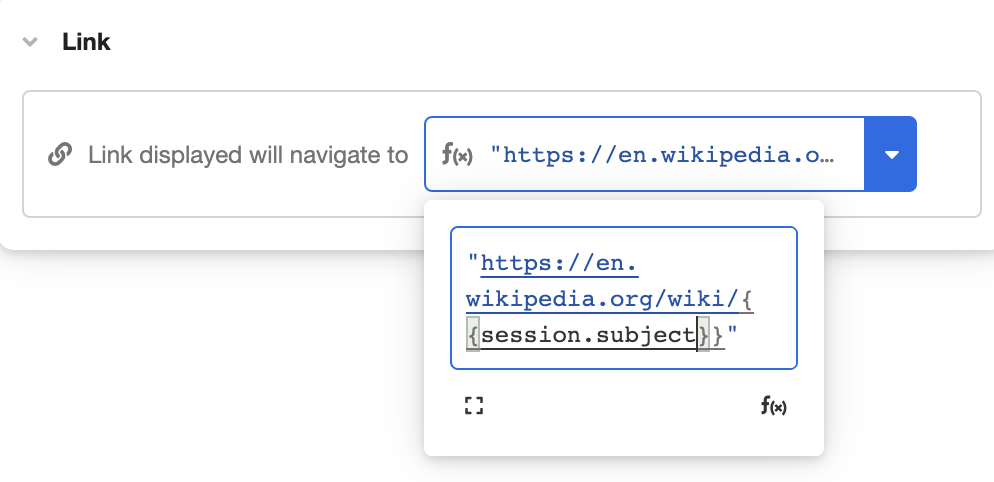
The expression editor that opens upon clicking on the arrow icon is capable of parsing Airscript. Because the Notifications Builder has access to all Global-, Profile-, and Theme-level variables, Global-, Profile-, and Theme-level variables can be used to define query or even path parameters within a URL. Best practices dictate that the bulk of the URL be defined as a string directly while variables are designated by surrounding them by double curly braces.
For instance, say we want to link users to a wikipedia article on a subject of their choice, which was already saved under the global variable session.subject. The Link SMS Notification can be defined as follows:
Link to Journey
Link to Journey type texts contain only a Journey Link. Journey Links direct users back to the web portion of their Journey. For a more detailed discussion of how this works, see Linking to Sessions.
Unlike Journey Links that are sent as part of a larger text message, Journey Links sent as a Link to Journey type text will automatically and consistently preview the web page being linked to.
Sending an SMS Notification
Once a Notification is created, it can be sent:
- via the Send SMS Notification Action, or
- as a direct part of the Journey by incorporating them into the Journey Builder.
When testing SMS experiences in production, bear in mind that Airkit won't allow for the sending of the same text message to the same phone number multiple times within a 30-minute period.
Where are outgoing SMS Notifications sent?
Outgoing Notifications are sent to the Actor.
An Actor represents any individual who goes through an application flow. Actors are identified by their contact information, such as their phone number or email address. Once the relevant contact information is associated with an Actor, Notifications will be sent directly to the Actor via their established accounts. Tying contact information to an Actor is done via Initializing the Actor, which must be done before Notifications can be sent.
For a deeper dive into conceptualizing Actors, see Actors. For a step-by-step walkthrough of how to initialize the Actor, see Conversations with Actors.
Where are outgoing SMS Notifications sent from?
Outgoing SMS Notifications are sent from the phone number associated with the application, which is defined in the Settings. For more on how to associate phone numbers with Airkit apps, see Connecting Your Twilio Numbers To Airkit.
Sending an SMS Notification as an Action
SMS Notifications can be sent via the Send SMS Action, which can be included in any Action Chain after the Actor has been initialized with a valid phone number saved to actor.phone.
To Initialize the Actor:
- Determine the Actor's phone number and make sure it is formatted according to the Phone Data Type. Use the Set Variable Action to tie this value to
actor.phone. - In the same Action Tree in which
actor.phonewas declared, follow its declaration with the Initialize Actor Action to initialize the Actor.
To send a Notification:
- Add the Send SMS Action to any Action Chain fired downstream of Actor Initialization. Select the SMS Notification you want to send from the associated dropdown menu.
Enforcing TCPAThe Send SMS Action is often used in tandem with the Start Timer Action in order to schedule texts rather than send them immediately. Nesting SMS Notifications under Timers is required to enforce TCPA restrictions; see TCPA for more details.
Updated 4 months ago