Overview
This document provides an overview of how to work with emails within the Airkit platform.
How are emails handled in Airkit?Emails get routed through Amazon SES and do not sit on Airkit servers. Mailboxes are also not hosted by Airkit and receiving emails are the responsibility of the mailbox owner. For more information see App Security FAQ.
Airkit apps send outgoing emails.Airkit applications automate the process of sending outgoing emails. They do not parse incoming emails or automate lengthy exchanges of information – that is what Web Flows or Chat Bots are for.
Configuring the Sender
There are two ways to configure an email address so that it can be used to send outgoing emails from your Airkit apps:
- Setting up one verified address to send emails from
- Setting up domain-level verification
In both cases, the sender is first defined at the Org level and then selected within the Settings of an individual application. For more on how to configure email addresses or domains in order to send outgoing emails, see Connecting Email Addresses.
Configuring the Recipient
The recipient of an outgoing email is defined in one of two ways, depending on how the email is being sent.
If the email is being sent as an Email Notification, it will automatically be sent to the Actor. This means that the Actor must be correctly initialized before the Email Notification is sent; see Conversations with Actors for more information.
If the email is being sent as a Data Operation in a Data Flow, the email will be sent to the email address given in the To field. See Data Flows for a deeper discussion on what Data Flows are and how to create them.
Of the two means to send emails, Email Notifications are the simpler but less customizable. Email Notifications always send emails from one configured sender to the Actor's designated email address, and they do not send attachments. This is the most common use case, and if it fits yours, we recommend sending emails through Notifications. However, if you want to:
- email anyone other than Actor
- cc additional people
- add an attachment to your email, or
- vary the email addresses being used to send outgoing emails
then you will need to send emails through a Data Operation.
For more on sending emails through Notifications, see Email Notification Basics. For more on sending emails through Data Operations, see Sending Emails by Data Operation.
Following Up on Sent Emails
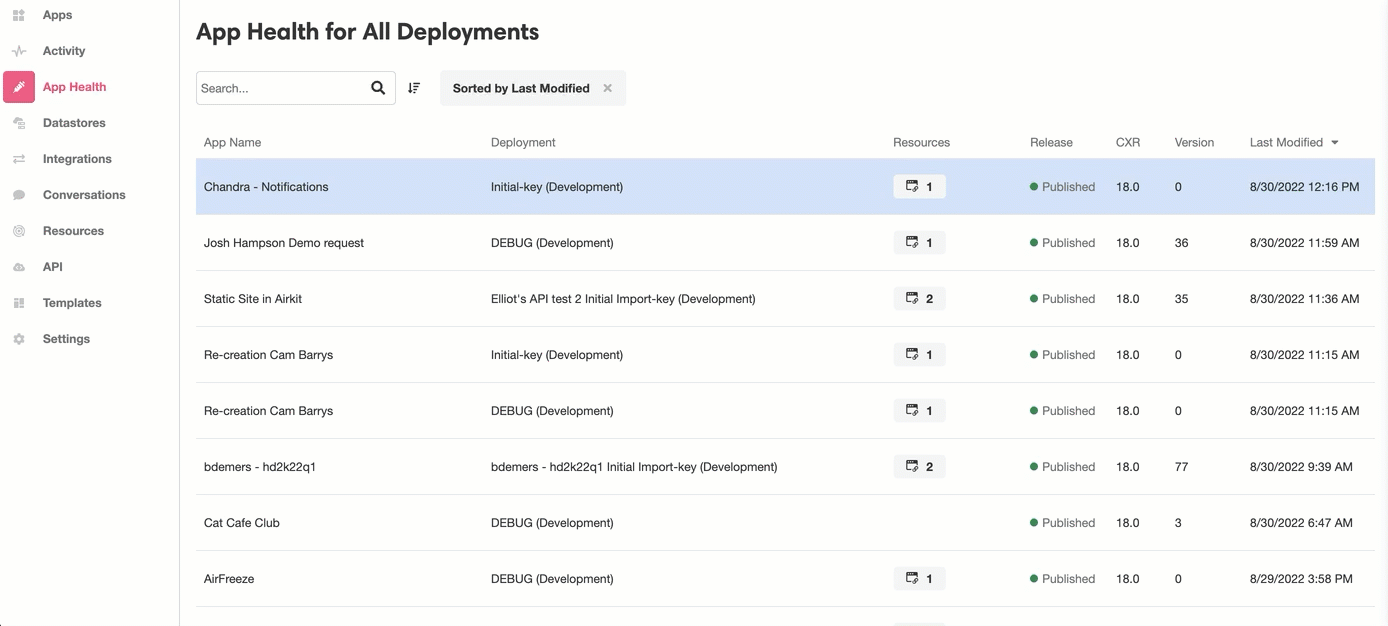
The status of outgoing emails sent from all Apps within an Organization can be found in the Console, under App Health. To see the status of emails associated with a particular application, select the relevant application in the Stage, and select the Email tab in the Inspector that appears.
This provides insight into important information such as which and how many emails bounced, which and how many emails were marked as spam, and which and how many emails were delivered successfully. The status of each email is pulled from Amazon SES and correspond to the statuses described by their documentation. Some key status designations are:
- Send – The send request was successful but it has not yet been delivered. If account-level or global suppression is being used, this status will remain as the email continues to go undelivered.
- Rendering Failure – The email wasn't sent because of an issue rendering the template.
- Reject – The email was determined to contain a virus, and thus was not delivered.
- Delivery – The email was successfully delivered.
- Hard bounce – The email was permanently rejected by the recipient's mail server.
- Complaint – The email was successfully delivered, but it was marked as spam.
- Delivery Delay – The email couldn't be delivered because a temporary issue occurred, such as the recipient's inbox being full.
- Subscription – The email was delivered successfully, but the recipient updated the subscription preferences by clicking List-Unsubscribe in the email header or the Unsubscribe link in the footer.
Updated 4 months ago