Kustomer Relays
Enterprise FeatureImplementing Conversation Chat Bots requires an ENTERPRISE license. If you would like to enable this feature for your Airkit Organization, please contact your Airkit representative or contact [email protected].
Routing Flows of the Relay type direct Conversations to external chat management systems. One such external chat management system is Kustomer. Here, we provide detailed, step-by-step instructions on how to configure a Kustomer Relay so that it can be used to direct Conversation Chat Bots to Kustomer. For more on Conversation Chat Bots, see Conversation Chat Bots Overview.
To configure a Kustomer Relay, you first need to generate an API Key, which will be used to send conversation requests to the Kustomer API. You will then need to configure a webhook that allows Airkit receive Conversation updates from the Kustomer Portal.
Kustomer Resource RequiredConfiguring a Kustomer Relay requires that your Organization have access to a Kustomer Integration. While this integration presently comes out-of-the-box, Organizations created before 2023 might not have the Kustomer Integration automatically made available. You can check if it is available in your Org by navigating to Console > Integrations > Connected Accounts and looking at the Integrations available for selection when creating or editing an Account. If Kustomer is not an option, please contact your Airkit representative or contact [email protected].
Generate Kustomer API Key
The Kustomer API Key is required to send conversation requests to the Kustomer API.
- Navigate to the Settings section of the Kustomer Portal.
- Under the Security section, click on API Keys.
- Select Add API Key
- Fill out the Creation form:
- Add a name
- Add the following roles:
- org.permission.conversation
- org.permission.customer
- org.permission.message
- org.permission.user
- org.permission.routing
- Select expiration time
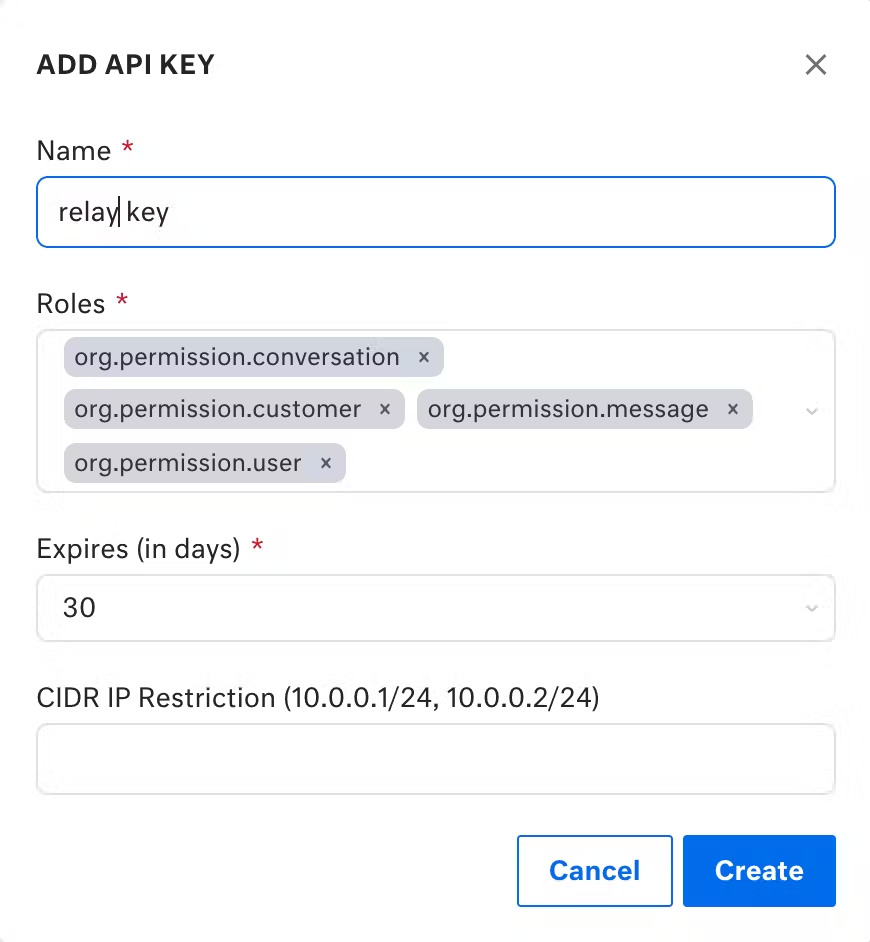
- Click on the Create button to the bottom right and save the Token that this generates. You will need to reference this Token in the following steps.
Define the Kustomer Resource in Airkit
Defining a Kustomer Resource in Airkit requires a configured Kustomer integration. In the Airkit platform, go to Console > Integrations > Connected Accounts and create a Kustomer Integration.
Next, toggle over Console >Resources > All Resources.
- Click on the '+ Create Resource' button.
- Fill the form to create a Kustomer Resource capable of sending text messages:
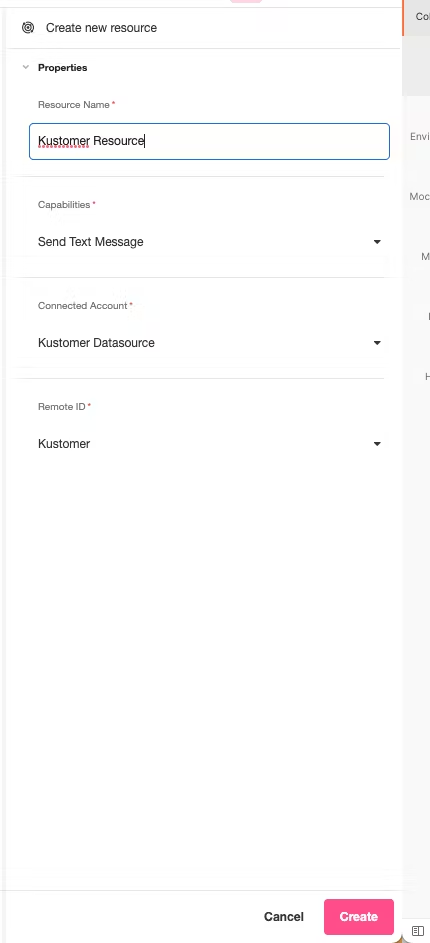
- Click on the Create button on the bottom left.
- Upon creating the Resource, save the UUID value in the URL page. This UUID value will be referenced later as the
KUSTOMER_RESOURCE_ID.
Configure Kustomer Outgoing Webhook
On the Settings Kustomer page, navigate to the Platform section.
- Go to Outbound Webhooks
- Click on Add Outbound Webhook
- Fill the form such that:
- Destination URL → https://api.airkit.com/internal/sessions/v1/resource/kustomer/{KUSTOMER_RESOURCE_ID}/receive-message
- Events →
- kustomer.message.create
- kustomer.conversation.update
- Click Save.
WEB_CHAT_RESOURCE_ID = Airkit Web Chat Resource’s Identifier
AIRKIT_API_HOSTNAME = API’s hostname
If you are running the servers in a local environment, replace
AIRKIT_API_HOSTNAMEvariable by the ngrok’s hostname.
Copy Kustomer Secret
The Kustomer Secret is required to validate the authenticity of incoming Events sent from Kustomer API servers.
- Edit the created webhook.
- Save the Kustomer secret.
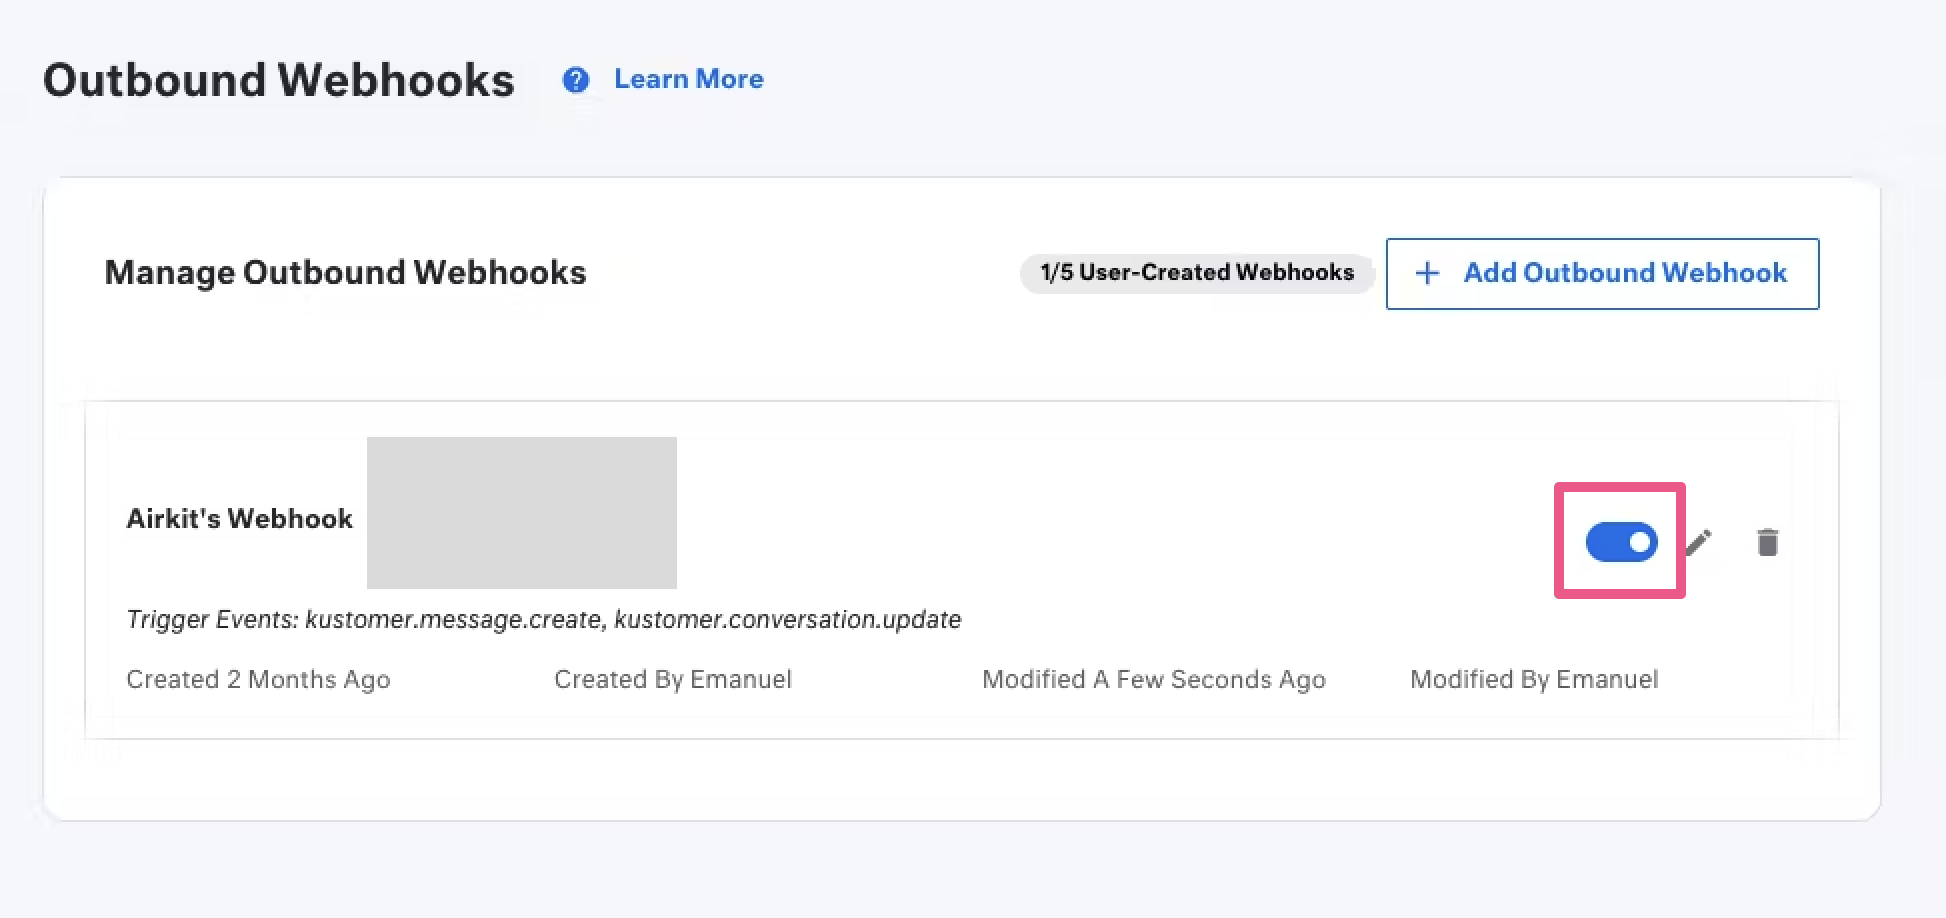
Confirm Webhook Remains Activated
The webhook might not be available after you register it. To ensure the webhook remains activated, look to the state of the toggle button. If the webhook remains disabled, it might need to be registered again:
Create a Relay-type Routing Flow
Before a Routing Flow can be configured, a Conversation Hub must be created to tie it to. If a Conversation Hub has not yet been created, see Configuring Conversation Chat Bots for more on how to create Conversation Hubs.
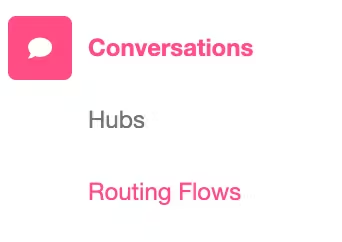
Routing Flows are configured in the Console, under Conversations > Routing Flows:
Once there, click on the 'Create New' button, and fill out the following fields in the Console Inspector:
- Under Conversation Hub, select the Conversation Hub you want to associate the Salesforce Relay with.
- Under Type, select Relay.
- Under Relay Settings > Relay Type, select Kustomer.
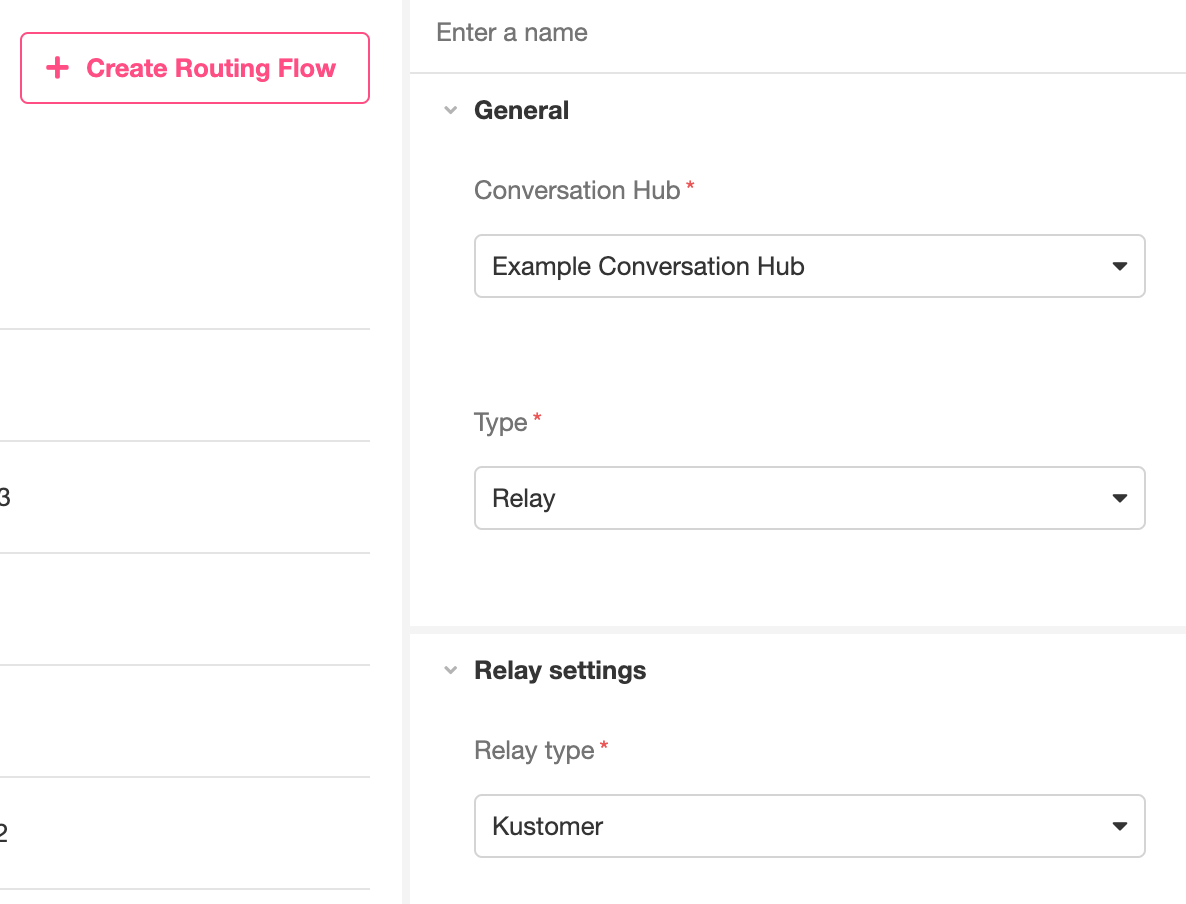
This will provide the fields to enter the information previously configured and collected, where:
- Webhook secret key → Kustomer secret
- Datasource id → the Kustomer Account
Once you have entered this information, click the 'Create' button on the bottom right of the screen. This will create a Routing Flow that will Relay Conversations to your Kustomer account.
Updated 4 months ago