Configuring Domains to Send Emails
Airkit provides two methods of configuring email addresses to send outgoing emails: configuring a single email address, or configuring an entire domain, which allows any user at the domain to send an email through an Airkit app. Both involve configuration at an Organization Level.
Configuring a Single Email Address
Configuring a single email address requires that you have access to that email address's inbox. In this section, we discuss how to configure an email address at the Org-level as well as how to incorporate it into an application within that Org.
Configuring an Email Address at the Org-level
Enter the Console, and go to Resources and click on the Create New button to the upper right.
Under Capabilities, select Email Address. Under the Email Address section that appears, enter in the email address you want to use to send outgoing emails (the one in the following example is "[email protected]"). Then click the Create button on the bottom right:
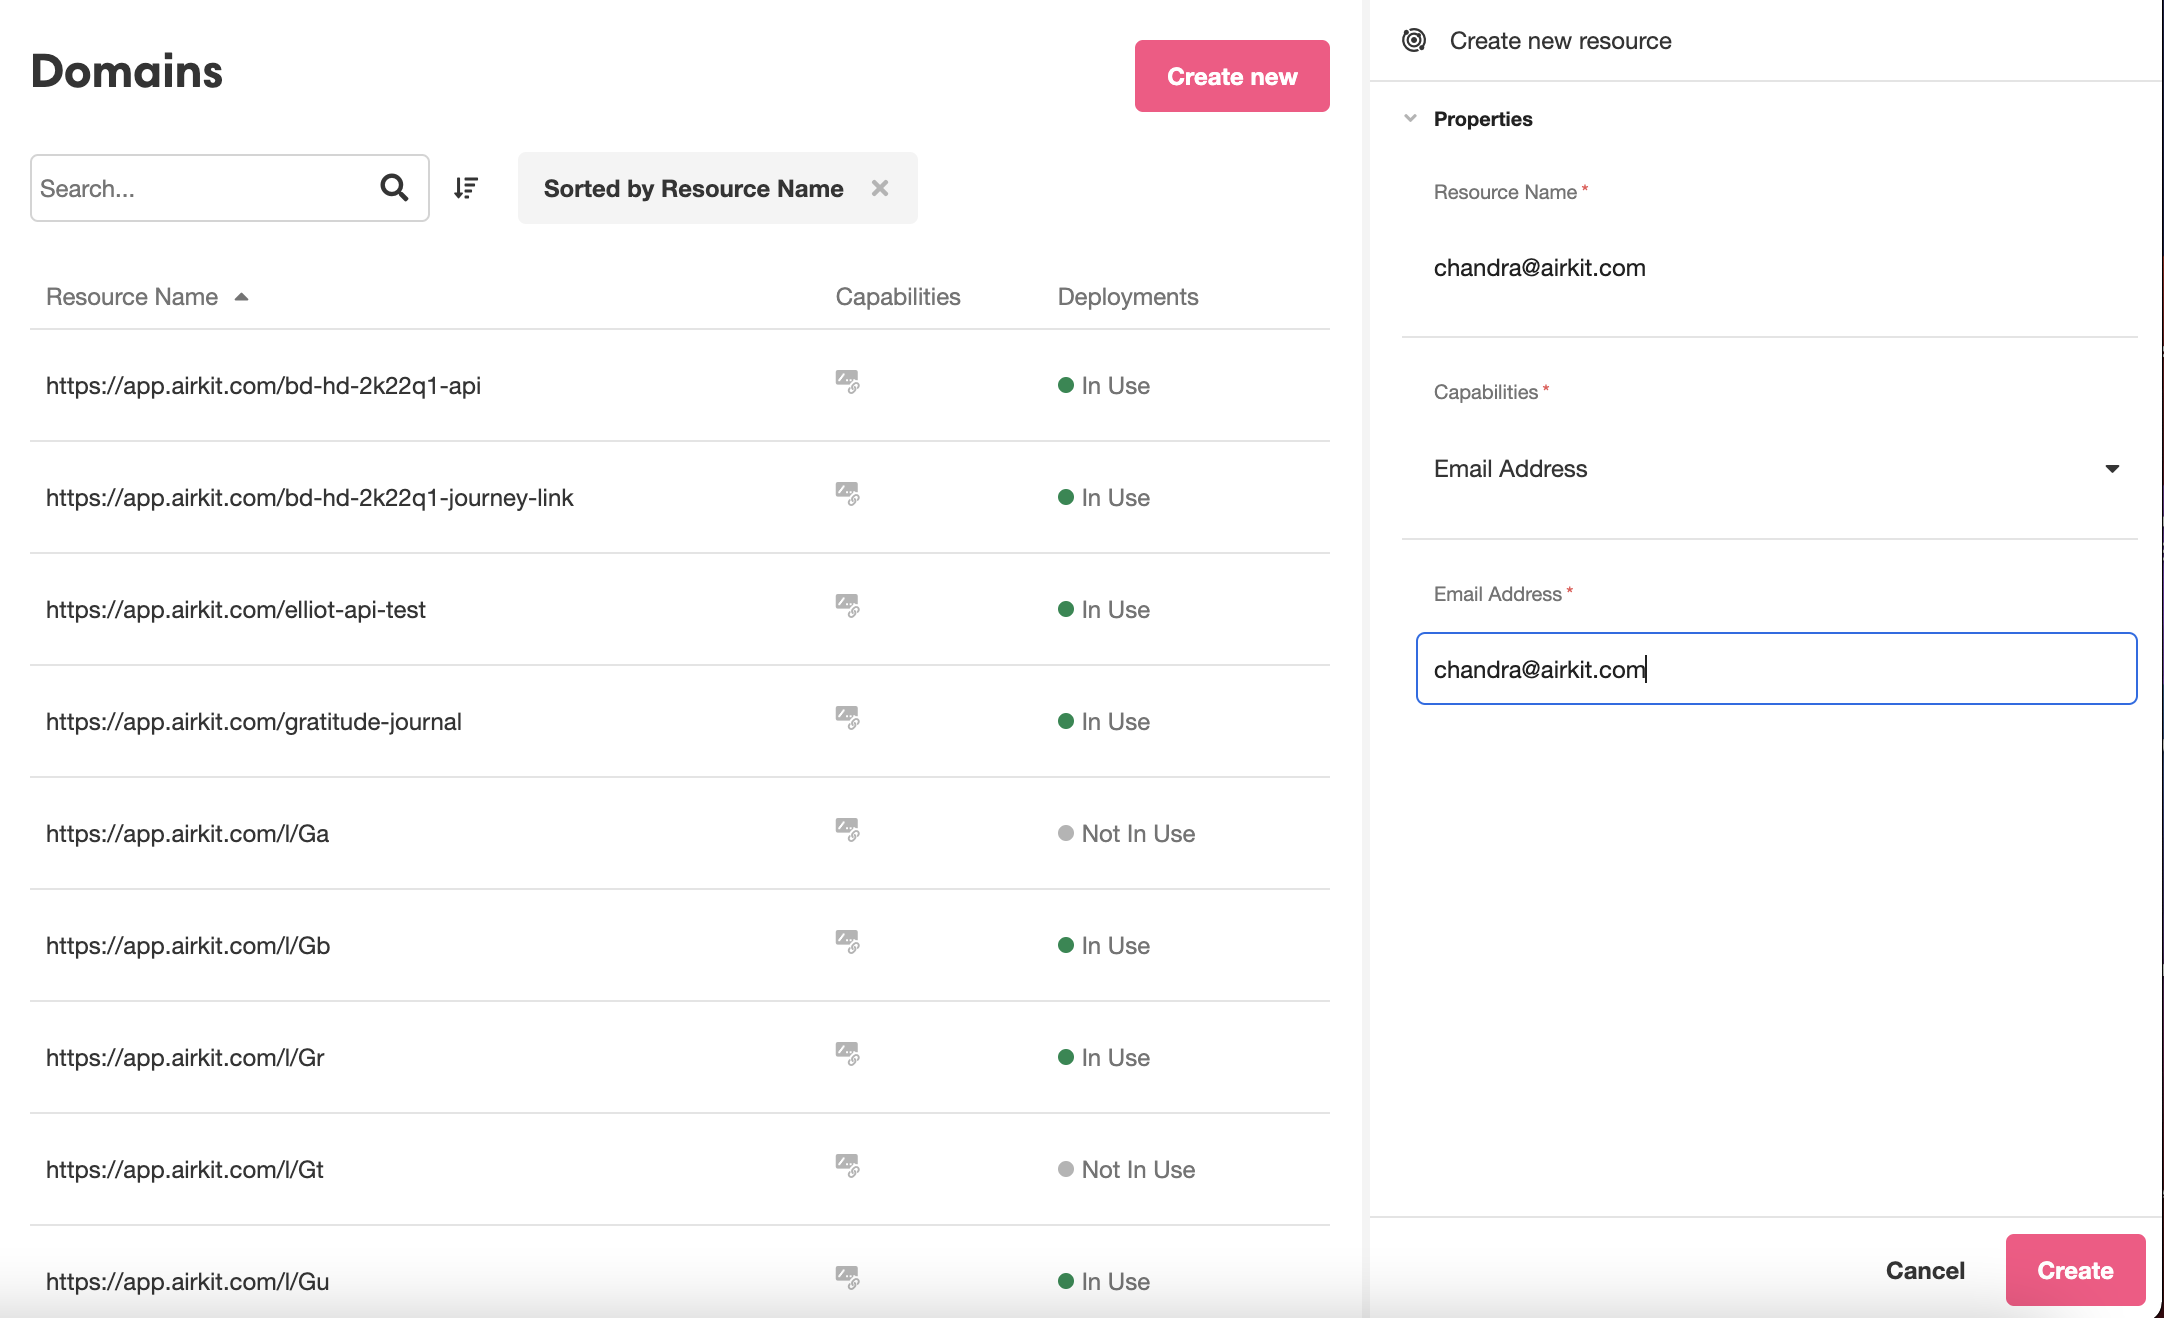
Clicking the Create button will send a confirmation email to the specified email address. Access the associated inbox and follow the instructions in the confirmation email to give Airkit permission to send emails from this address.
The verification link sent to the given email address expires after 24 hours. Make sure that the email address is quickly accessible before creating an email resource this way.
Once you've confirmed your email address, you can use it to send emails from any applications you build under the umbrella of this Org.
Using Email Addresses to Send Emails
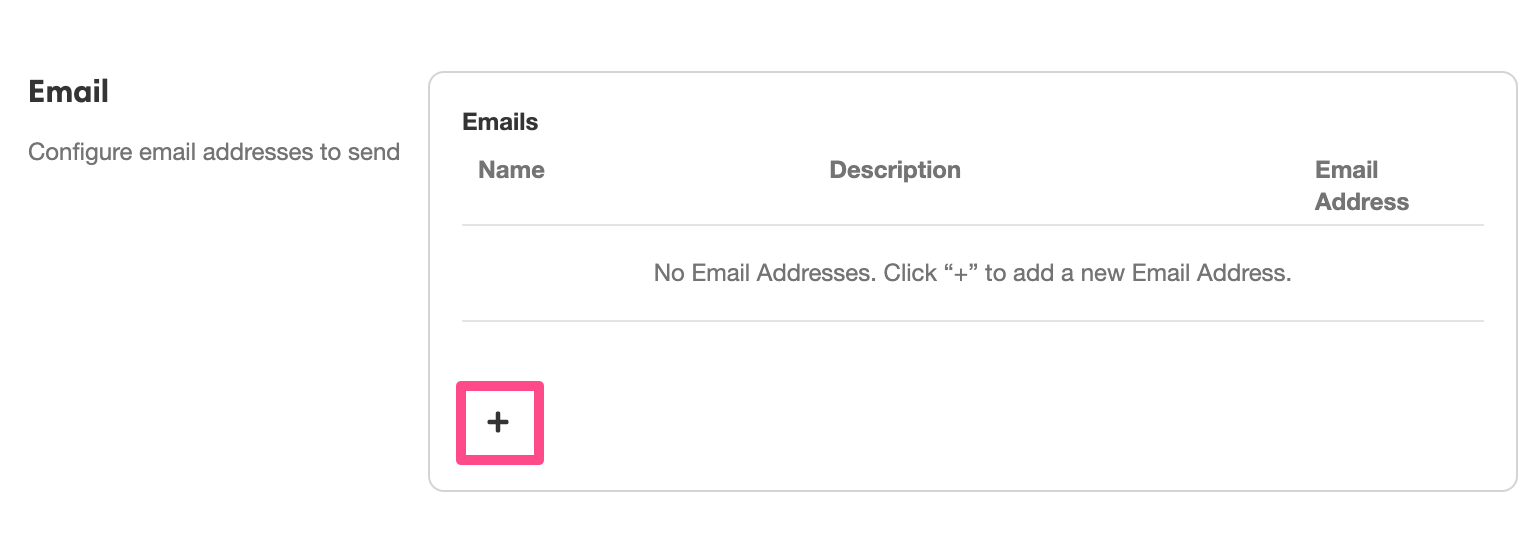
To associate an email address with a particular app, open the app in the Studio and toggle over to Settings. Find the Email section and add a new email address by clicking on the '+' icon to add a new email address:
Select your email address from the dropdown menu under Email Address:
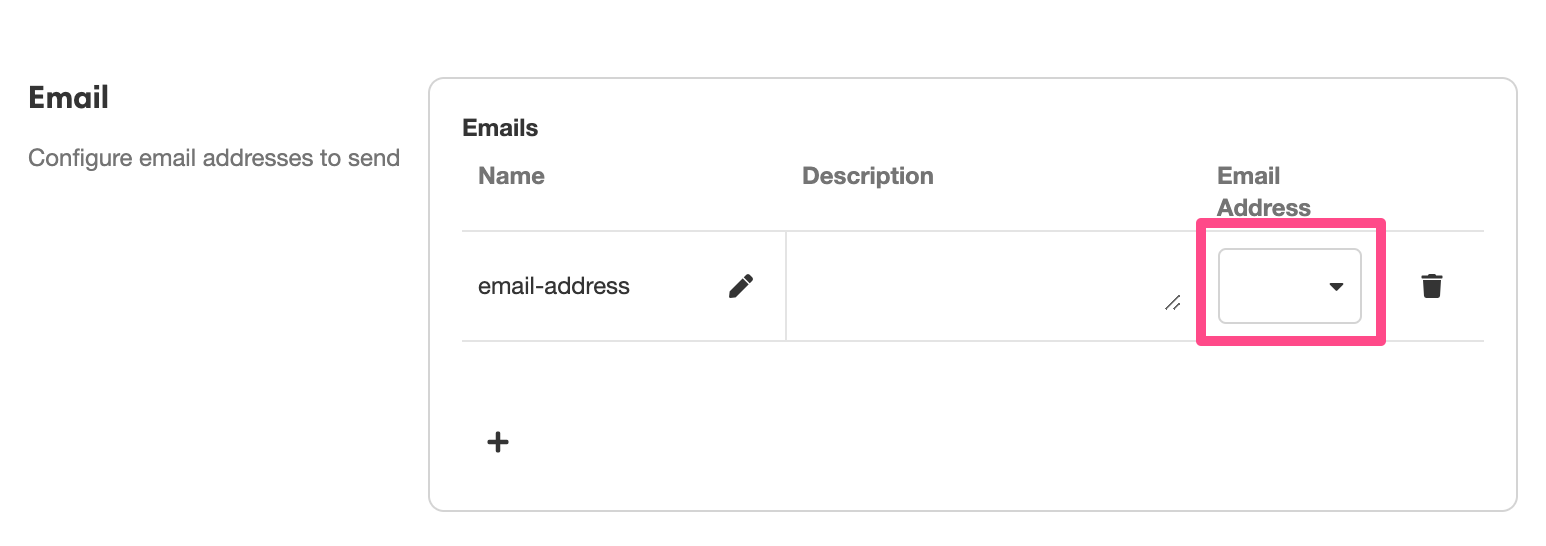
A single application profile can be associated with multiple email addresses. Should you associate multiple email address with an app, we recommend you give each email address an intuitive designation by clicking on the pen icon underneath the Name column.
If multiple emails addresses have been associated with the application, Email Notifications will be sent from the one listed first. Emails sent from the Send Email Data Operation can be sent from any of the emails tied to the application.
Configuring an Entire Domain
Configuration of a domain requires adding DNS records. Here, we walk through configuring the records, testing the records, and common issues.
Adding the DNS Records
The first step is to create an Email Domain under Resources in Console. Enter the domain in the Email Domain field and click Create. The resulting Inspector will show a button for "Open verification Instructions."

The TXT record at the top needs to be configured, propagated, and verified before the email can be sent from any address associated with this domain. DKIM, or DomainKeys Identified Mail, allows Airkit to assign responsibility for email sent through the system. More information about DKIM can be found in the RFC. In order to allow for that identification, additional CNAME records are required.
Once these records are created, it is possible to verify from the command line that the configuration is valid. Using the dig tool, copy the domain from the Setup Instructions dialog.
> dig -t TXT _amazonses.<<domain>>.comWhere {user.domain} is replaced with the domain name. Check the response ANSWER SECTION to confirm that the record returned matches the Configuration Instructions.

The same can be done for the CNAME subdomains for DKIM.
Properties of an Email Domain Name
In Console, when selected, an Email Domain has the following properties.
Name
Currently the same as the Remote ID, but is a text string to identify the resource.
Remote ID
The valid domain for the email addresses.
From Address
A list of email addresses created with the domain.
Used In Deployments
List of deployments where the email is used.
Capabilities
A block for Email Domain.
Verification Status
Can be either "Pending", "Failed", or "Success". If it is Pending, it is in the process of checking that records have been configured correctly. Check common issues below or test with the dig command above. Success means that the email domain is ready for use.
Common Issues
Verification Status Failed - Verify that the DNS records are configured correctly. Some DNS providers will require the definition of the subdomain only and not the full _amazonses.{user.domain}.com. Try removing the {user.domain}.com part. Click the retry button under Verification Status.
Verification Status Pending - DNS takes time to propagate. It can take up to 72 hours for a domain to fully confirmed. Please give it some time before reaching out to support at Airkit.
Updated 3 months ago